Cabinet Wood Repair, Old Growth Redwood and Cedar, Clear Grain, and a $50 piece of wood
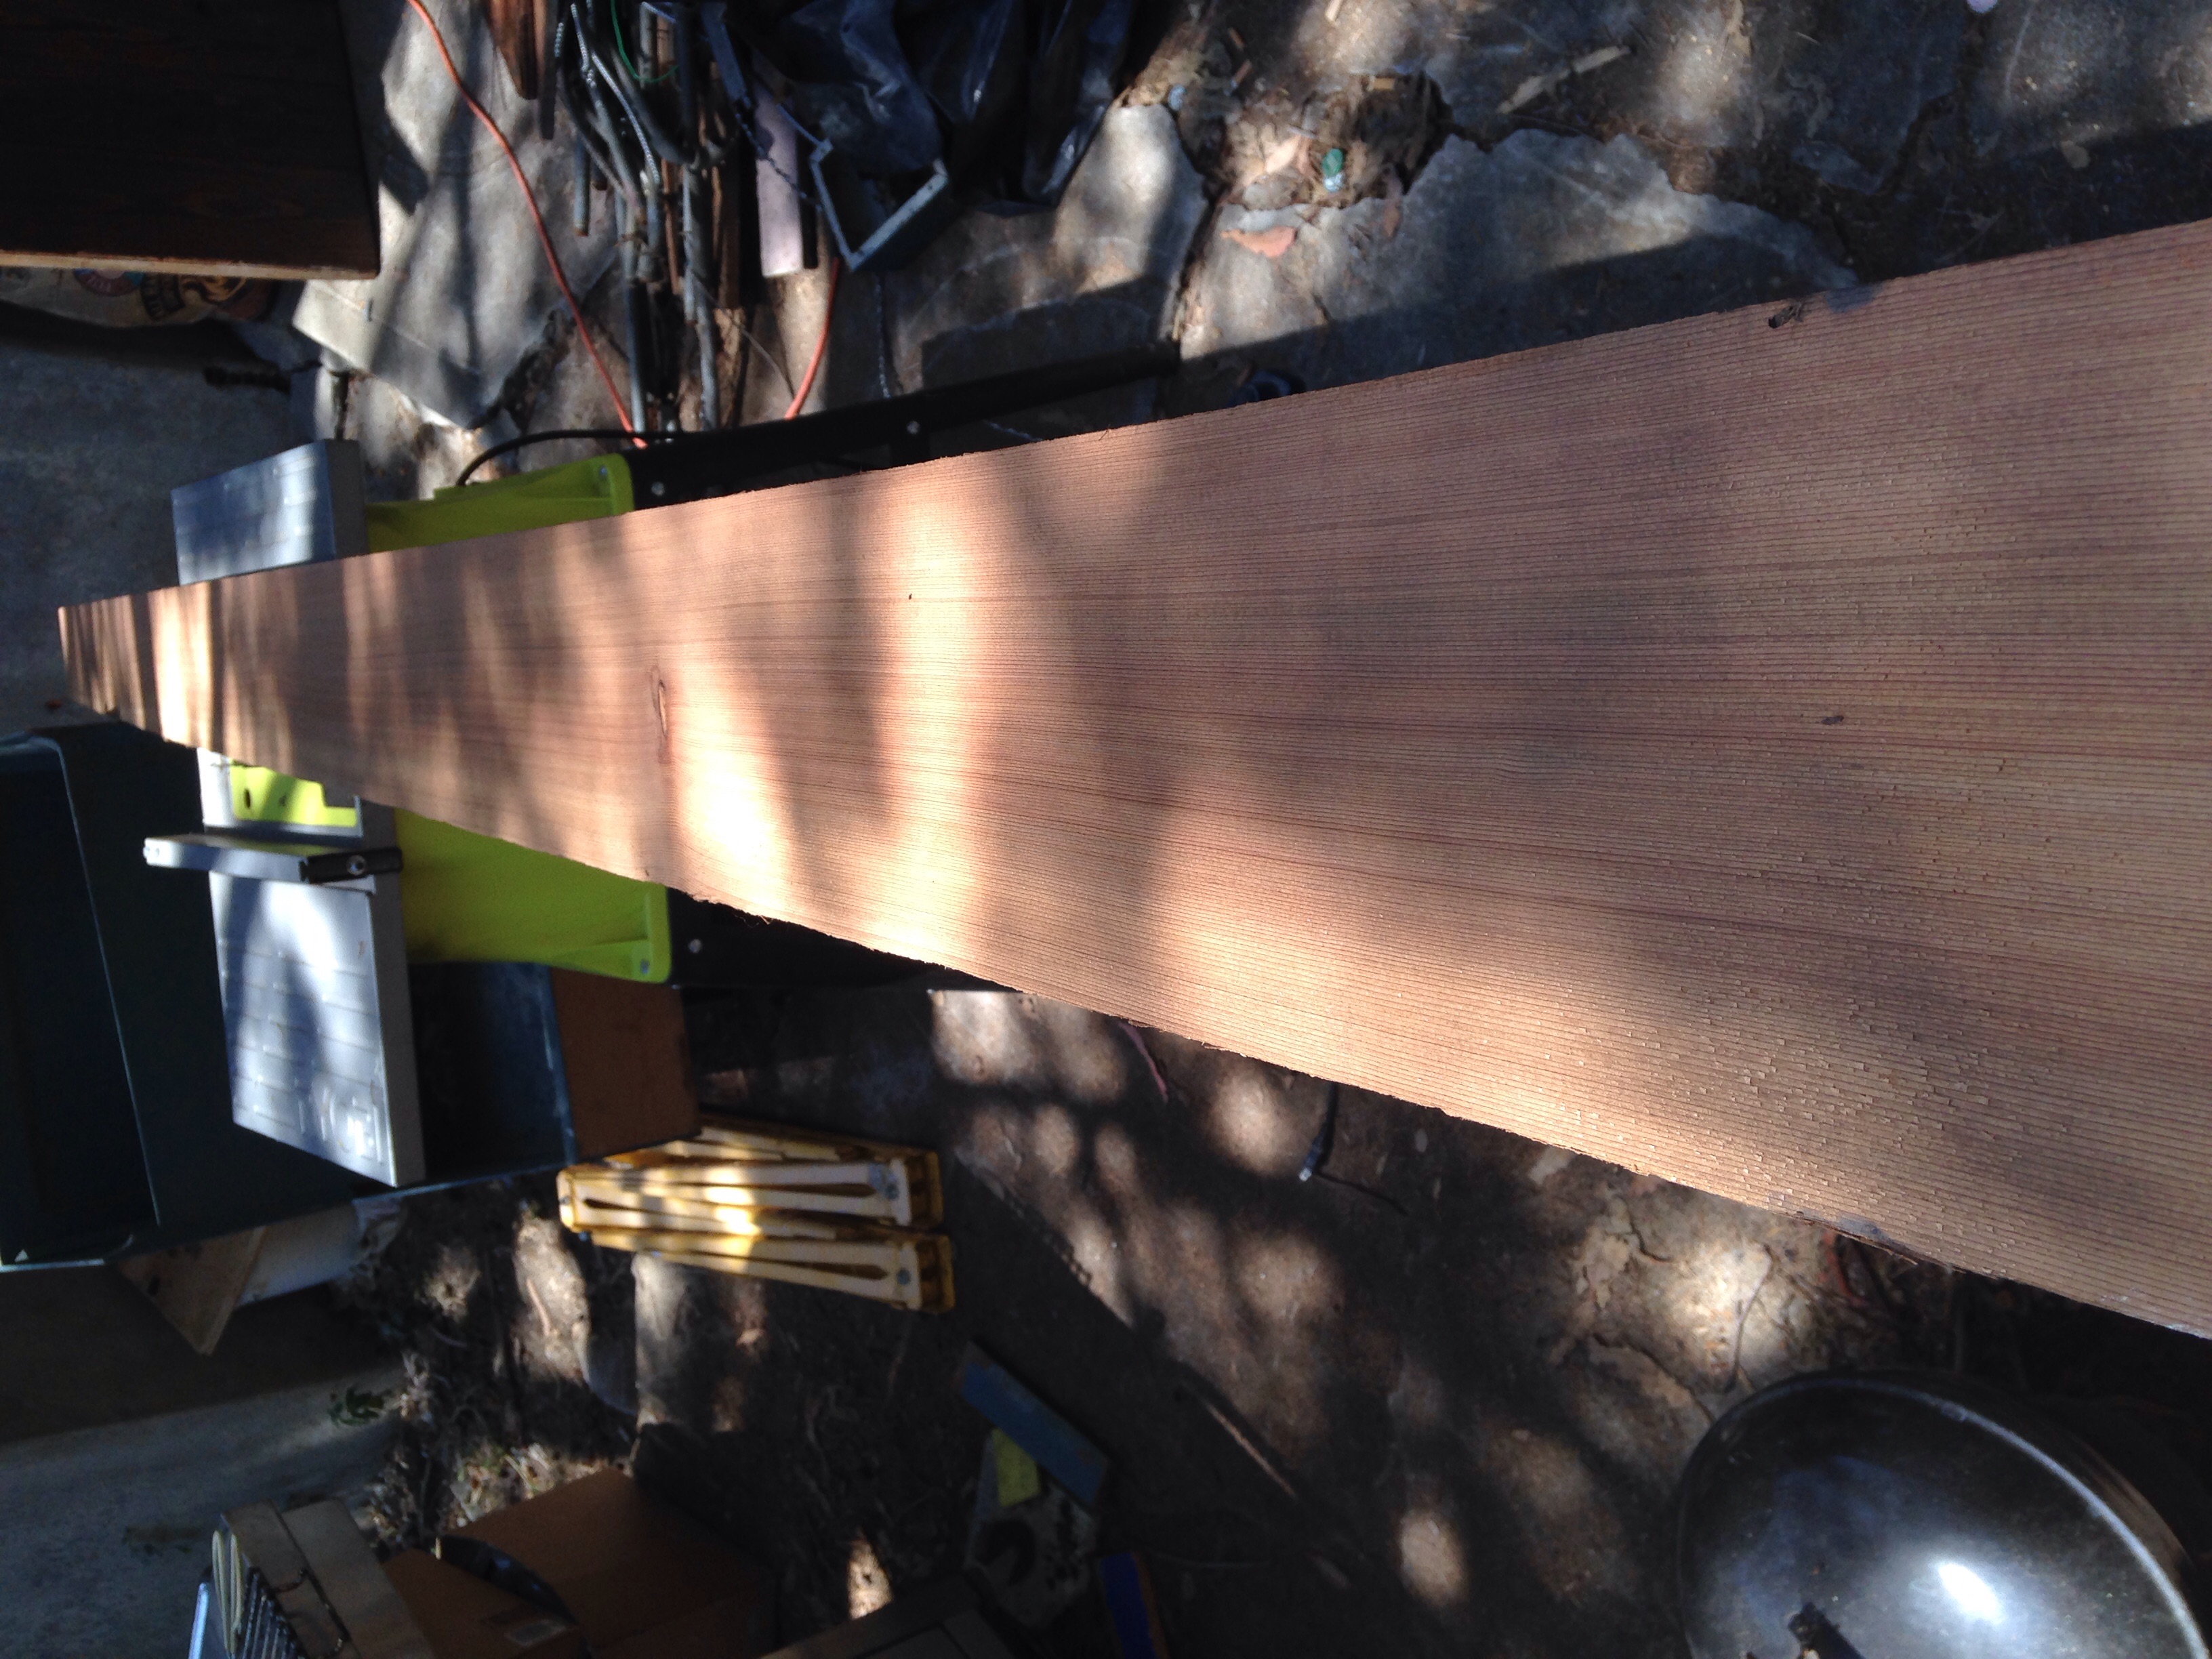
I needed some pieces of cabinet wood. I took a piece to MacBeath lumber in Berkeley
I thought it was cedar, but the expert there said it was old growth redwood because it was too heavy to be cedar. "If you really want to match this, you need to go to the Lumber Baron in Albany." So it's old growth redwood, and that's hard to find and expensive. I decided to look at their cedar because if the only difference is weight, that won't matter when nailed to the wall. Plus this isn't meant to be a forever fix. In maybe 10 years I want to expand the kitchen and that's going to be super expensive and at that point I'll get some new cabinets made out of clear grain cedar or something for like 35K... Yikes
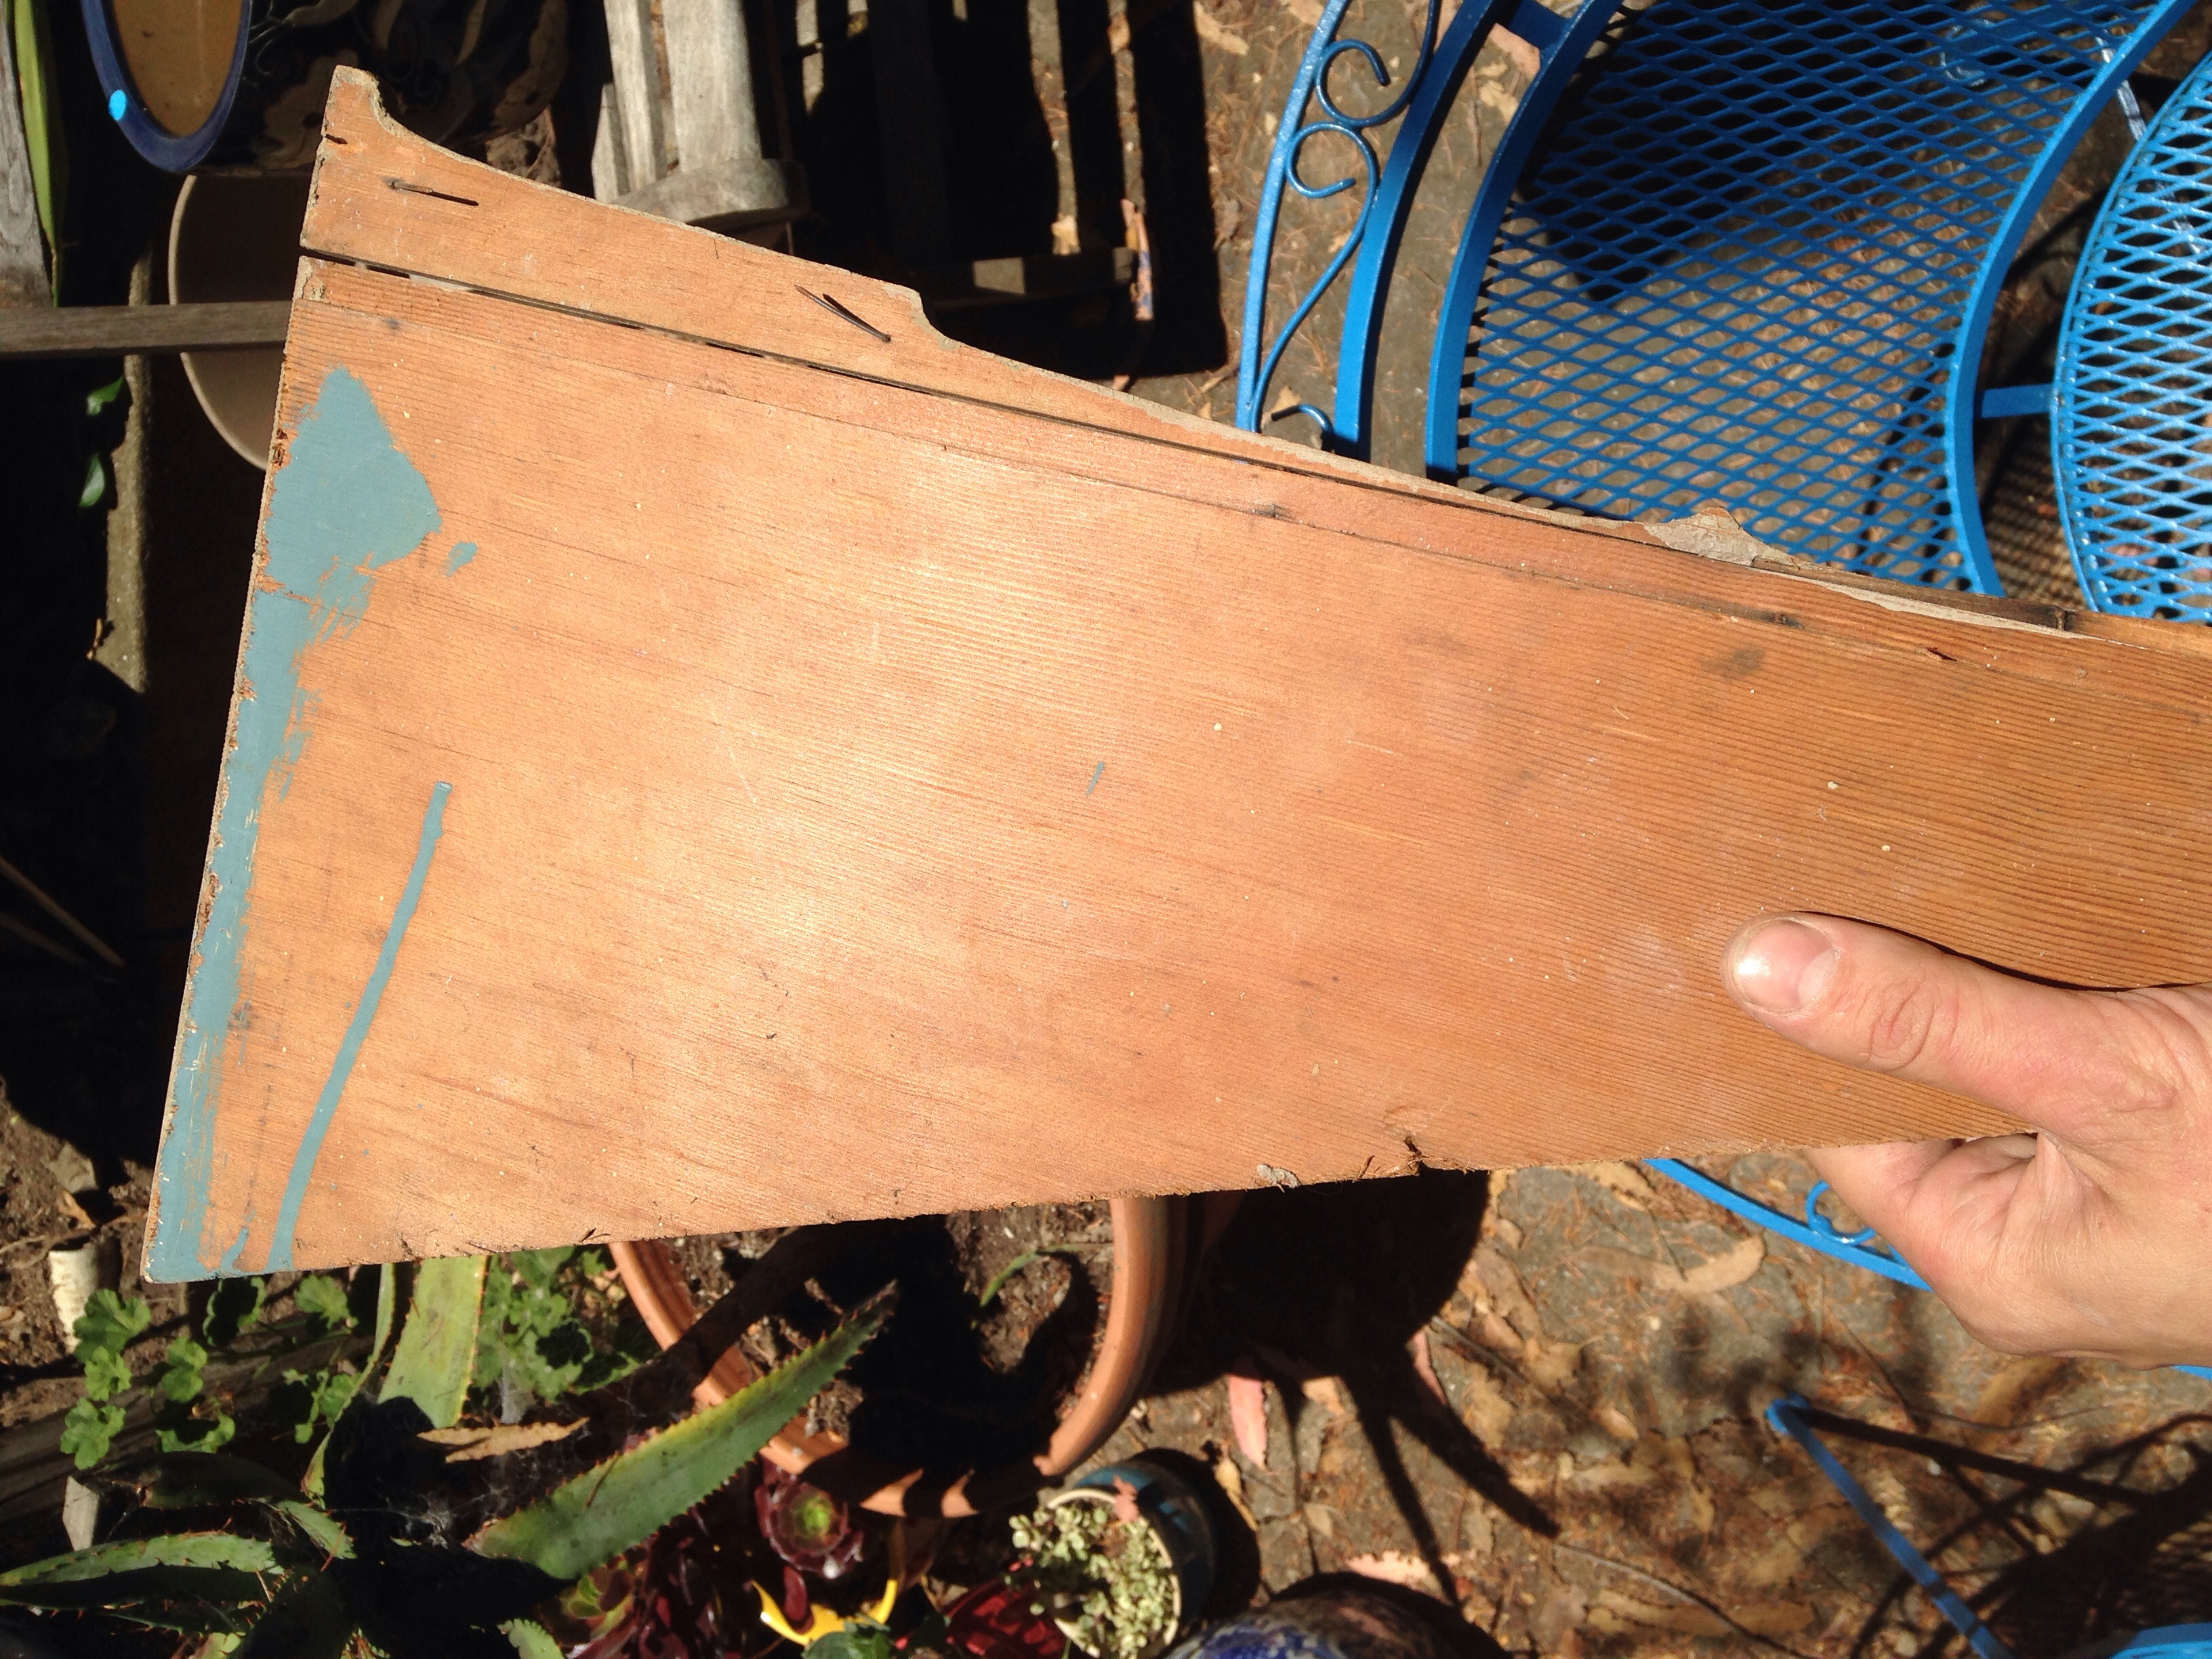
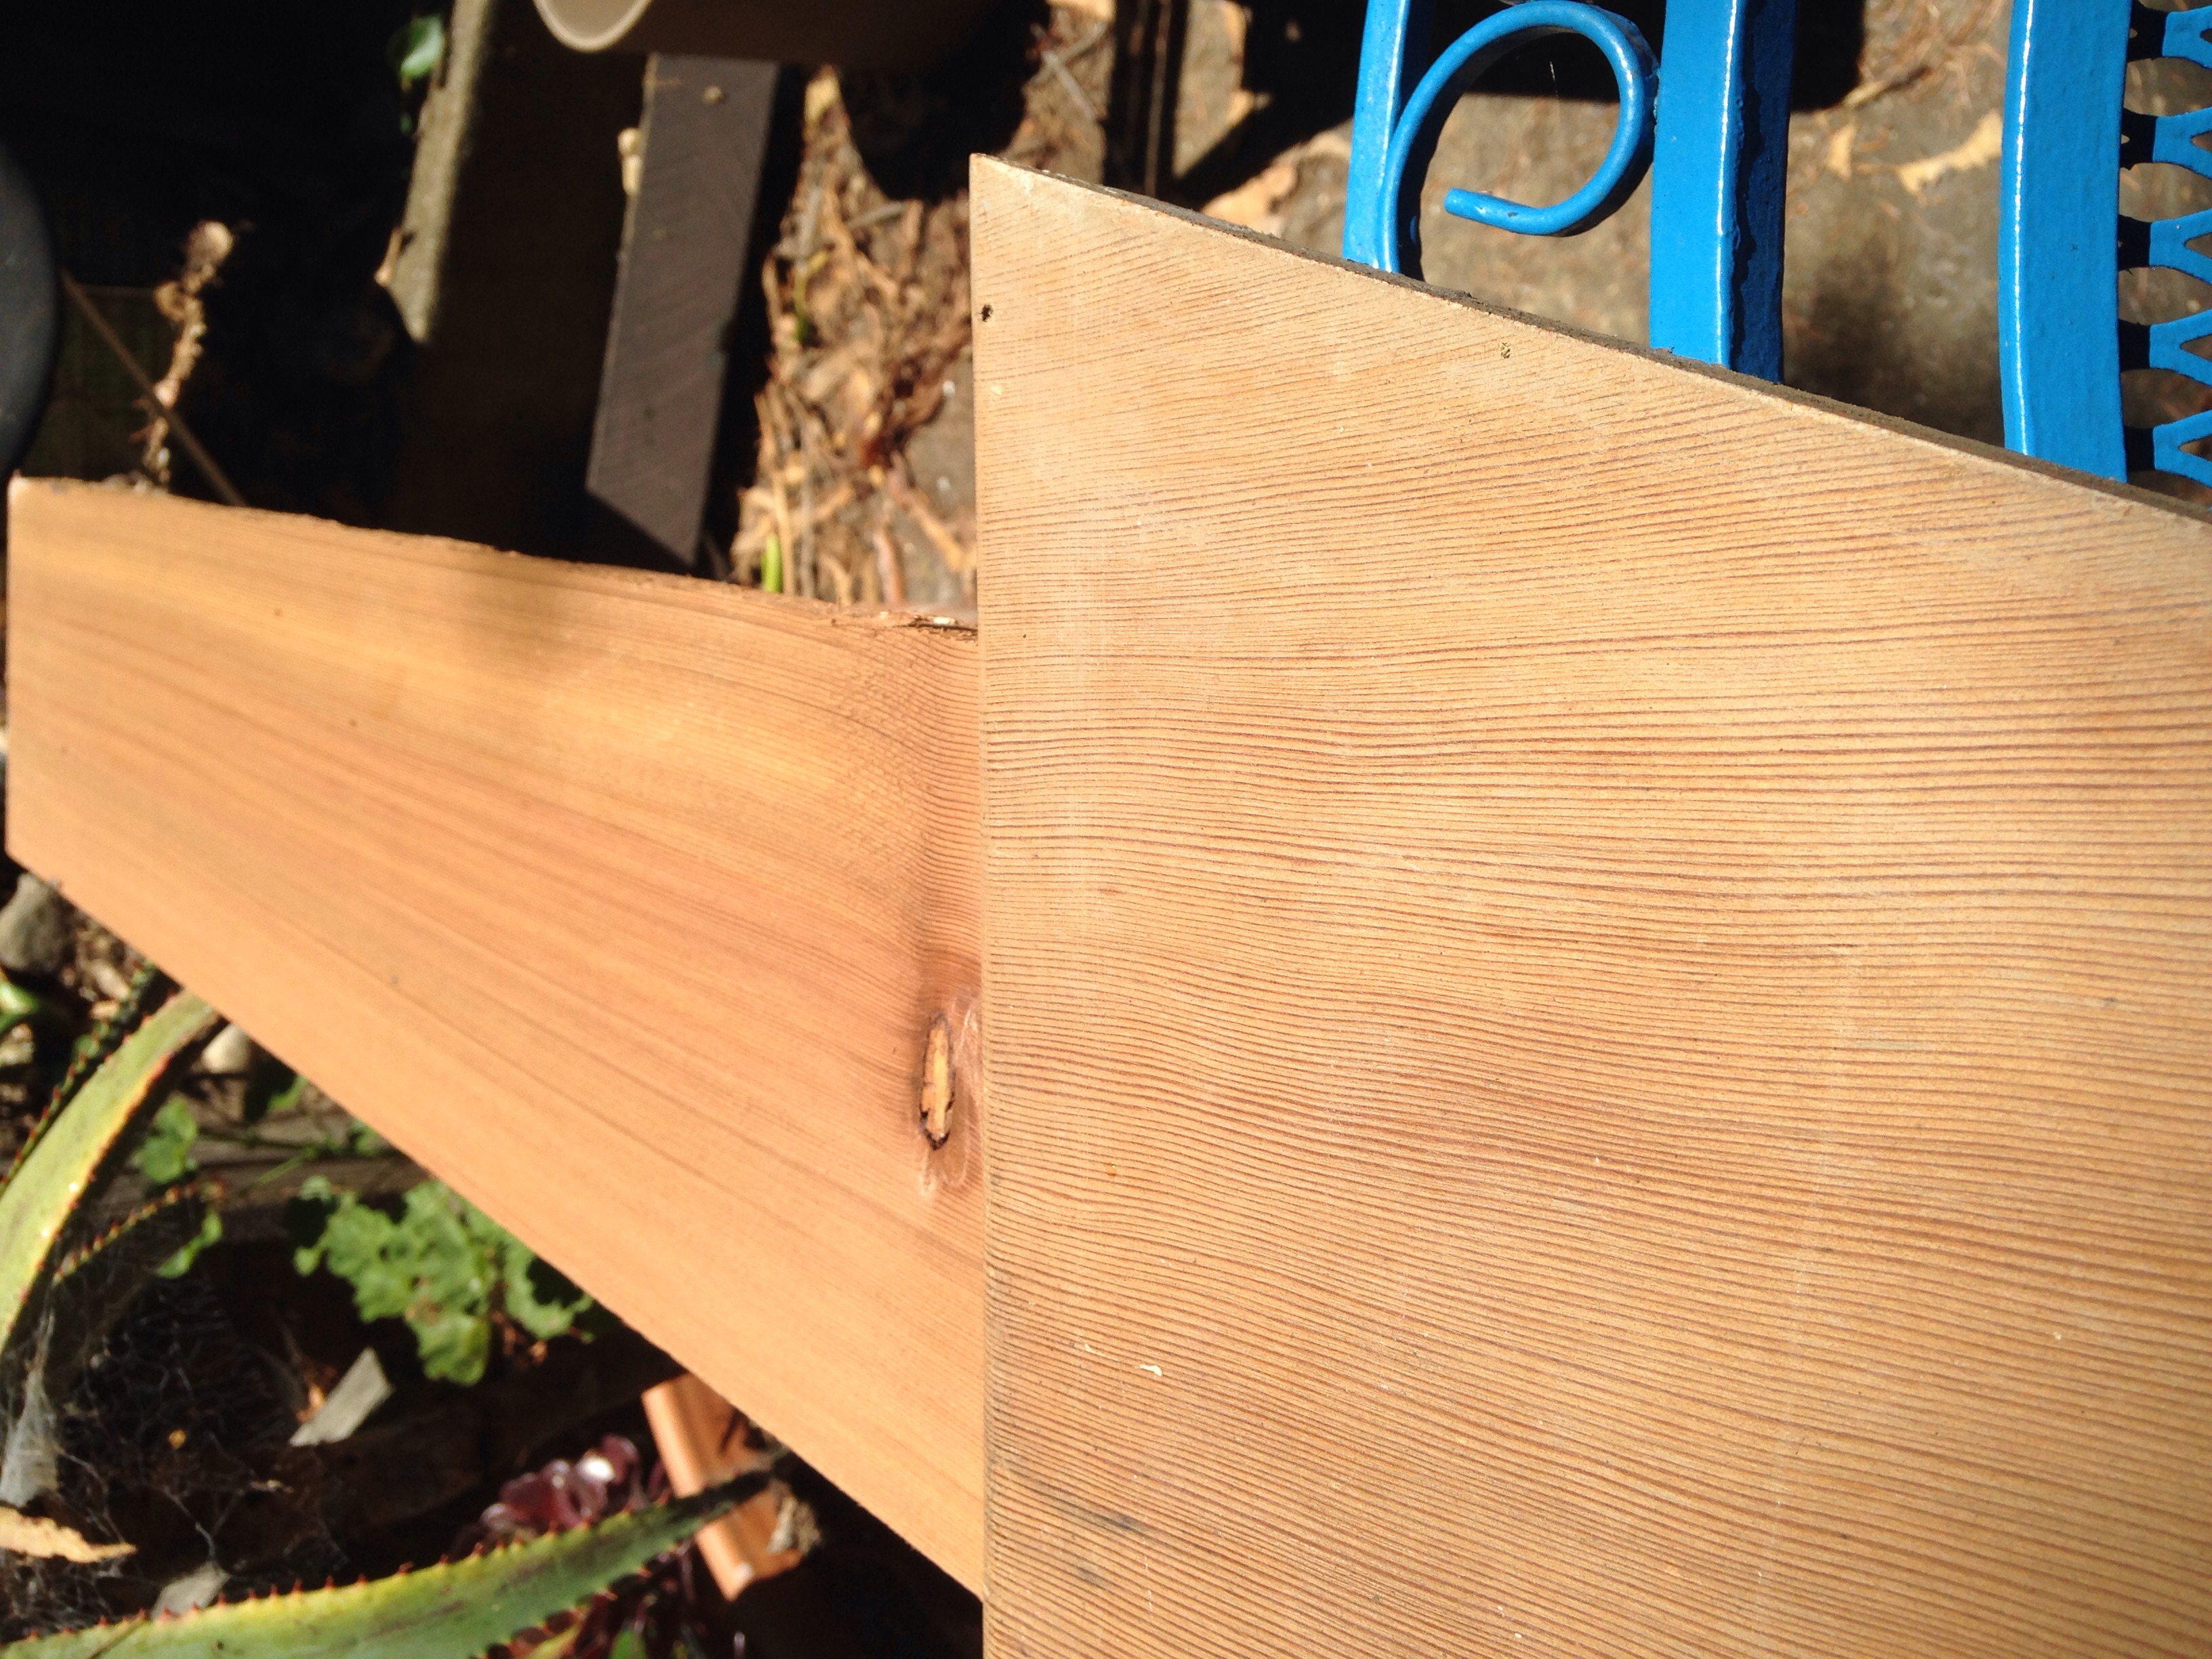
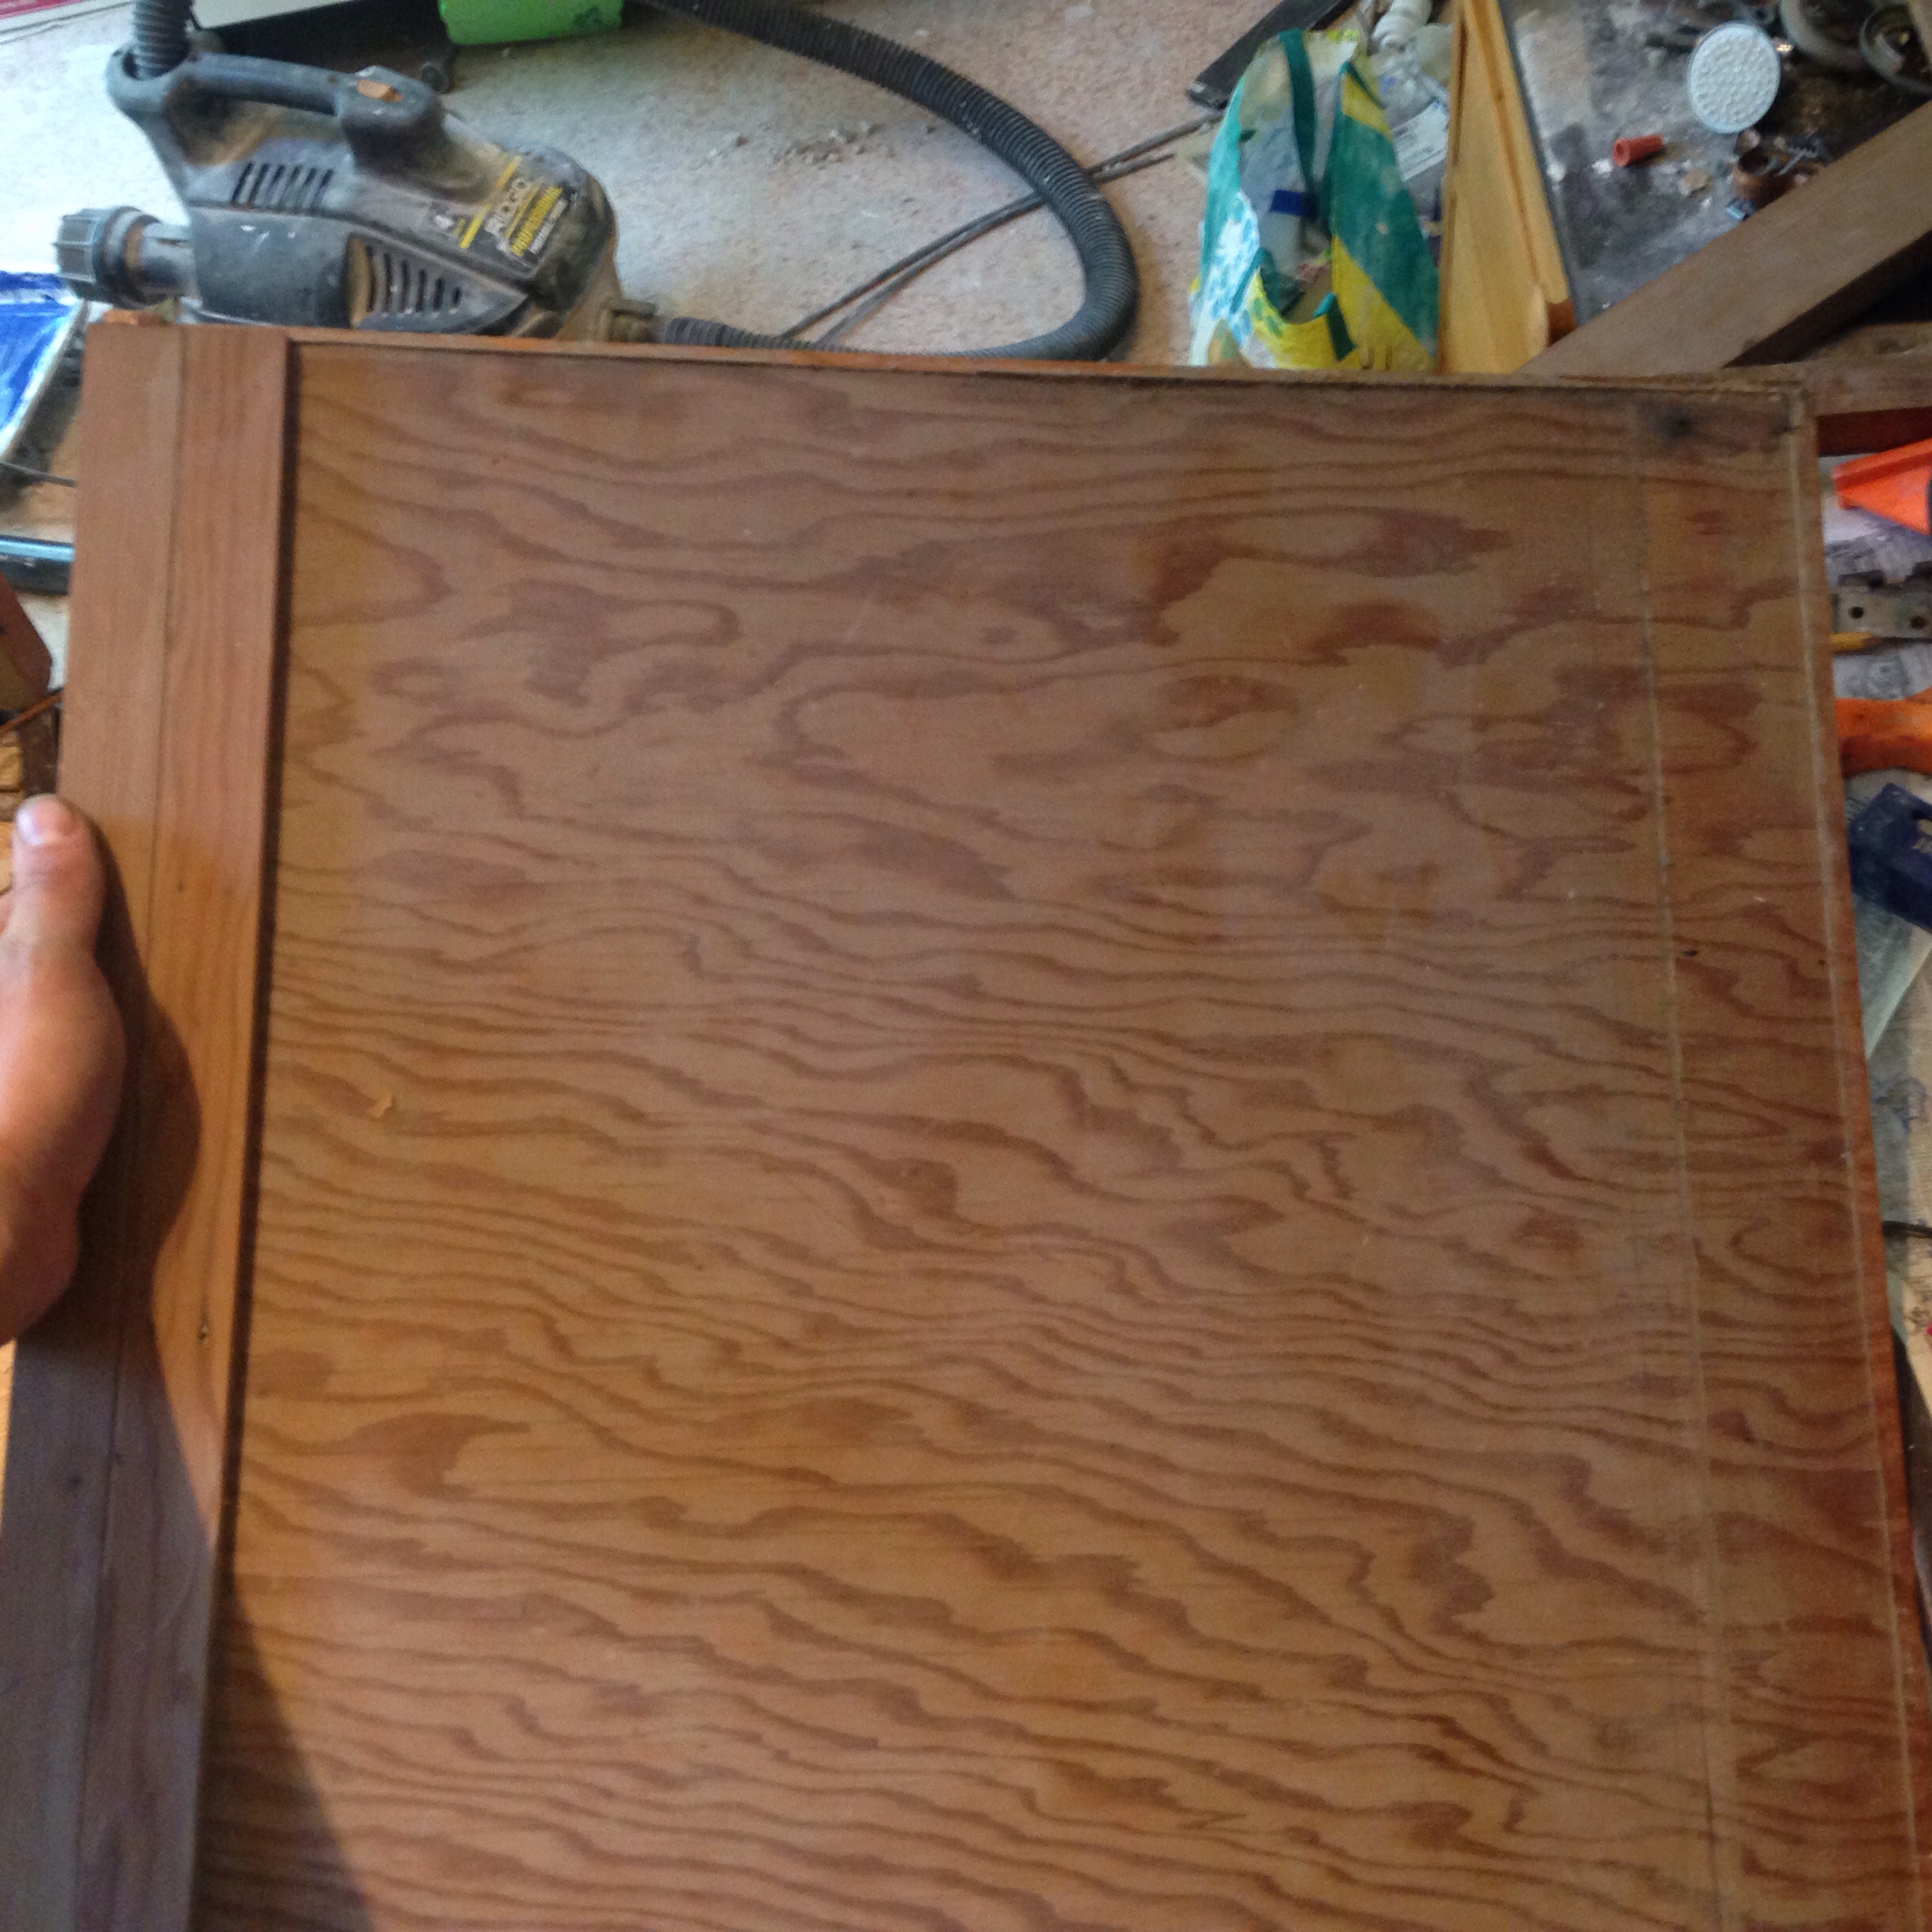
I looked through their boards and got the brownest one to match the oxidation of the old wood. I had to get "V.G. CLEAR" redwood which means clean, tight grain. At 1x6"x12', it was about $7.50 a board foot. (6" is half a foot so 6"x12' is equal to 1'x6' so 6 board feet). It was $50
$50 but it matches so well!

I think I can darken it with a yellow stain
Matching the finish will be hard...
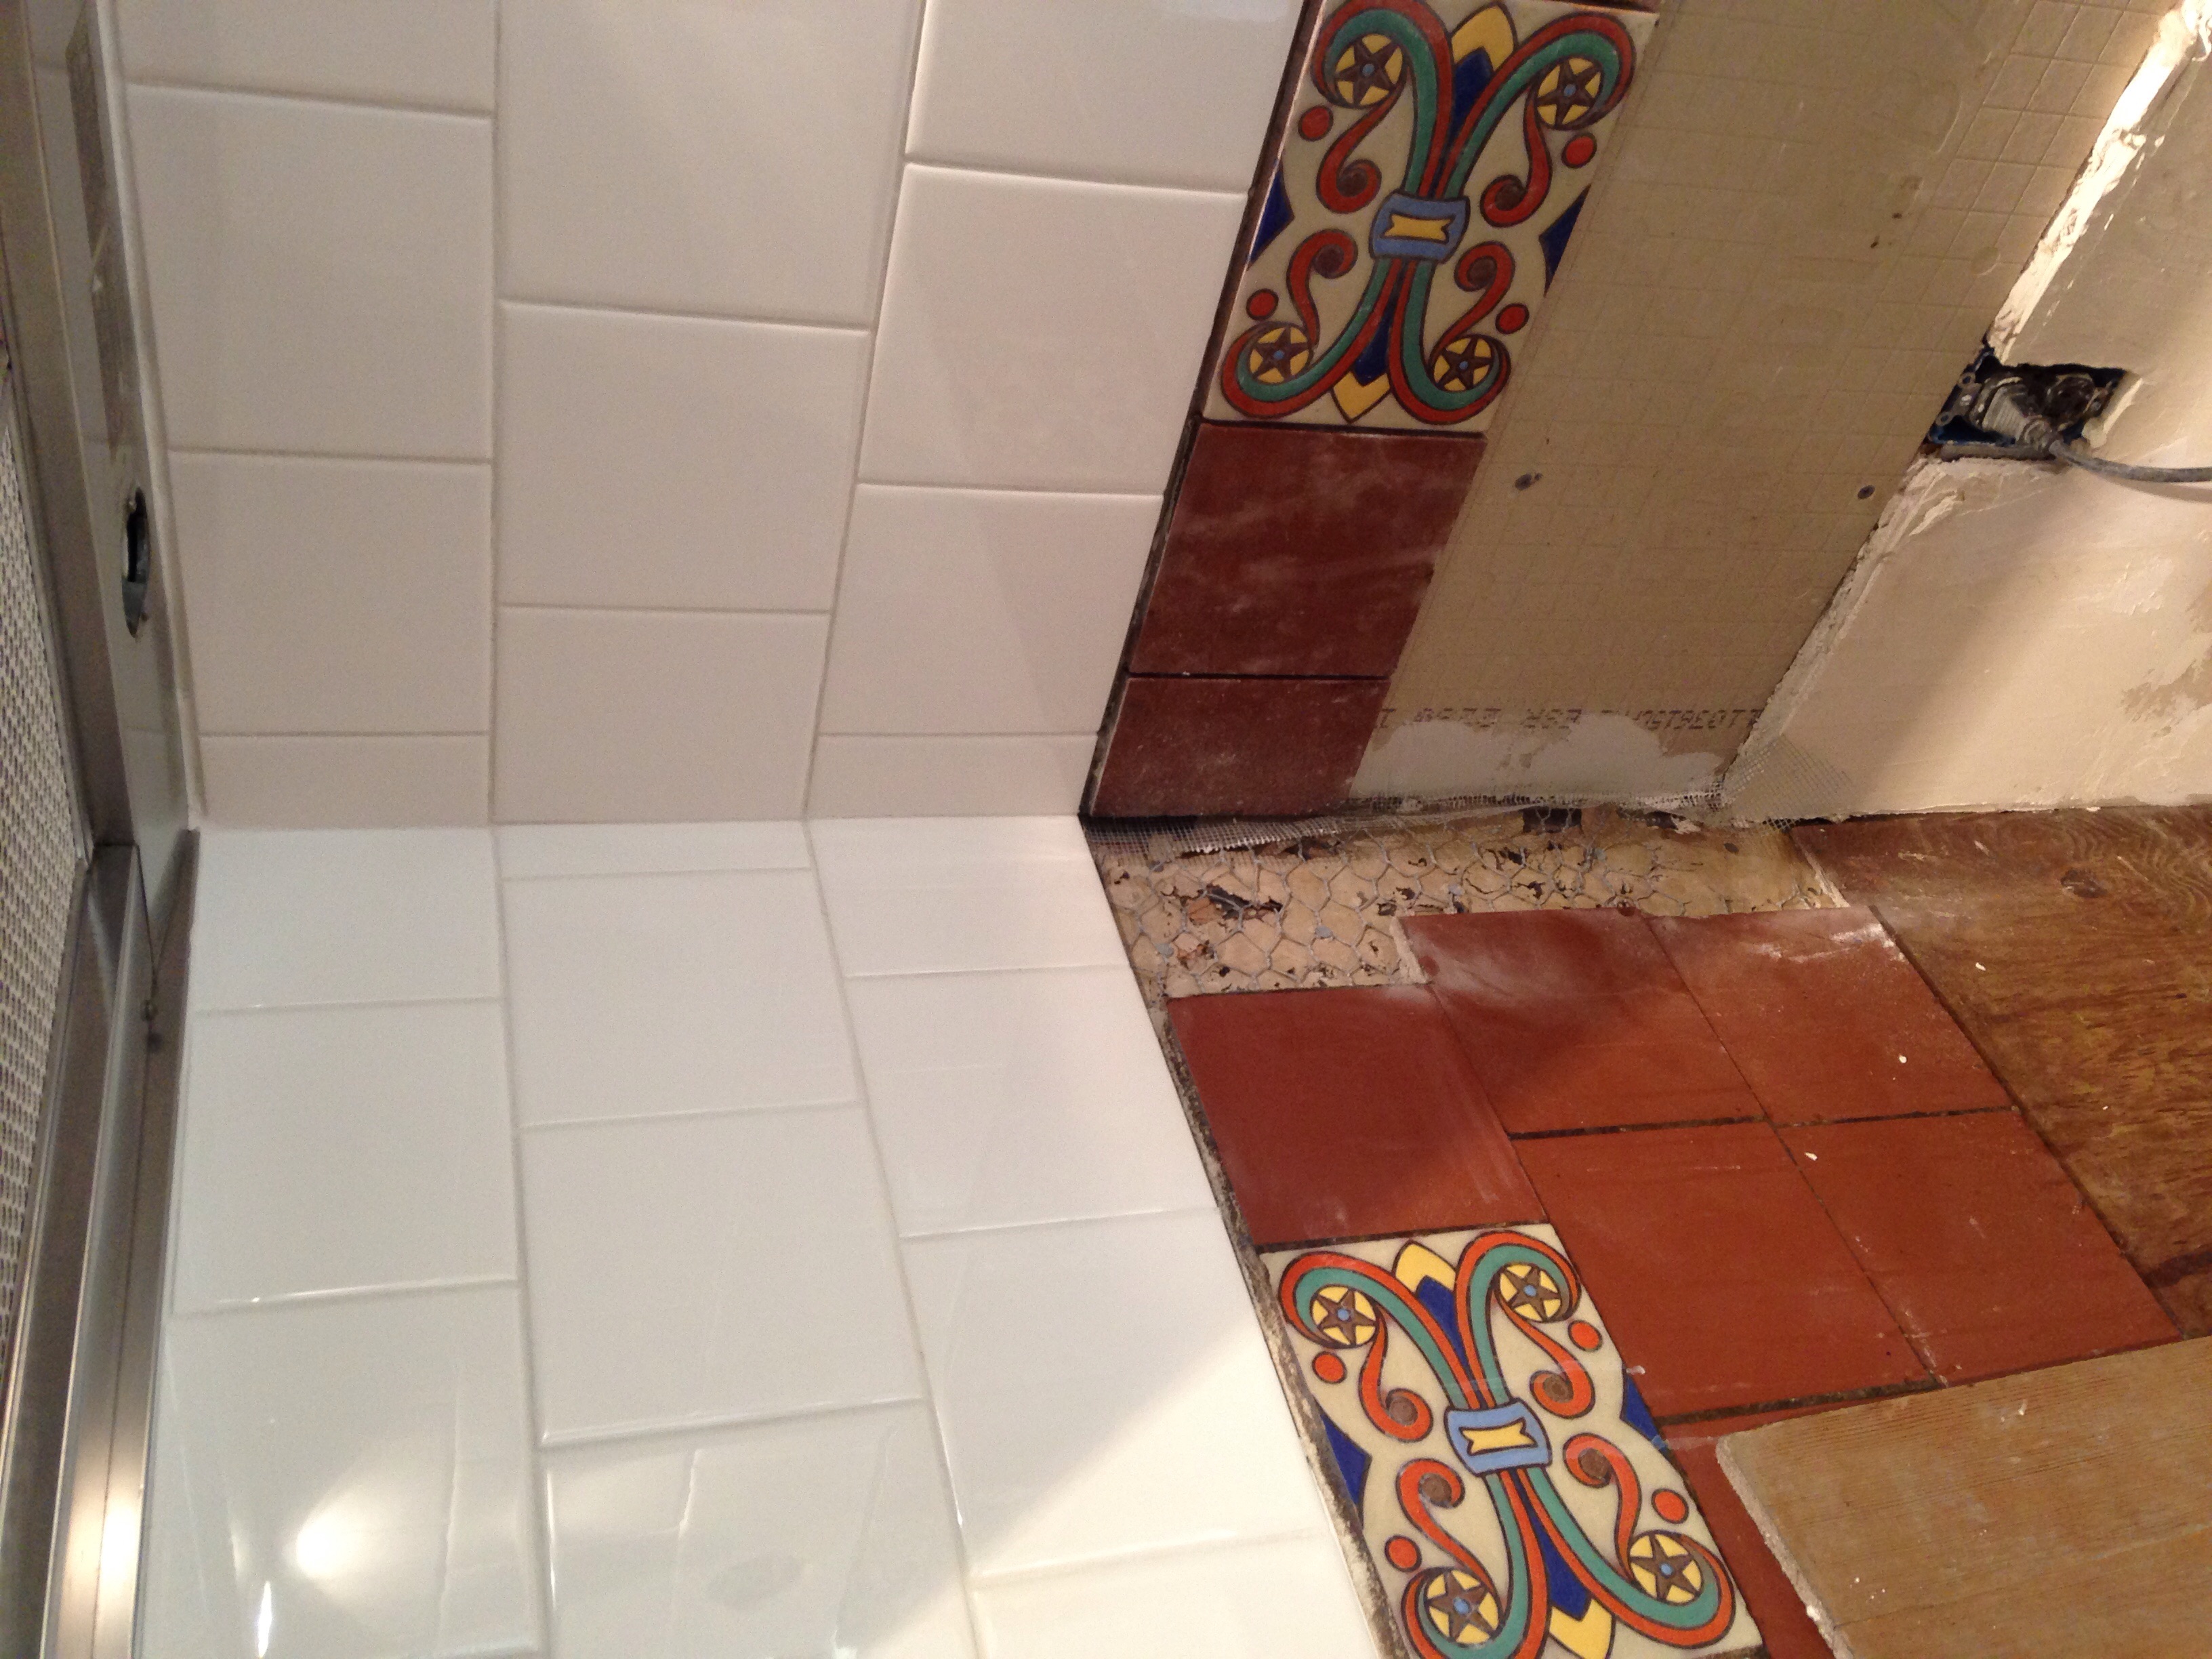
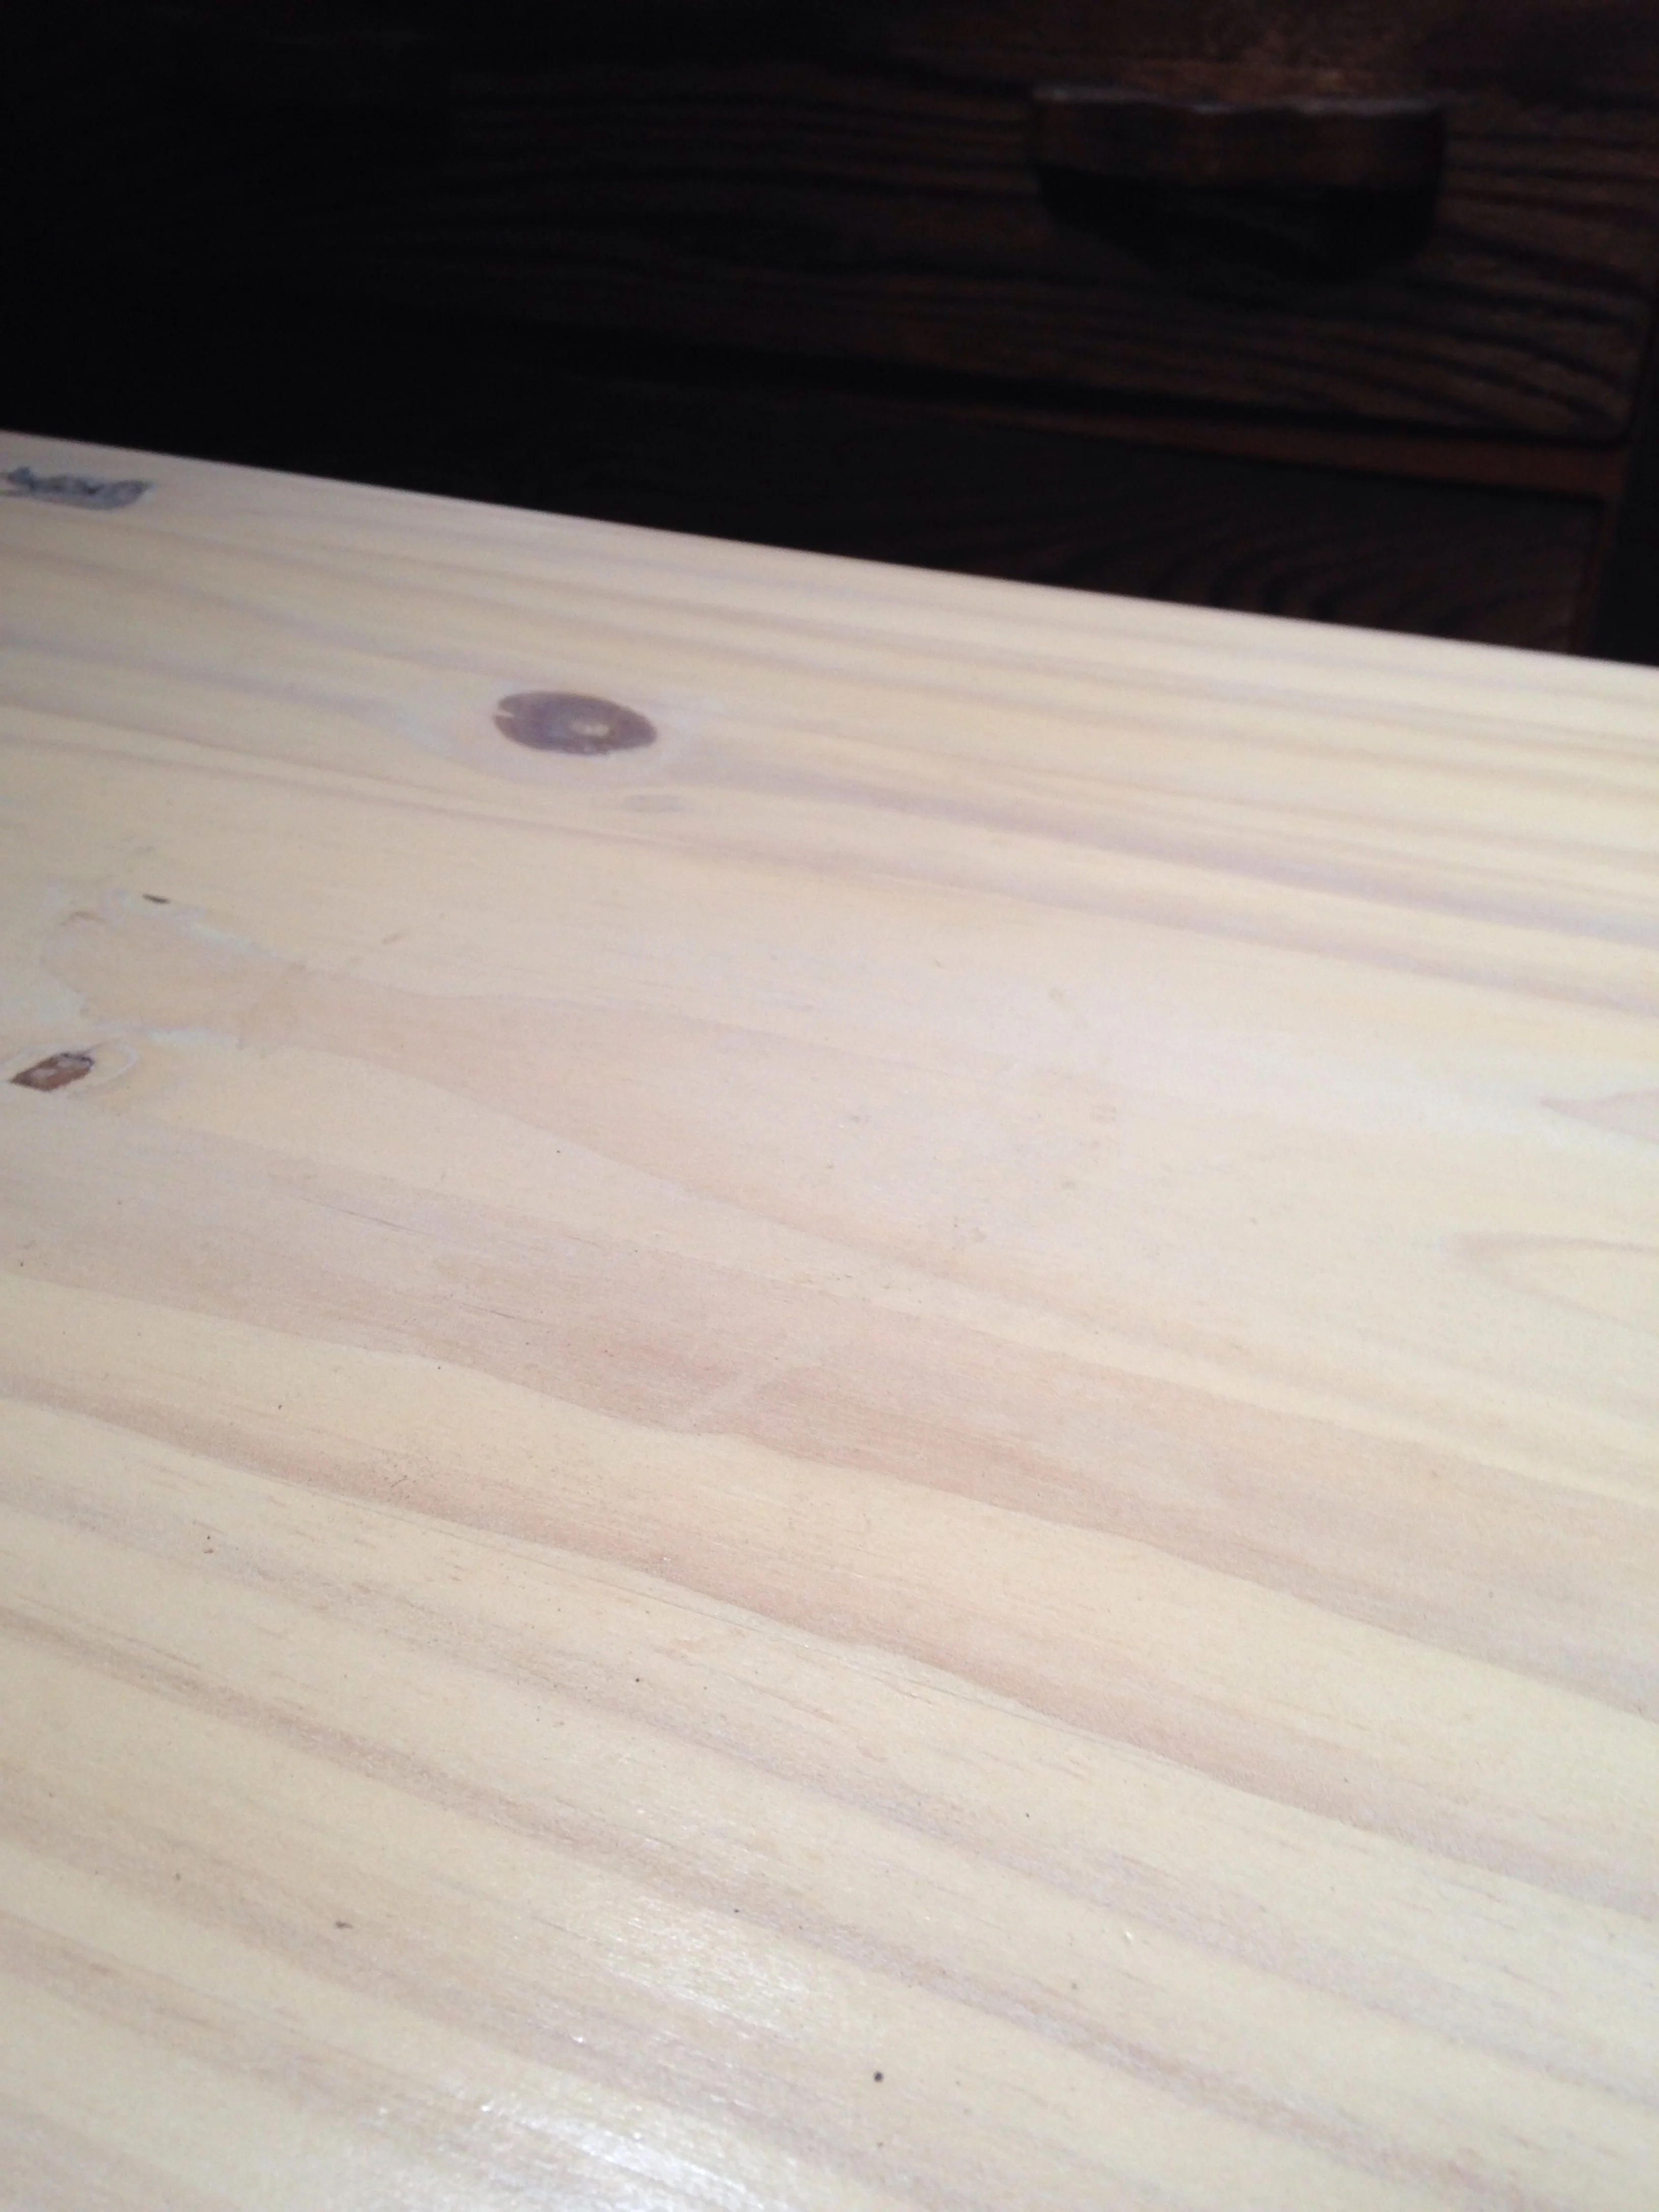
It's hard to see but there's a "Mary Kay" white type finish which is a milky finish.
The milky finish is a closest match to "pickled oak" which looks like this on pine
FUN FACT: The above finish was used on Fender guitars in the '50s and '60s over Ash under the name "Mary Kay White."
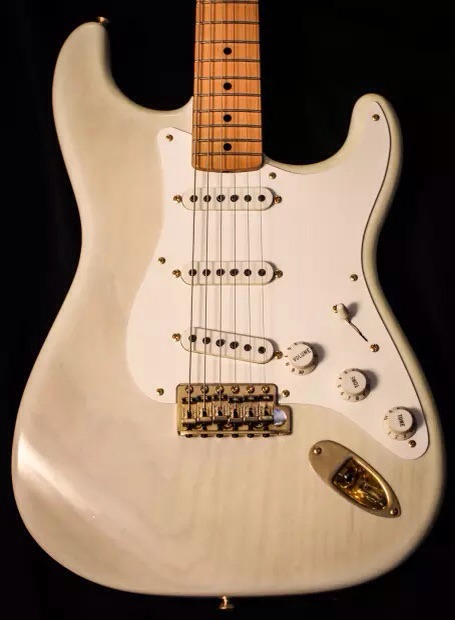
Fender "Mary Kay White" Stratocaster '57 reissue
But our cabinets are actually a little purple

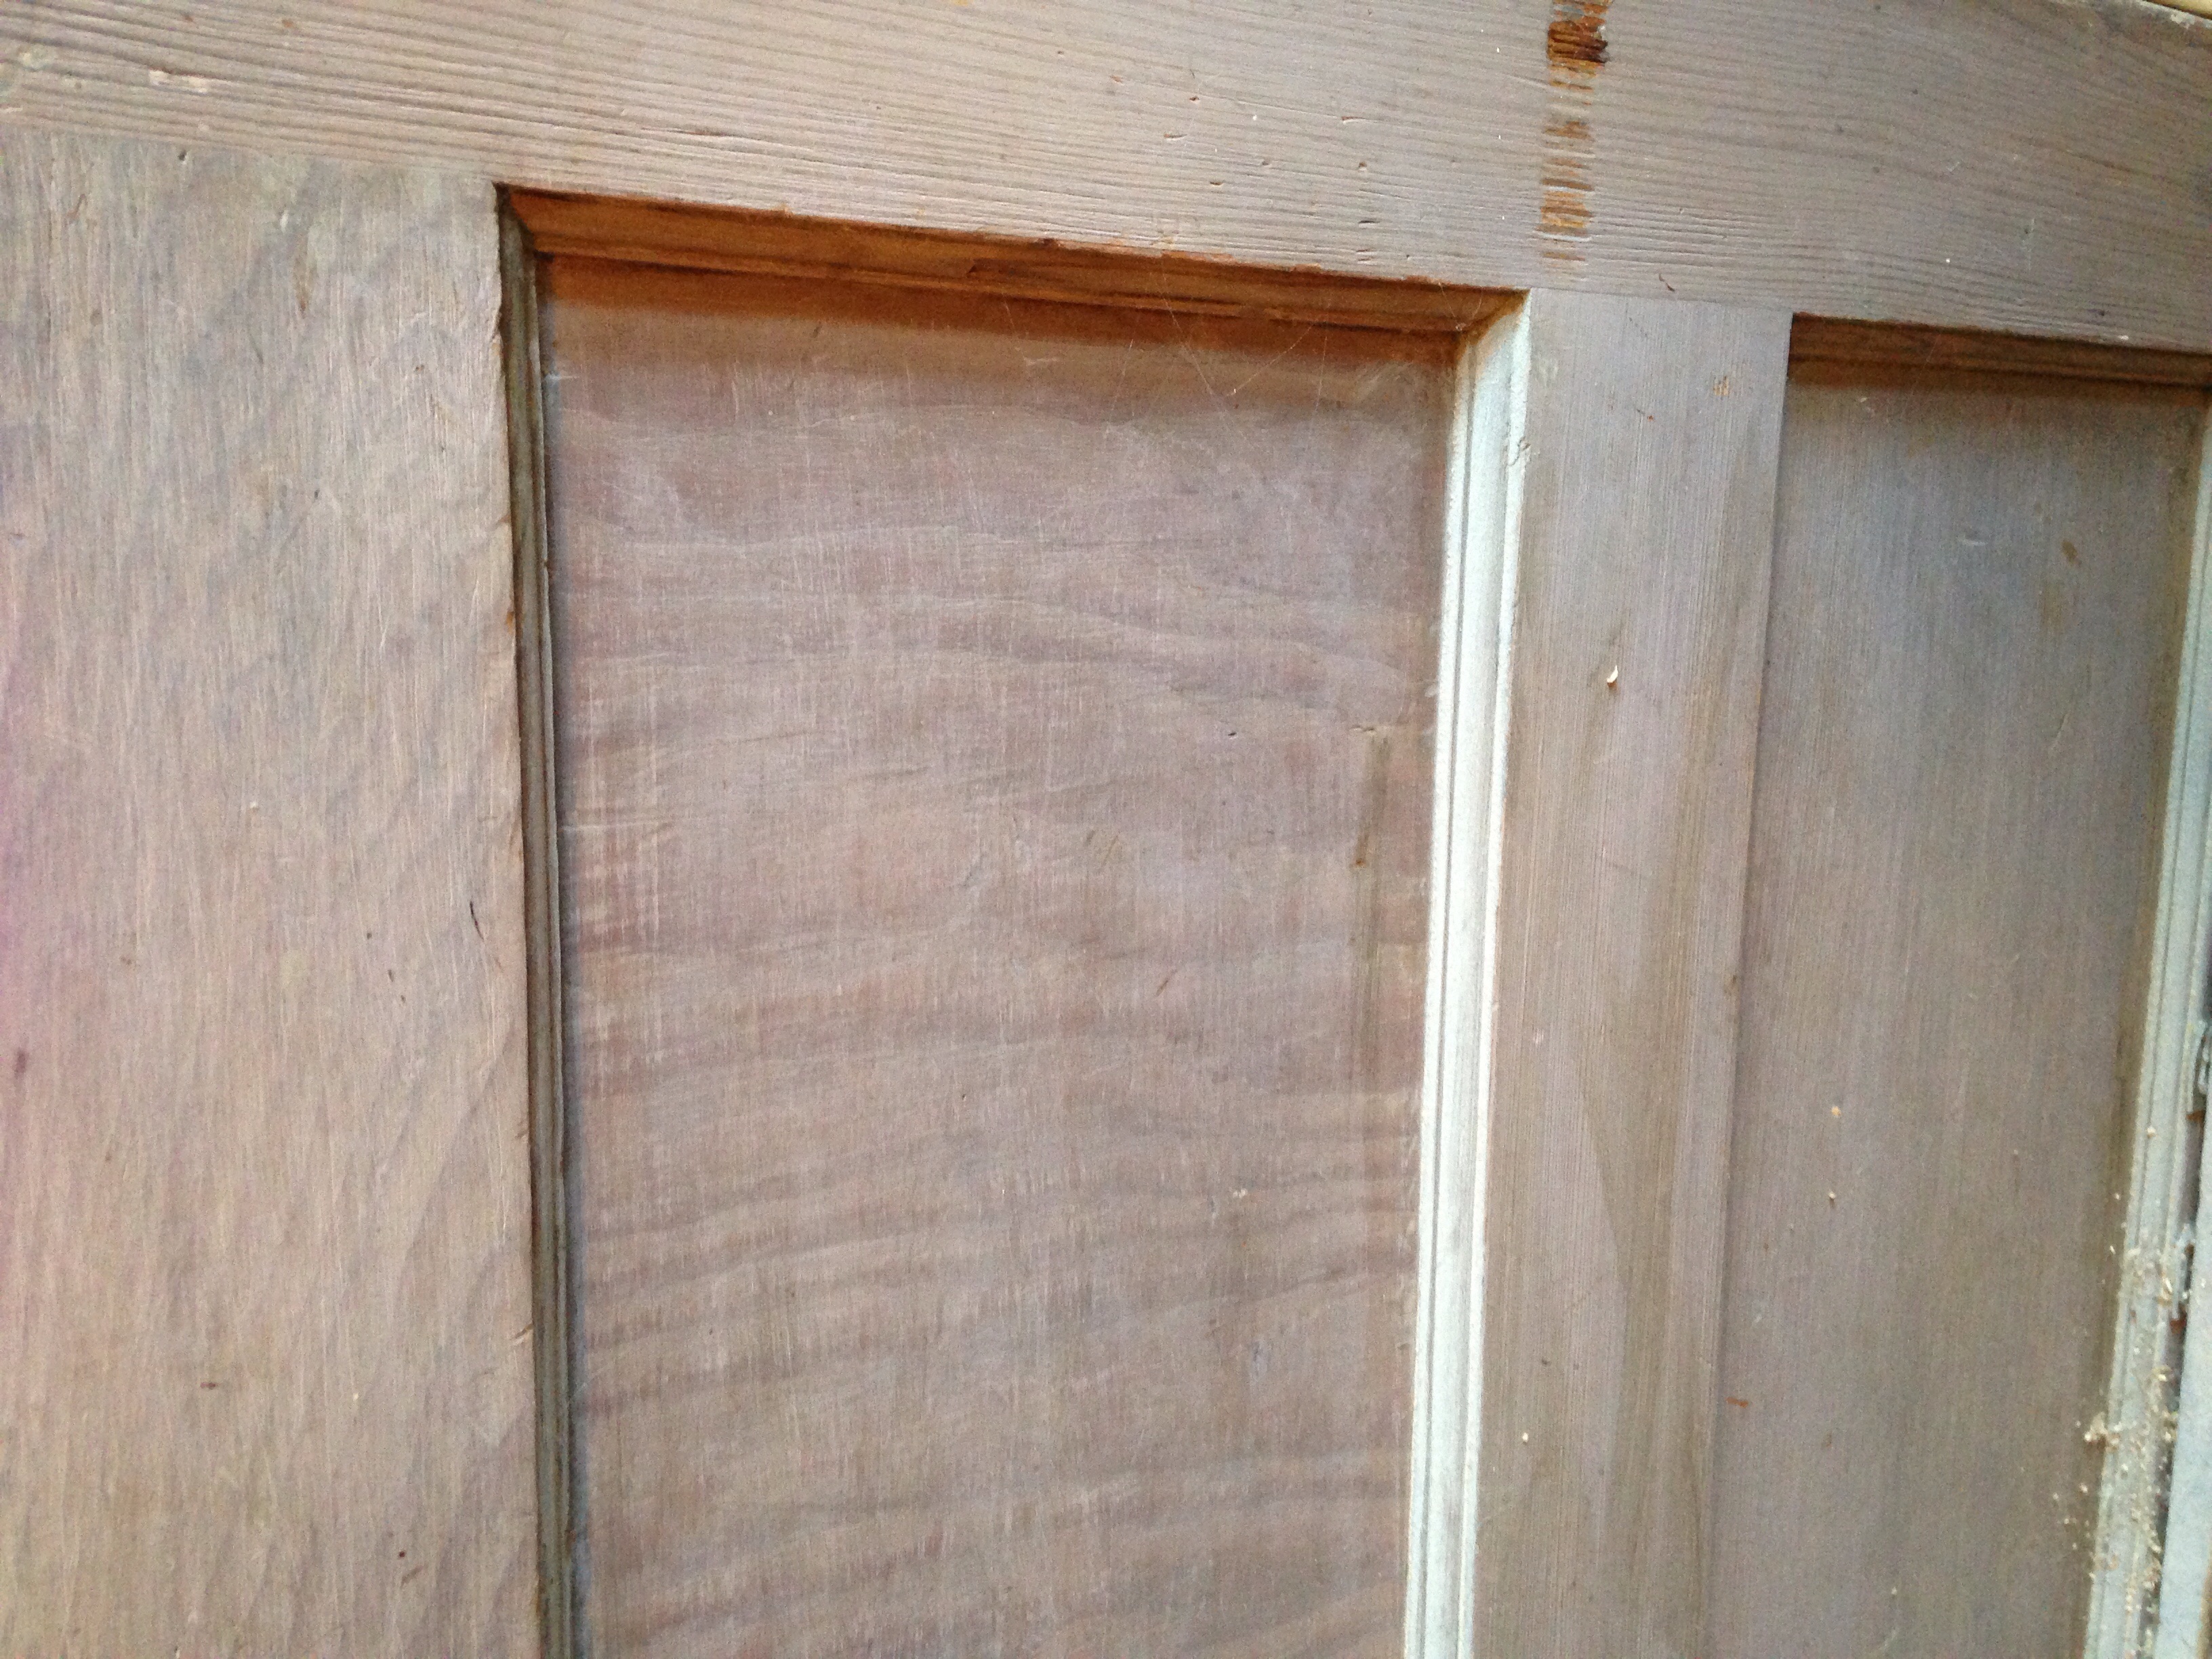
Back door is very purple. The picture doesn't show it but it looks more like blueberry ice cream


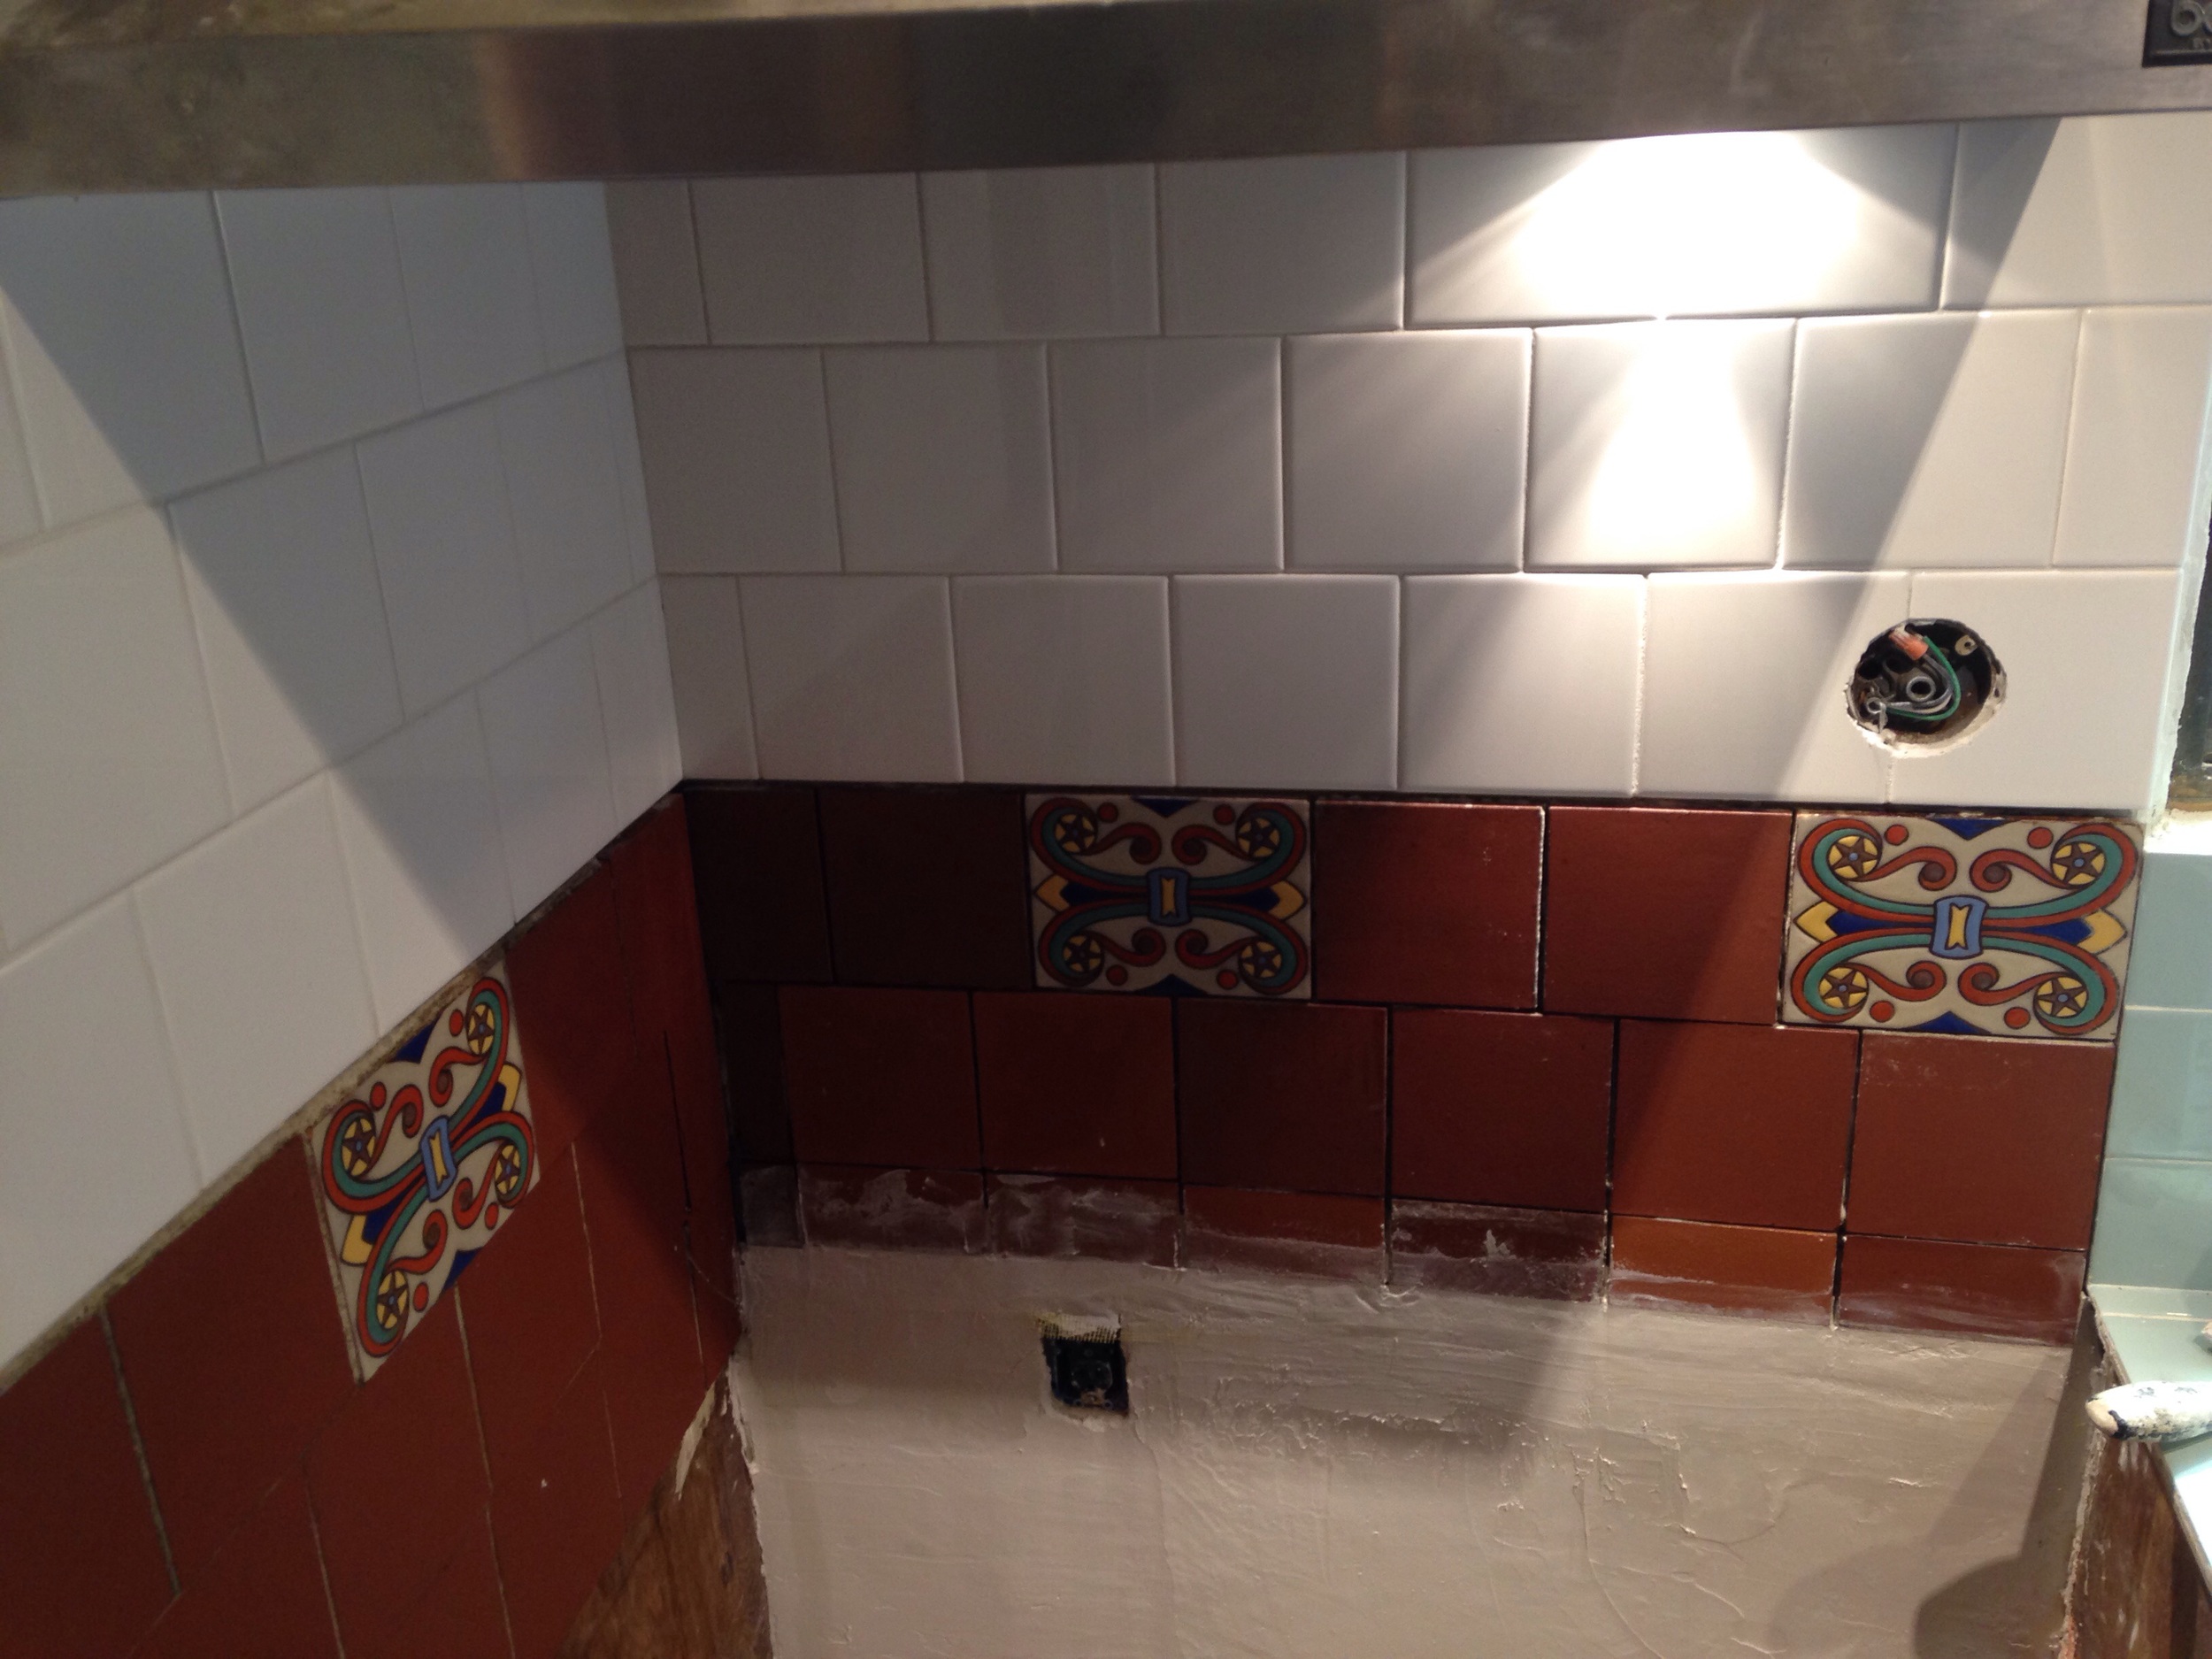
I had to shrink the cabinet up 3" to fit a modern fridge.
Now I need to cut down the door.

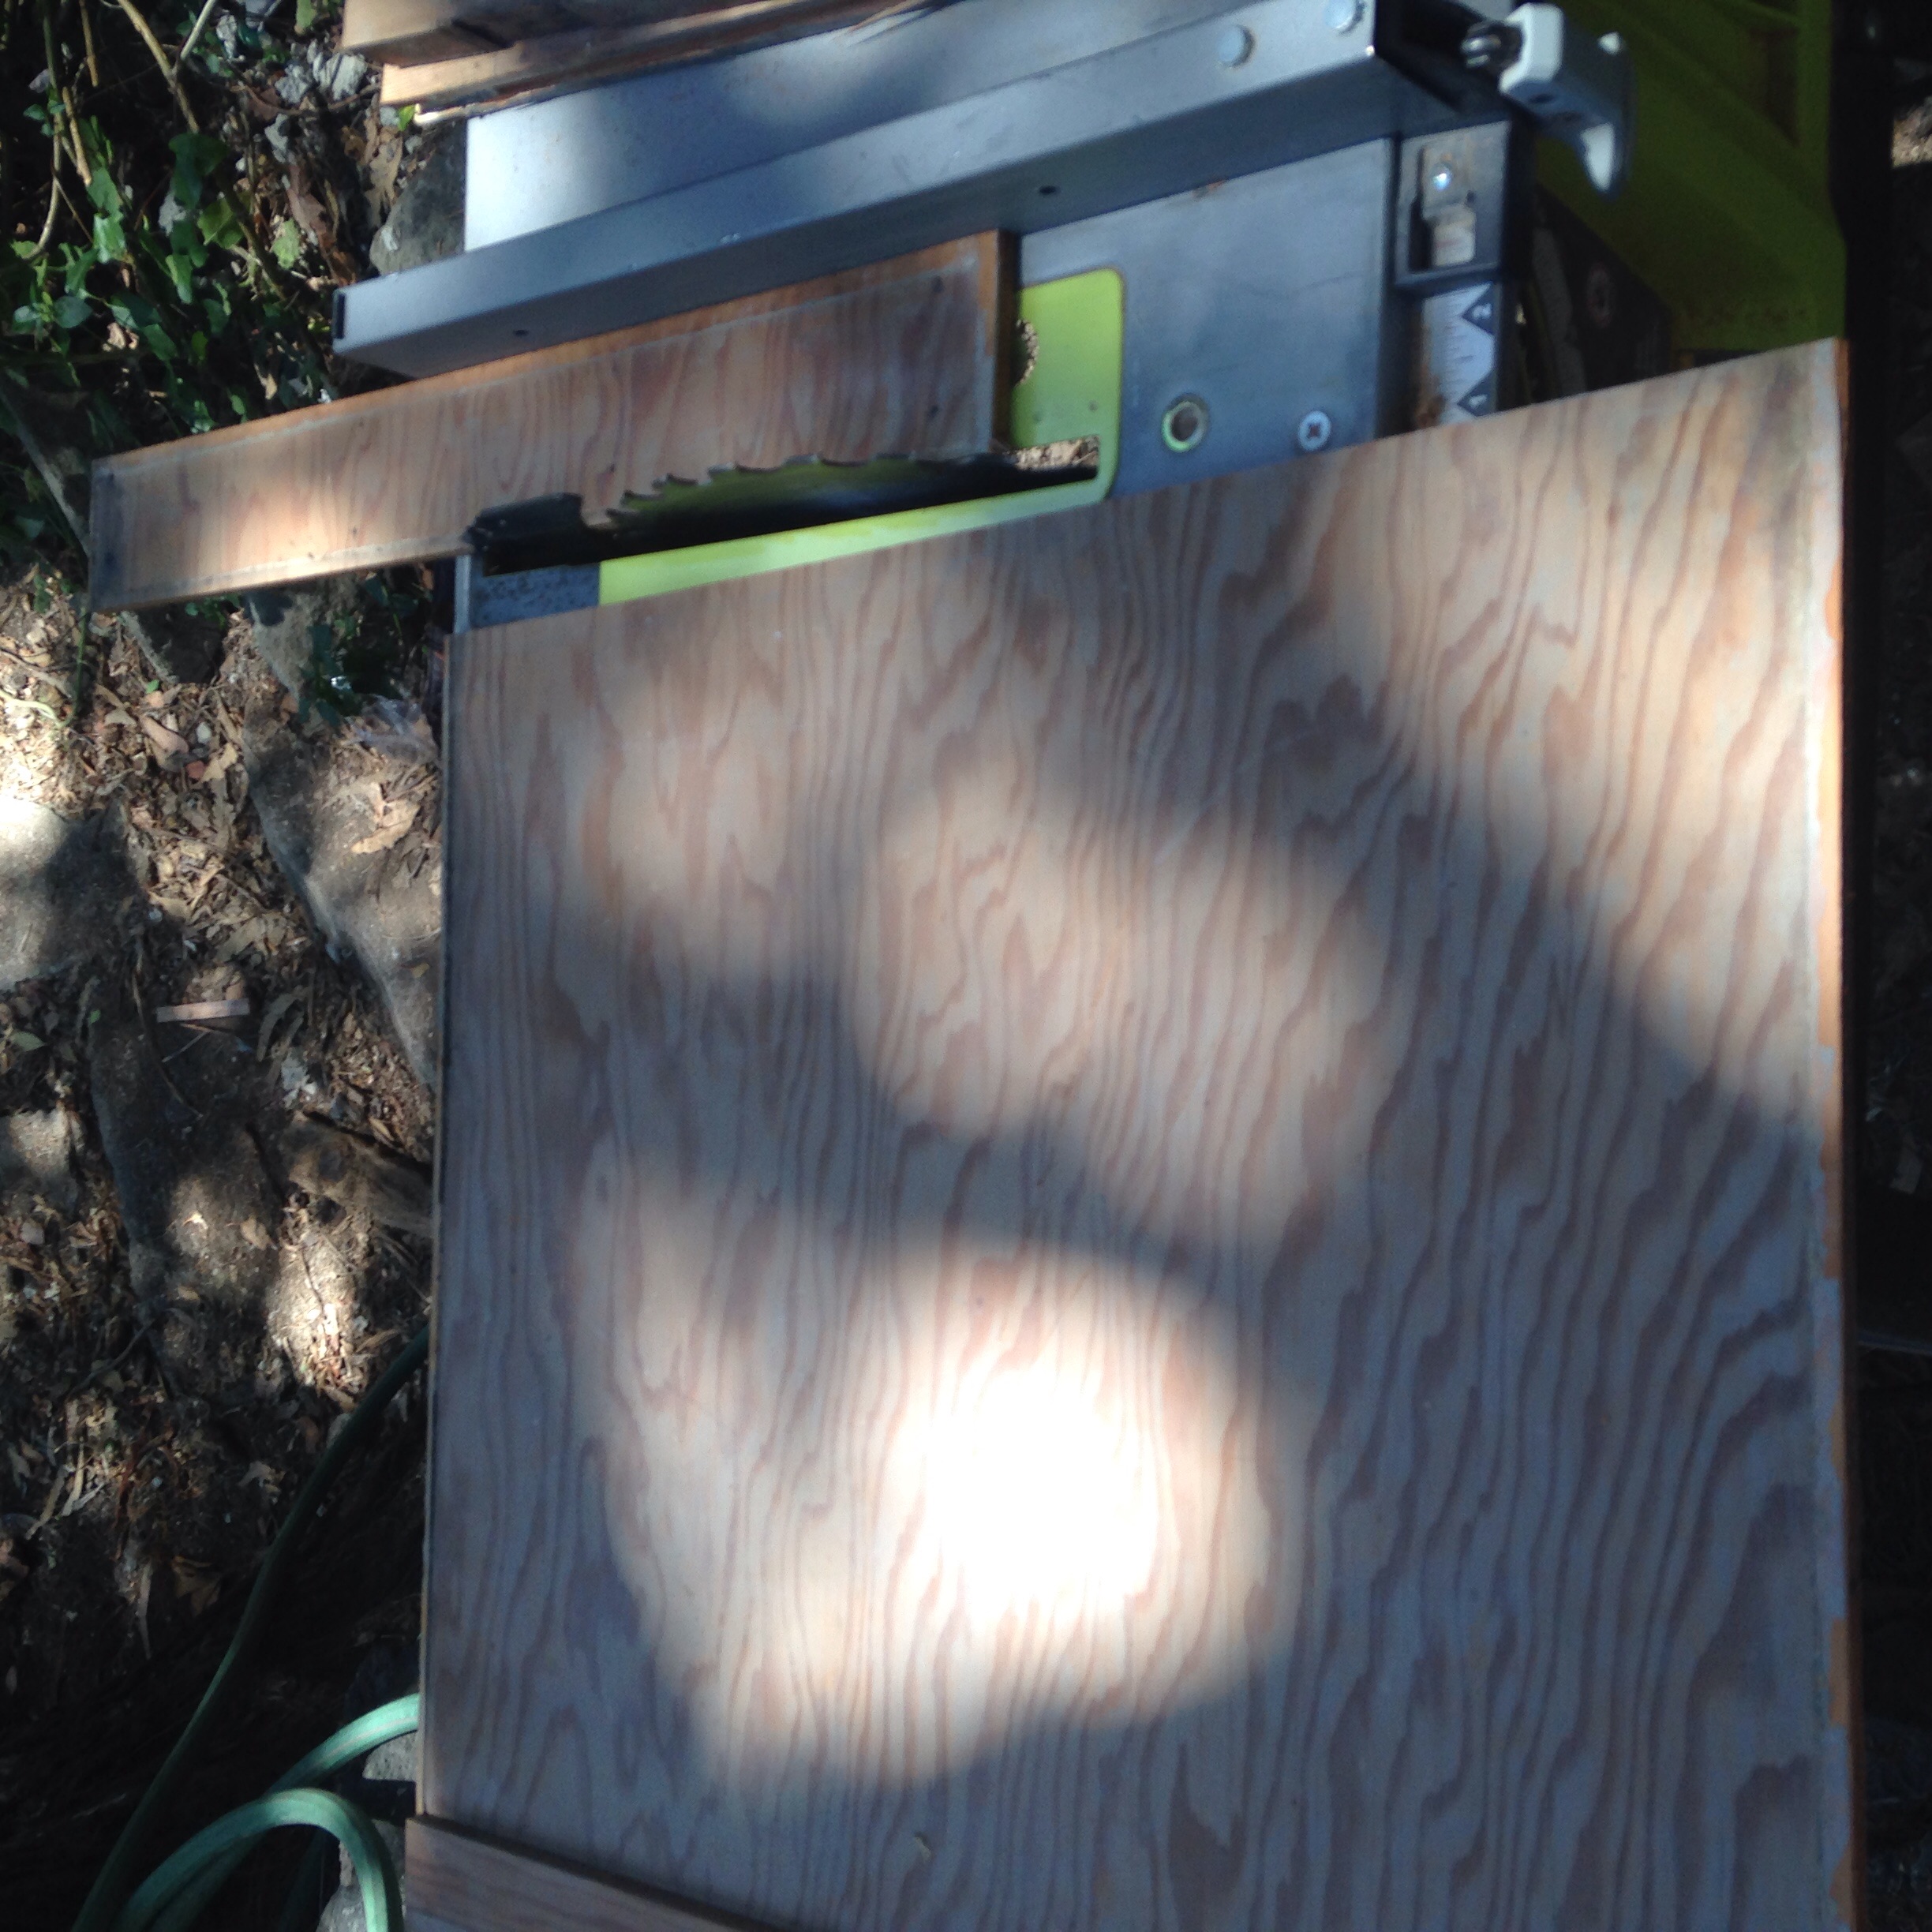


OK! I got the original cabinet trimmed up about 3" to fit a modern fridge. I'll figure out how to reproduce the milky pink stain in another post.