Laundry Hookups

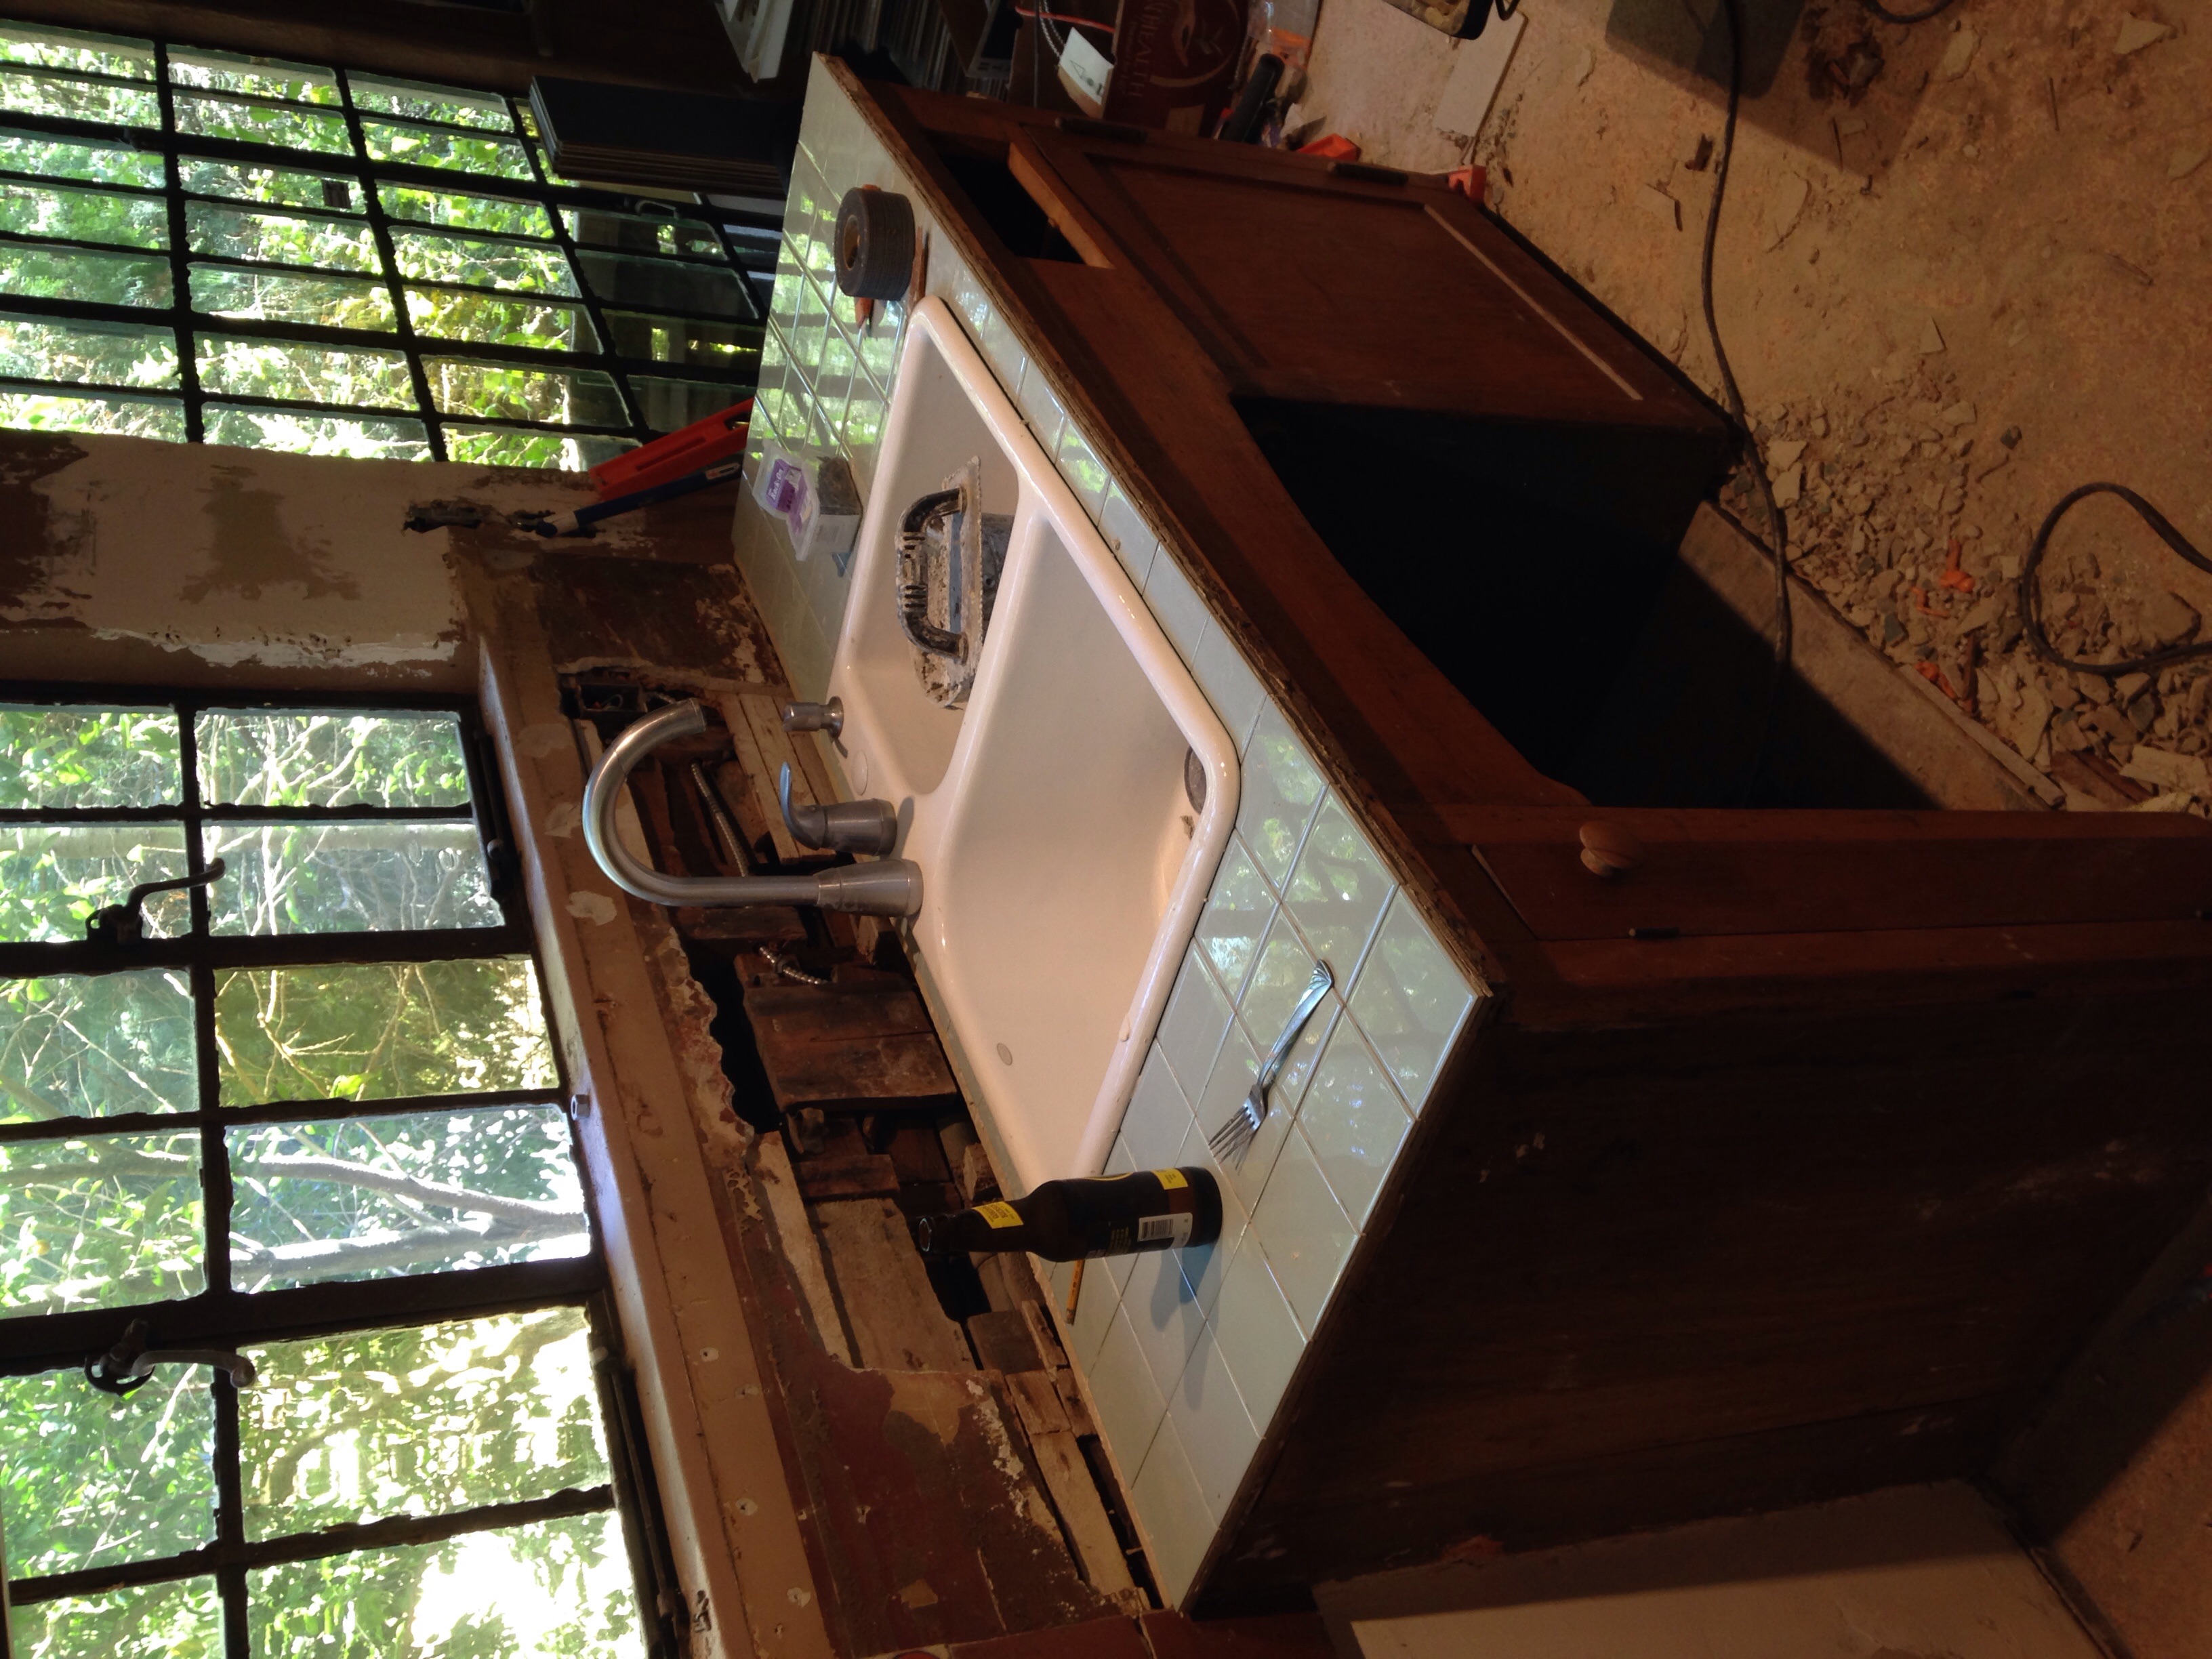
The laundry room is a mess. I believe the small room was originally the servants quarters because it is next to the kitchen, used to have a "toilet closet", and has a back door so that the servants can enter the house unseen by the owner. This is a feature my parents used to have in the exact configuration - a room connected to the kitchen with a back entrance. They turned it into a kitchenette that opens to a back deck.

image.jpg
The kitchen even has a gate and double sided serving cabinets so you can get your food without touching the servants. Yuck!The '39 breakfast nook addition has no gate as a "Servant Free Home" had become the norm. What a concept. 

The kitchen even has a gate and double sided serving cabinets so you can get your food without touching the servants. Yuck!

The '39 breakfast nook addition has no gate as a "Servant Free Home" had become the norm. What a concept. 

I needed a place for the laundry so I'm putting a stackable front load washer and dryer where the toilet closet used to be.

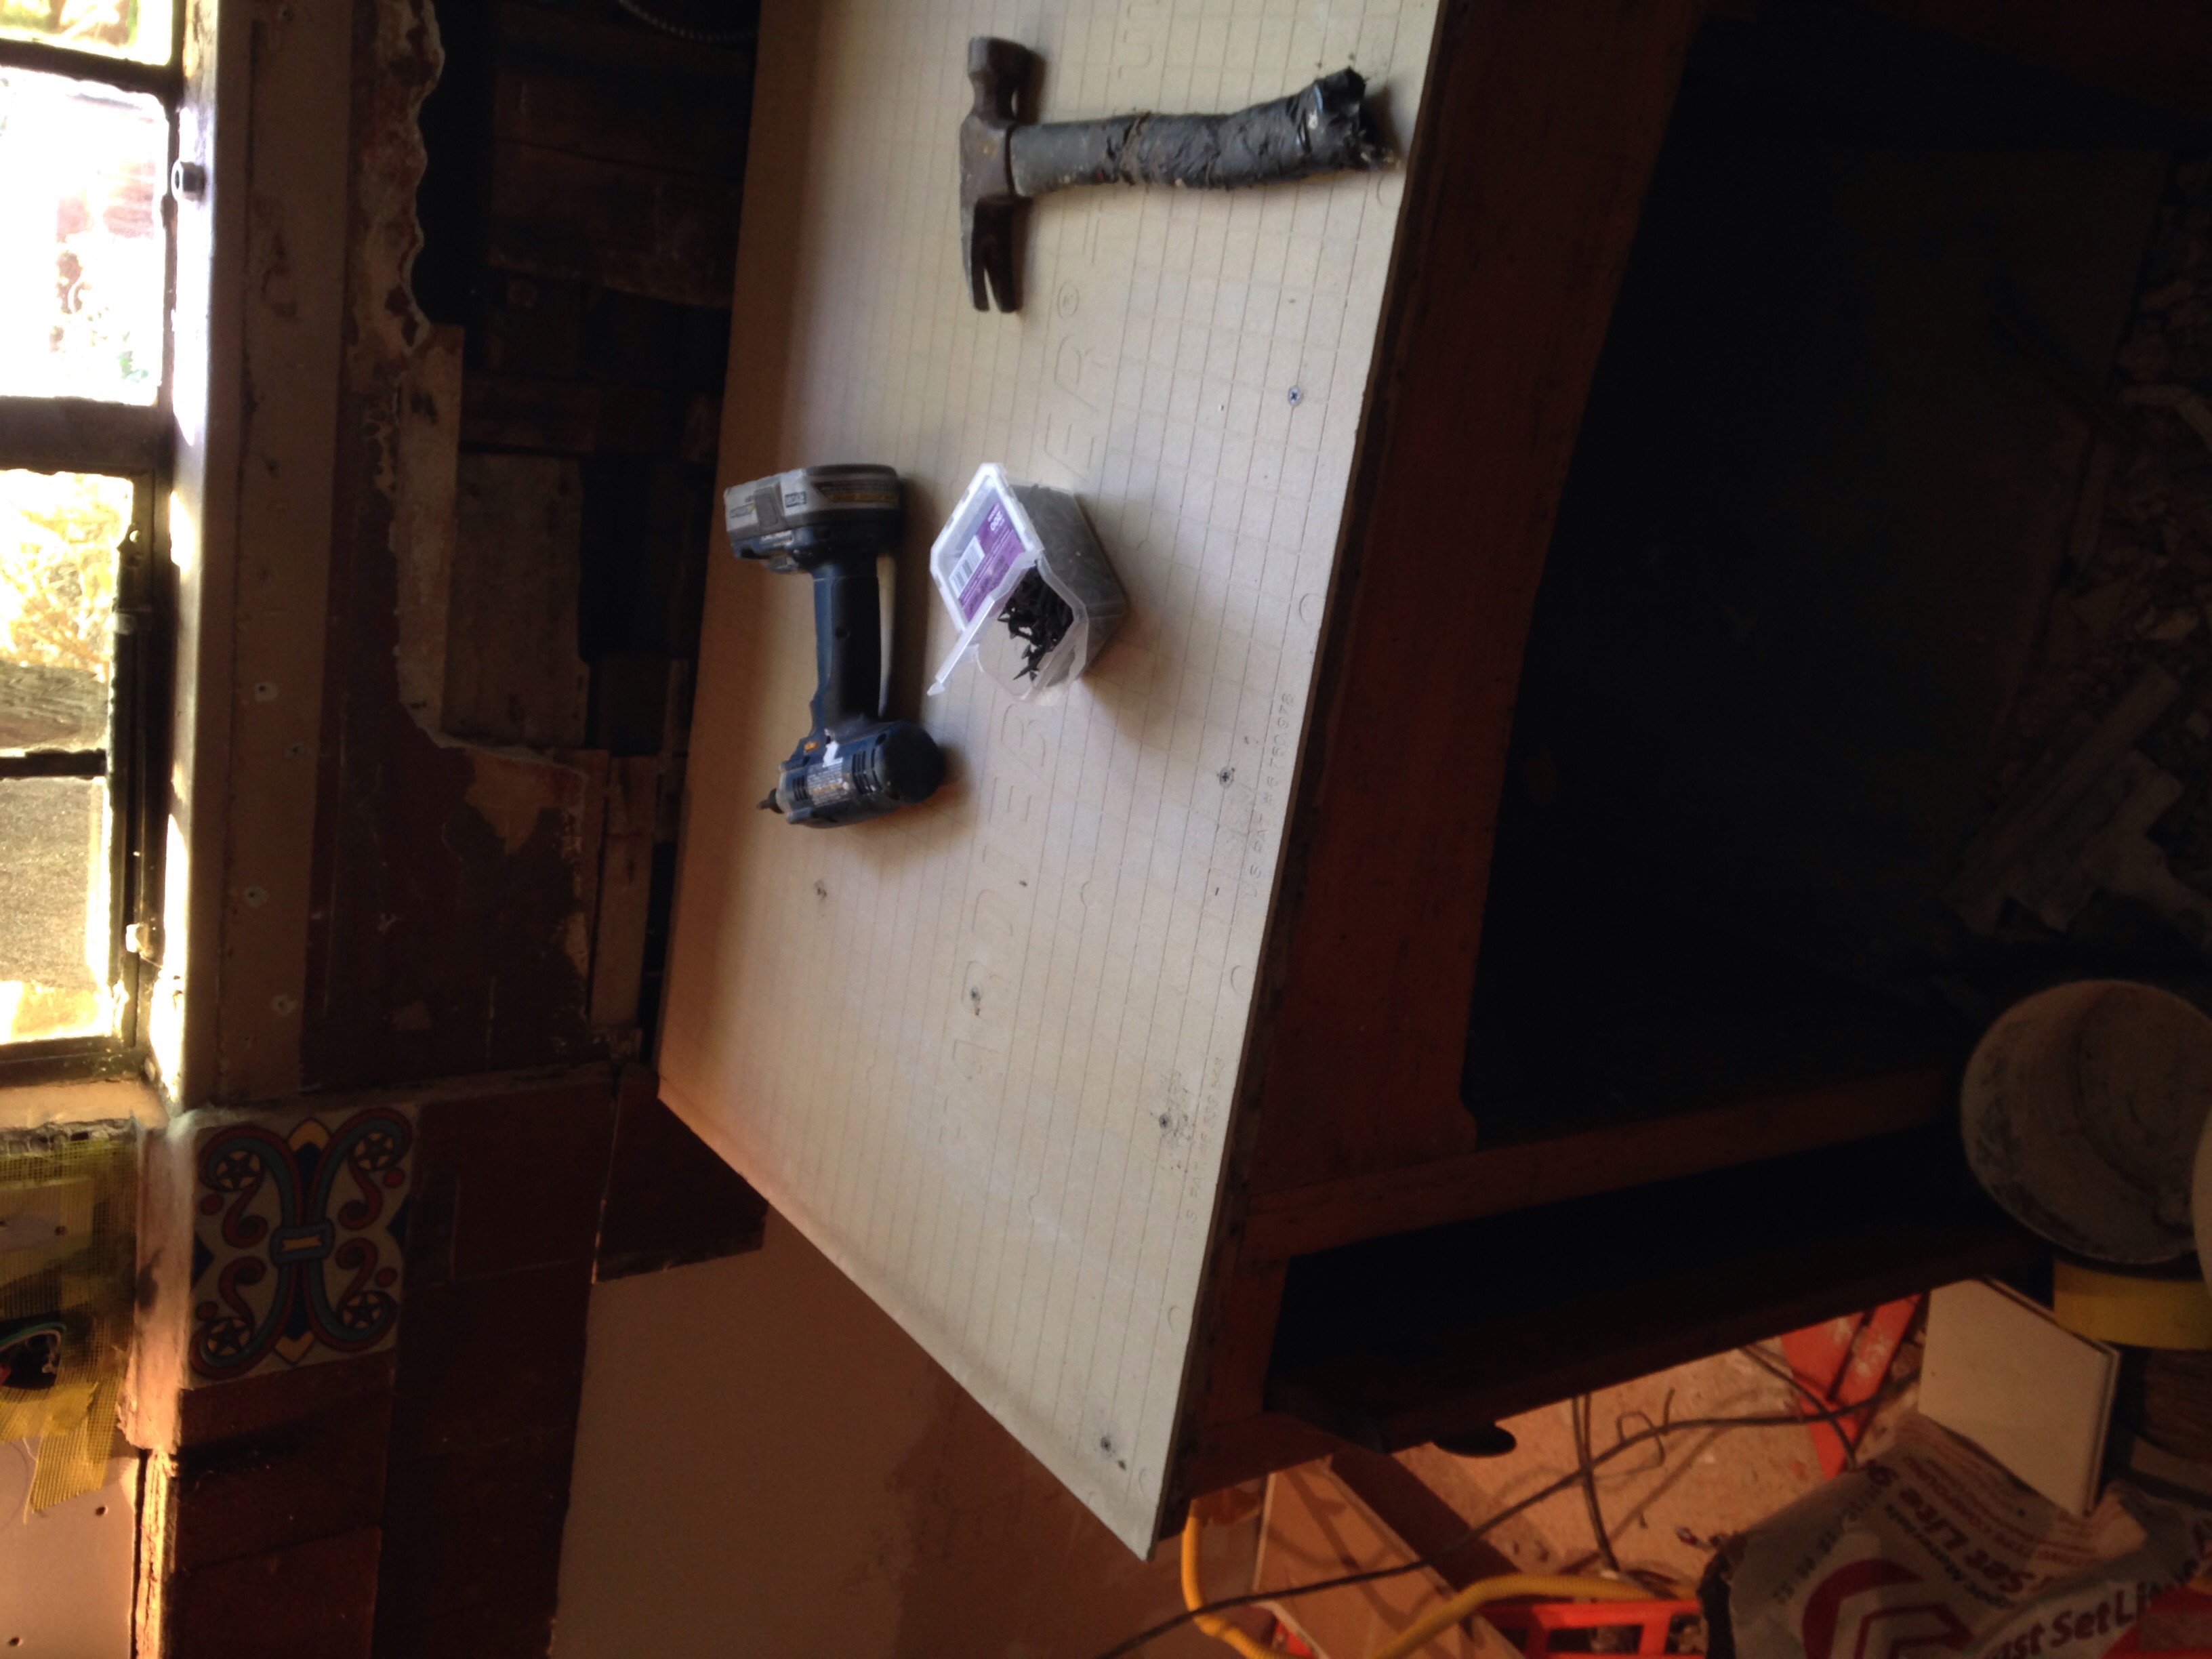
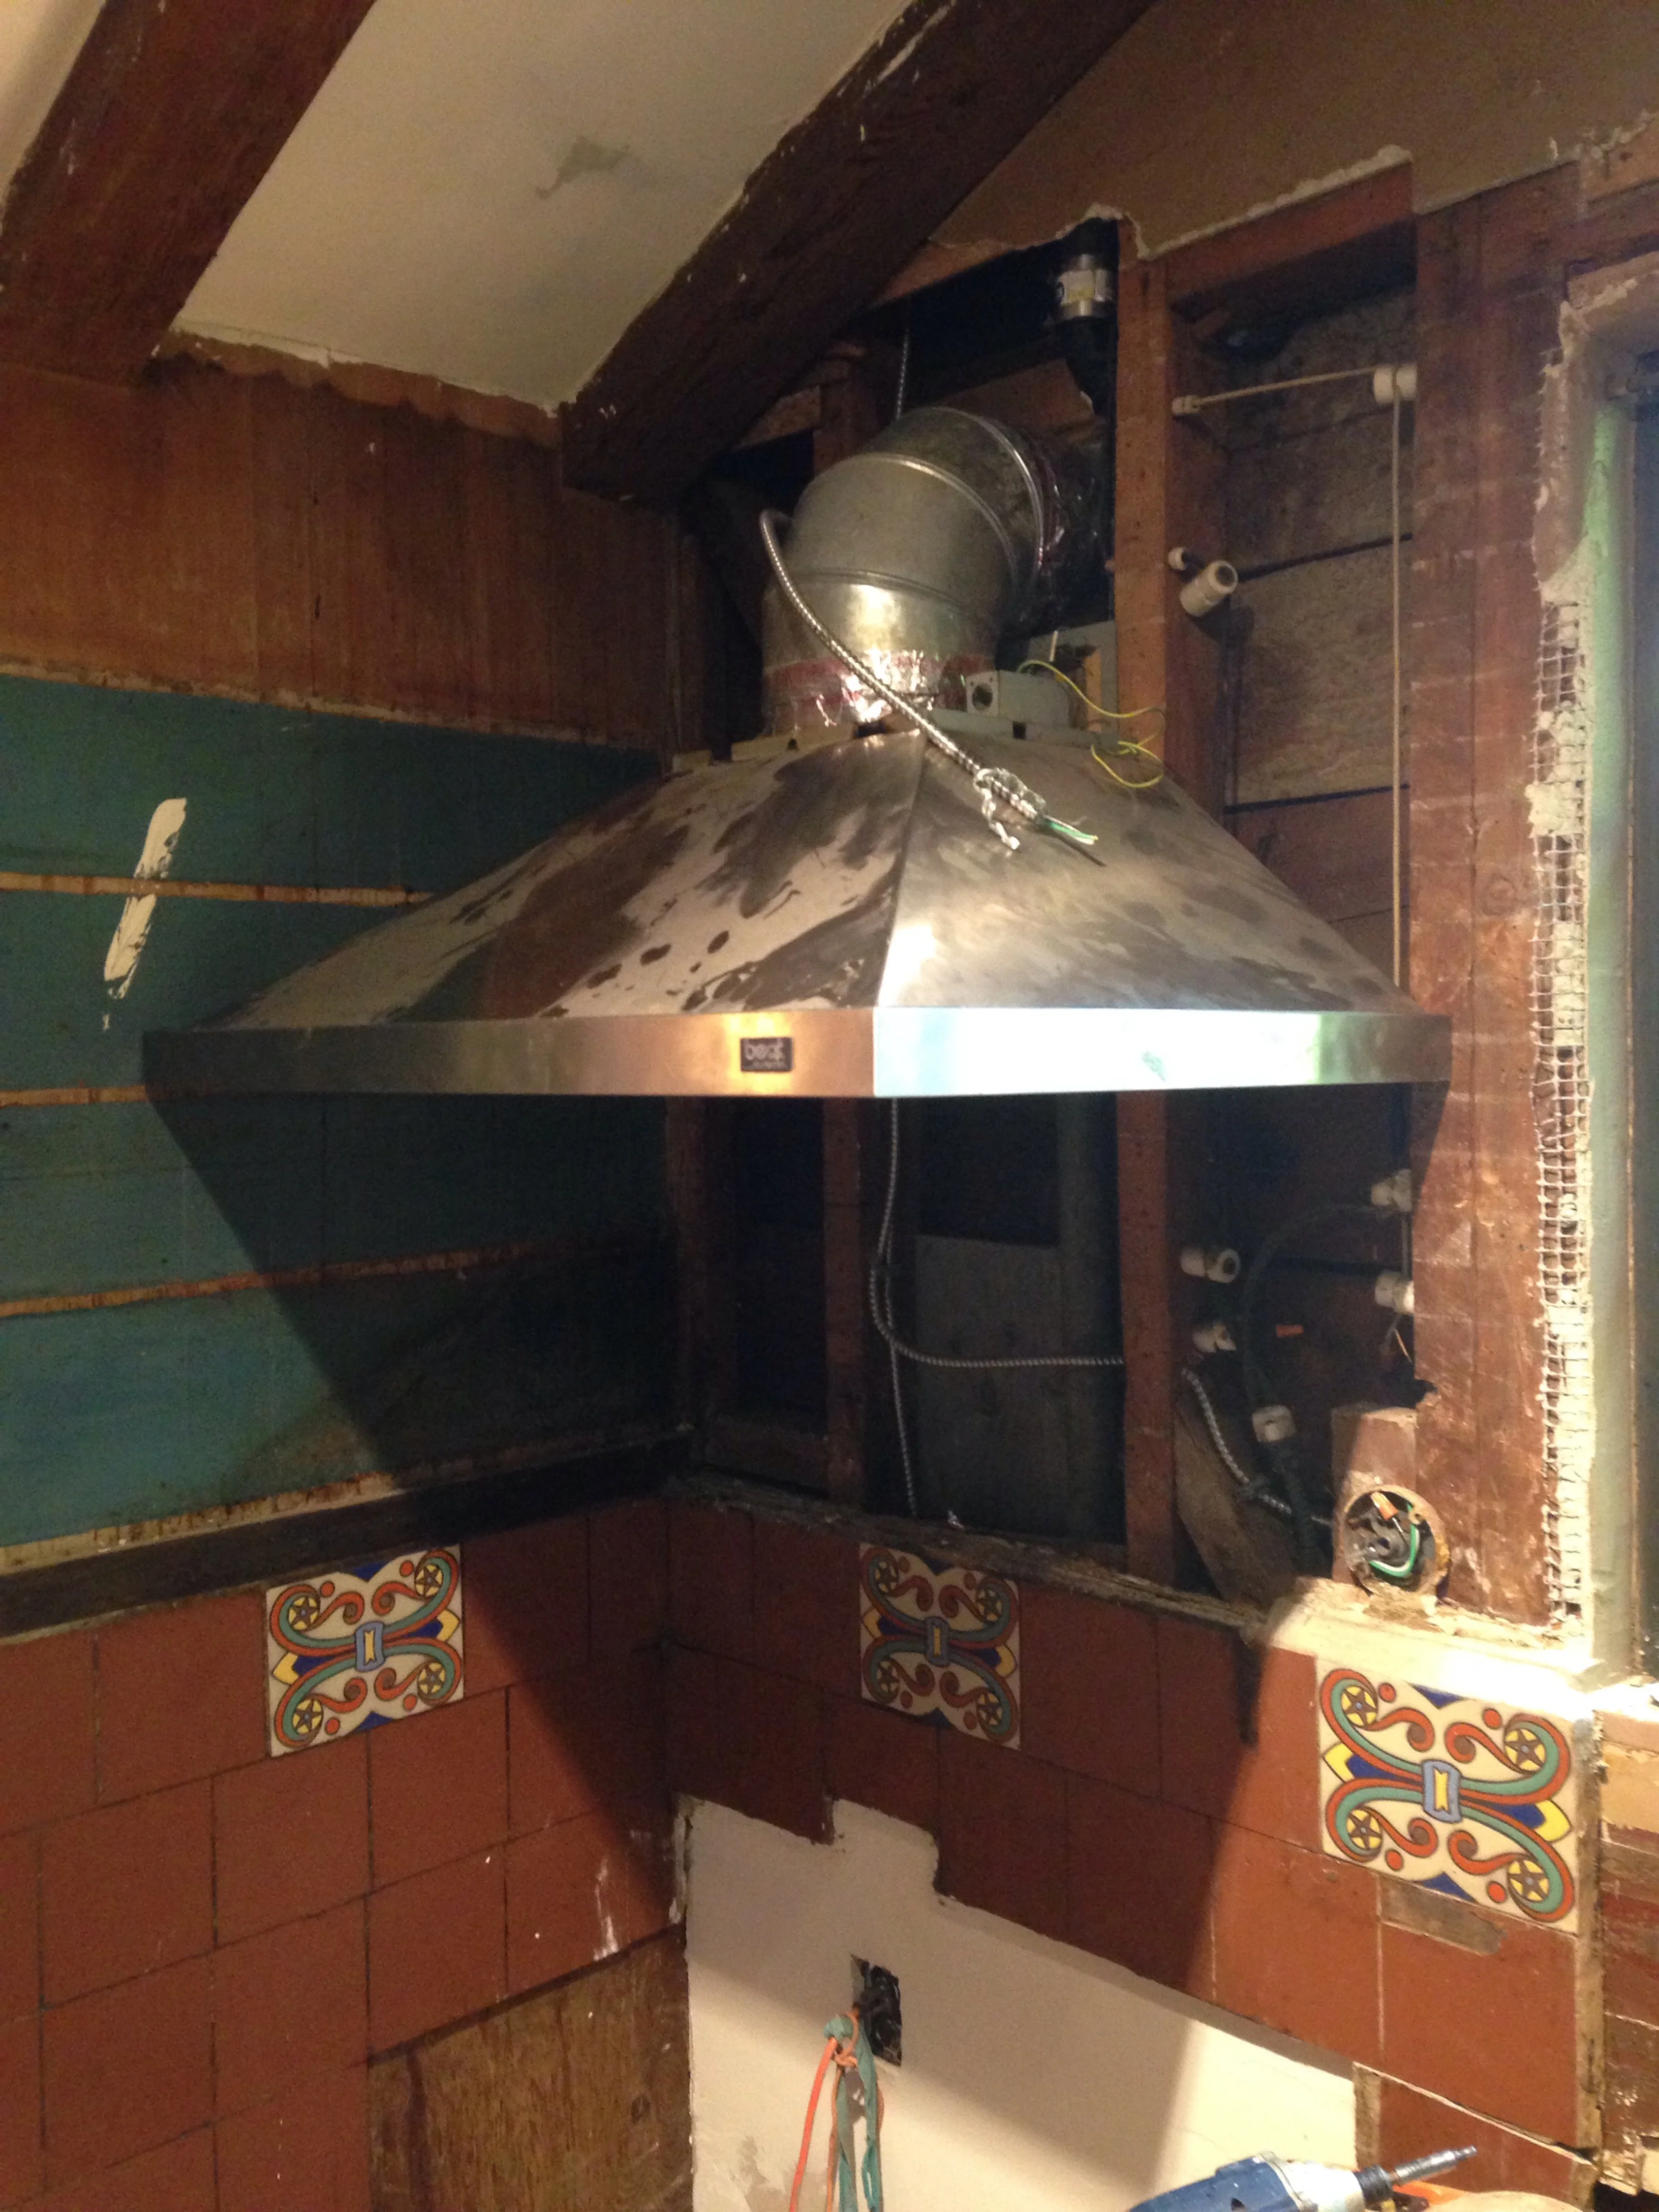
Adding a laundry requires a LOT of plumbing and duct work. 

From left to right (non-essential in parenthesis) - dedicated laundry circuit outlet, gas dryer hookup, (main water pipes), (2" galvanized toilet vent), laundry box: hot and cold supply lines and 2" drain for washer, and 4" dryer vent ducting to the…

From left to right (non-essential in parenthesis) - dedicated laundry circuit outlet, gas dryer hookup, (main water pipes), (2" galvanized toilet vent), laundry box: hot and cold supply lines and 2" drain for washer, and 4" dryer vent ducting to the outside 

I'm happy to have all that done. Boy there's a lot of tubes in there! I'll follow up when the washer and dryer are installed. 

image.jpg

Kitchen Tile Countertop

I'm throwing together a kitchen countertop with leftover tiles and a cast iron sink from Craigslist I got for $25. Ultimately I would like something fancy like slate but this will do for now. 

Screwing down the hardibacker to the 3/4" ply that was under the linoleum

Screwing down the hardibacker to the 3/4" ply that was under the linoleum

Cut the sink in... The rough opening (hole) had to be just 1" wider

Cut the sink in... The rough opening (hole) had to be just 1" wider

Layout looks good

Layout looks good

I used the built in spacers for a 1/16" grout joint. If you push the tiles close together there's an automatic grout space

I used the built in spacers for a 1/16" grout joint. If you push the tiles close together there's an automatic grout space

I did this super fast. It was one of the easiest projects so far. Now I get to have a beer

I did this super fast. It was one of the easiest projects so far. Now I get to have a beer

Wow that was pretty easy! Sweet. 

image.jpg

As a side note - the sink originally had two bowls, a wall mount faucet, and two soap dish things. The backsplash appears to have been terra cotta painted mortar(?) to match the red tiles behind the stove. 

Grouted

Grouted

Kitchen Track Lighting

The kitchen had a weird ugly greasy homemade fluorescent, wired to one light box off center. The simplest way to get a lot of light in the kitchen in a flexible way is track lighting. Track lighting is a modular system, meaning each piece has a function, as opposed to an "integrated" light fixture where the parts of the light can't be changed or separated.

Because track lighting is modular, you can make the track as long as you want, with as many lights on it as you need. The lights are in a clip on bulb base called a head. 

2x 4' track light kit with 3 heads equals 8' and 6 heads. The track is connected with the little track connector pictured here between the tracks. 

2x 4' track light kit with 3 heads equals 8' and 6 heads. The track is connected with the little track connector pictured here between the tracks. 

image.jpg
image.jpg
image.jpg
image.jpg
image.jpg
I had to modify the clip a bit and remove the UV glass which you can expect if you get LED retrofit bulbs   

I had to modify the clip a bit and remove the UV glass which you can expect if you get LED retrofit bulbs   

Hey it works! 

Hey it works! 

Heads pointed at - range, fridge, sink, counter, down and down 

Heads pointed at - range, fridge, sink, counter, down and down 

After putting in the heads, you position them.  "Task lighting" is when you have a light pointing at something as opposed to general purpose lighting. 

Now we have light where we need it - and it's a lot easier than cutting in recessed cans and pulling wires for the.

Kitchen Vent Hood Ducting

The kitchen needs a vent hood. Without it the kitchen becomes greasy and smelly and attracts vermin. Someone had created a makeshift vent hood but it was terrible and gross so I decided to put in a decent "pro-sumer" model I got used for $150. 

How it was when I got it. Low homemade hood, 30" range, and weird spacer block

How it was when I got it. Low homemade hood, 30" range, and weird spacer block

This is gross and sucky

This is gross and sucky

Greaseball

Greaseball

Outside vent will need to be raised

Outside vent will need to be raised

9" vent

9" vent

I got an old 38" wedgewood to properly fill the space (and had to add a gas line (link) because it was originally electric). 

I got an old 38" wedgewood to properly fill the space (and had to add a gas line (link) because it was originally electric). 

I found this on houzz. I decided this look would be good and pretty cheap. I needed a 36" hood (standard) for the 38" range. 

I found this on houzz. I decided this look would be good and pretty cheap. I needed a 36" hood (standard) for the 38" range. 

I scored this hood for $150 off craigs

I scored this hood for $150 off craigs

Here is the ducting I needed. Backdraft Dampener, on the right is a flap that acts as a one way valve

Here is the ducting I needed. Backdraft Dampener, on the right is a flap that acts as a one way valve

Normal hood vent sizes are 7 and 10". This was 8". It came with a built in backdraft dampener. I had to get a 8" elbow which is available at HD. The 8" wall vent was from a specialty store because HD only has 7" wall vent w/flapper which is for under-cab or under-mic hoods rated at lower CFM. You need there to be a flap in the vent or a separate "backdraft dampener" or your heating will escape out of the kitchen easily.

The hood should be placed 30-36" above the range. The range and countertop are always at 36". I am 6'4" and want the height at the max. 

Ideal vent height is near the wood trim above

Ideal vent height is near the wood trim above

It looked close - but sliding the wall vent up under the trim close measured for up to 3' so it wasn't going to interfere much. 

Yep that's as high as it gets and I'll be able to get near max height  

Yep that's as high as it gets and I'll be able to get near max height  

image.jpg
image.jpg
image.jpg
Dry fitting

Dry fitting

image.jpg
Jesus that was hard to hang by myself

Jesus that was hard to hang by myself

You can see the hooks that it hangs on in the zinc coating (gold). The floppy little box is for wiring  

You can see the hooks that it hangs on in the zinc coating (gold). The floppy little box is for wiring  

Now I need to wire it up. I used a 15A breaker I had lying around. 15A in the kitchen is OK for lights and the vent hood and maybe the fridge and gas range although I'm not sure. 15A means you can use 14 gauge wires. I just bought one roll of 12ga wires (bigger) so I can use it with both 15 and 20A circuits.

Hey it works! 

image.jpg

I put on the cover. It's simply a piece of stainless steel. Looks great