Big, Cheap, Ugly light fixture for the Master Bedroom

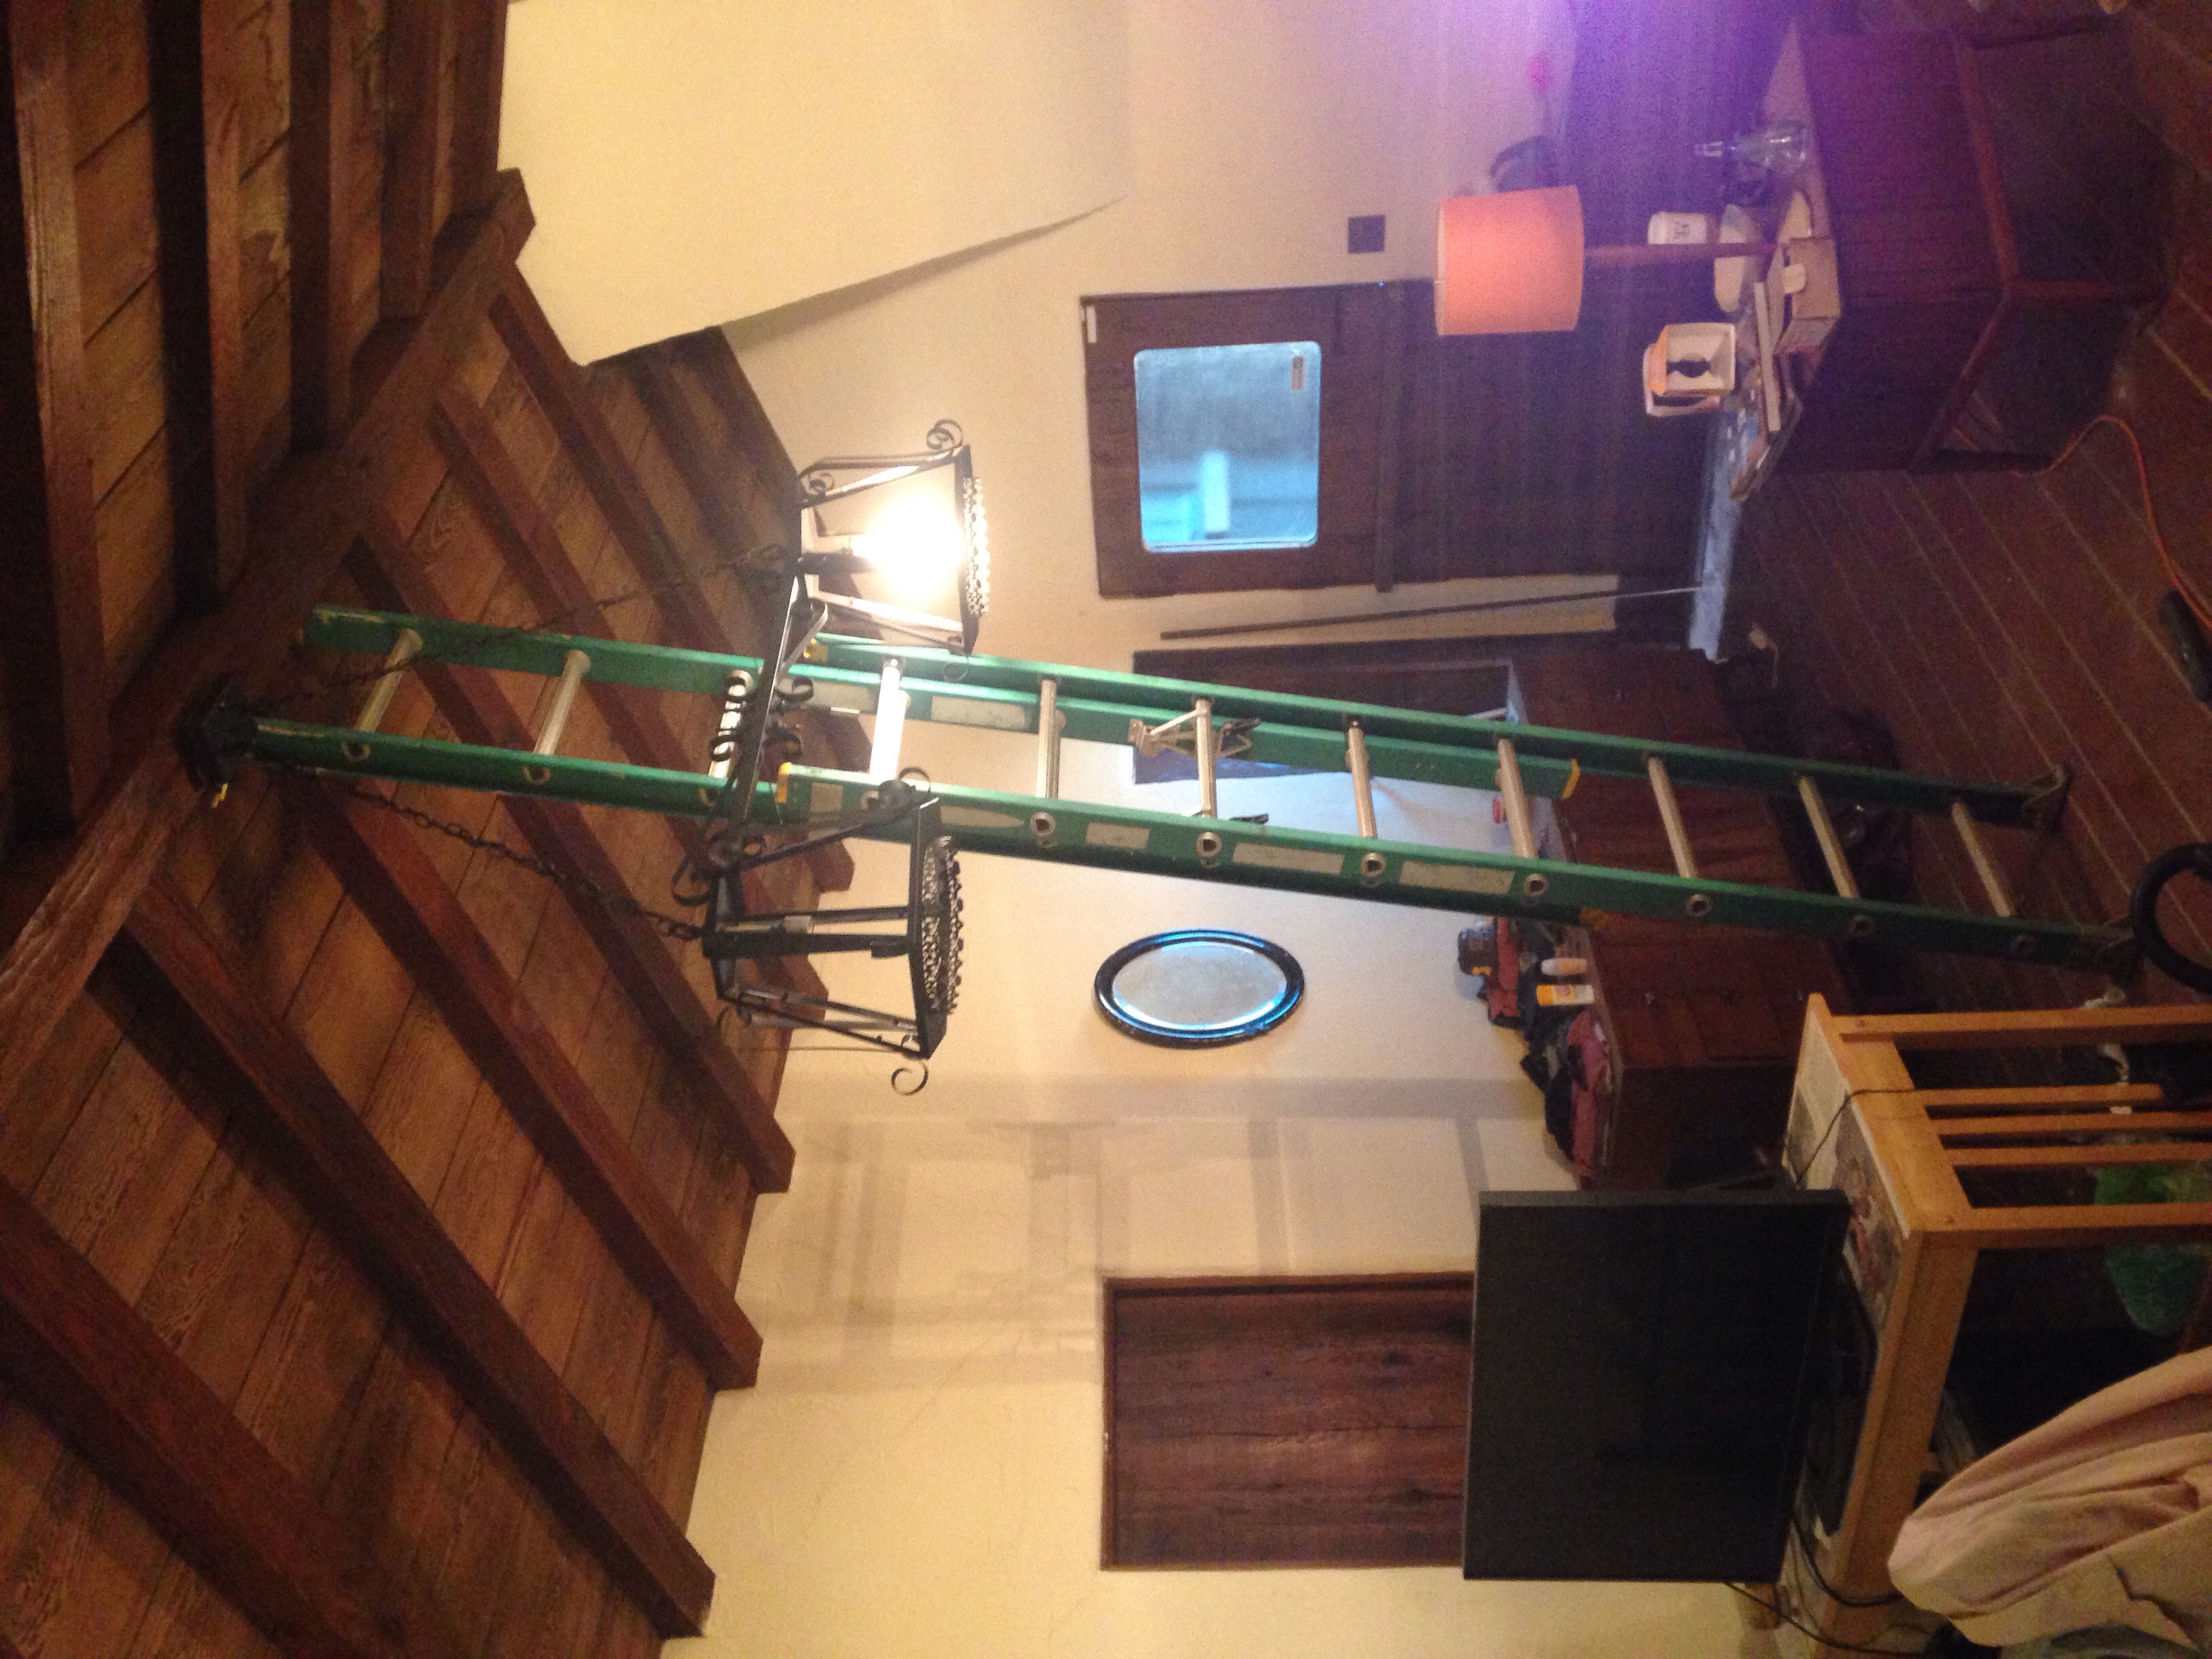
Yes, I know... it looks like something people put over their pool tables in the '70s. My friend Dan May, from Dan May estates said to Christina, "Do you have a game room?" since that probably seems like the only reason someone would want this fixture. It actually appears to be exactly the right size for the master bedroom. It makes about a 4.5' triangle shape
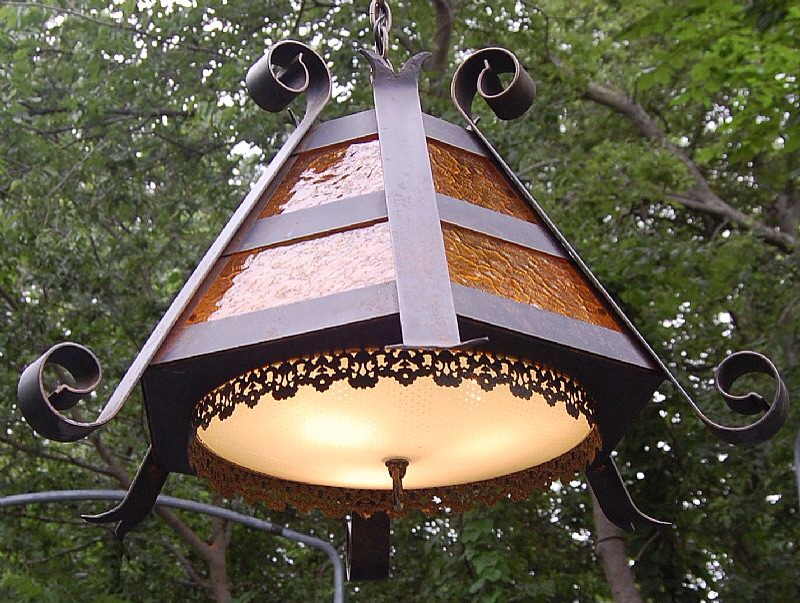
looking up pics of "'70s wrought iron light fixture" I noticed it was missing the shade
I discovered ours was missing the shade but decided to simply use large vanity globes and ignore the shade for the sake of simplicity.

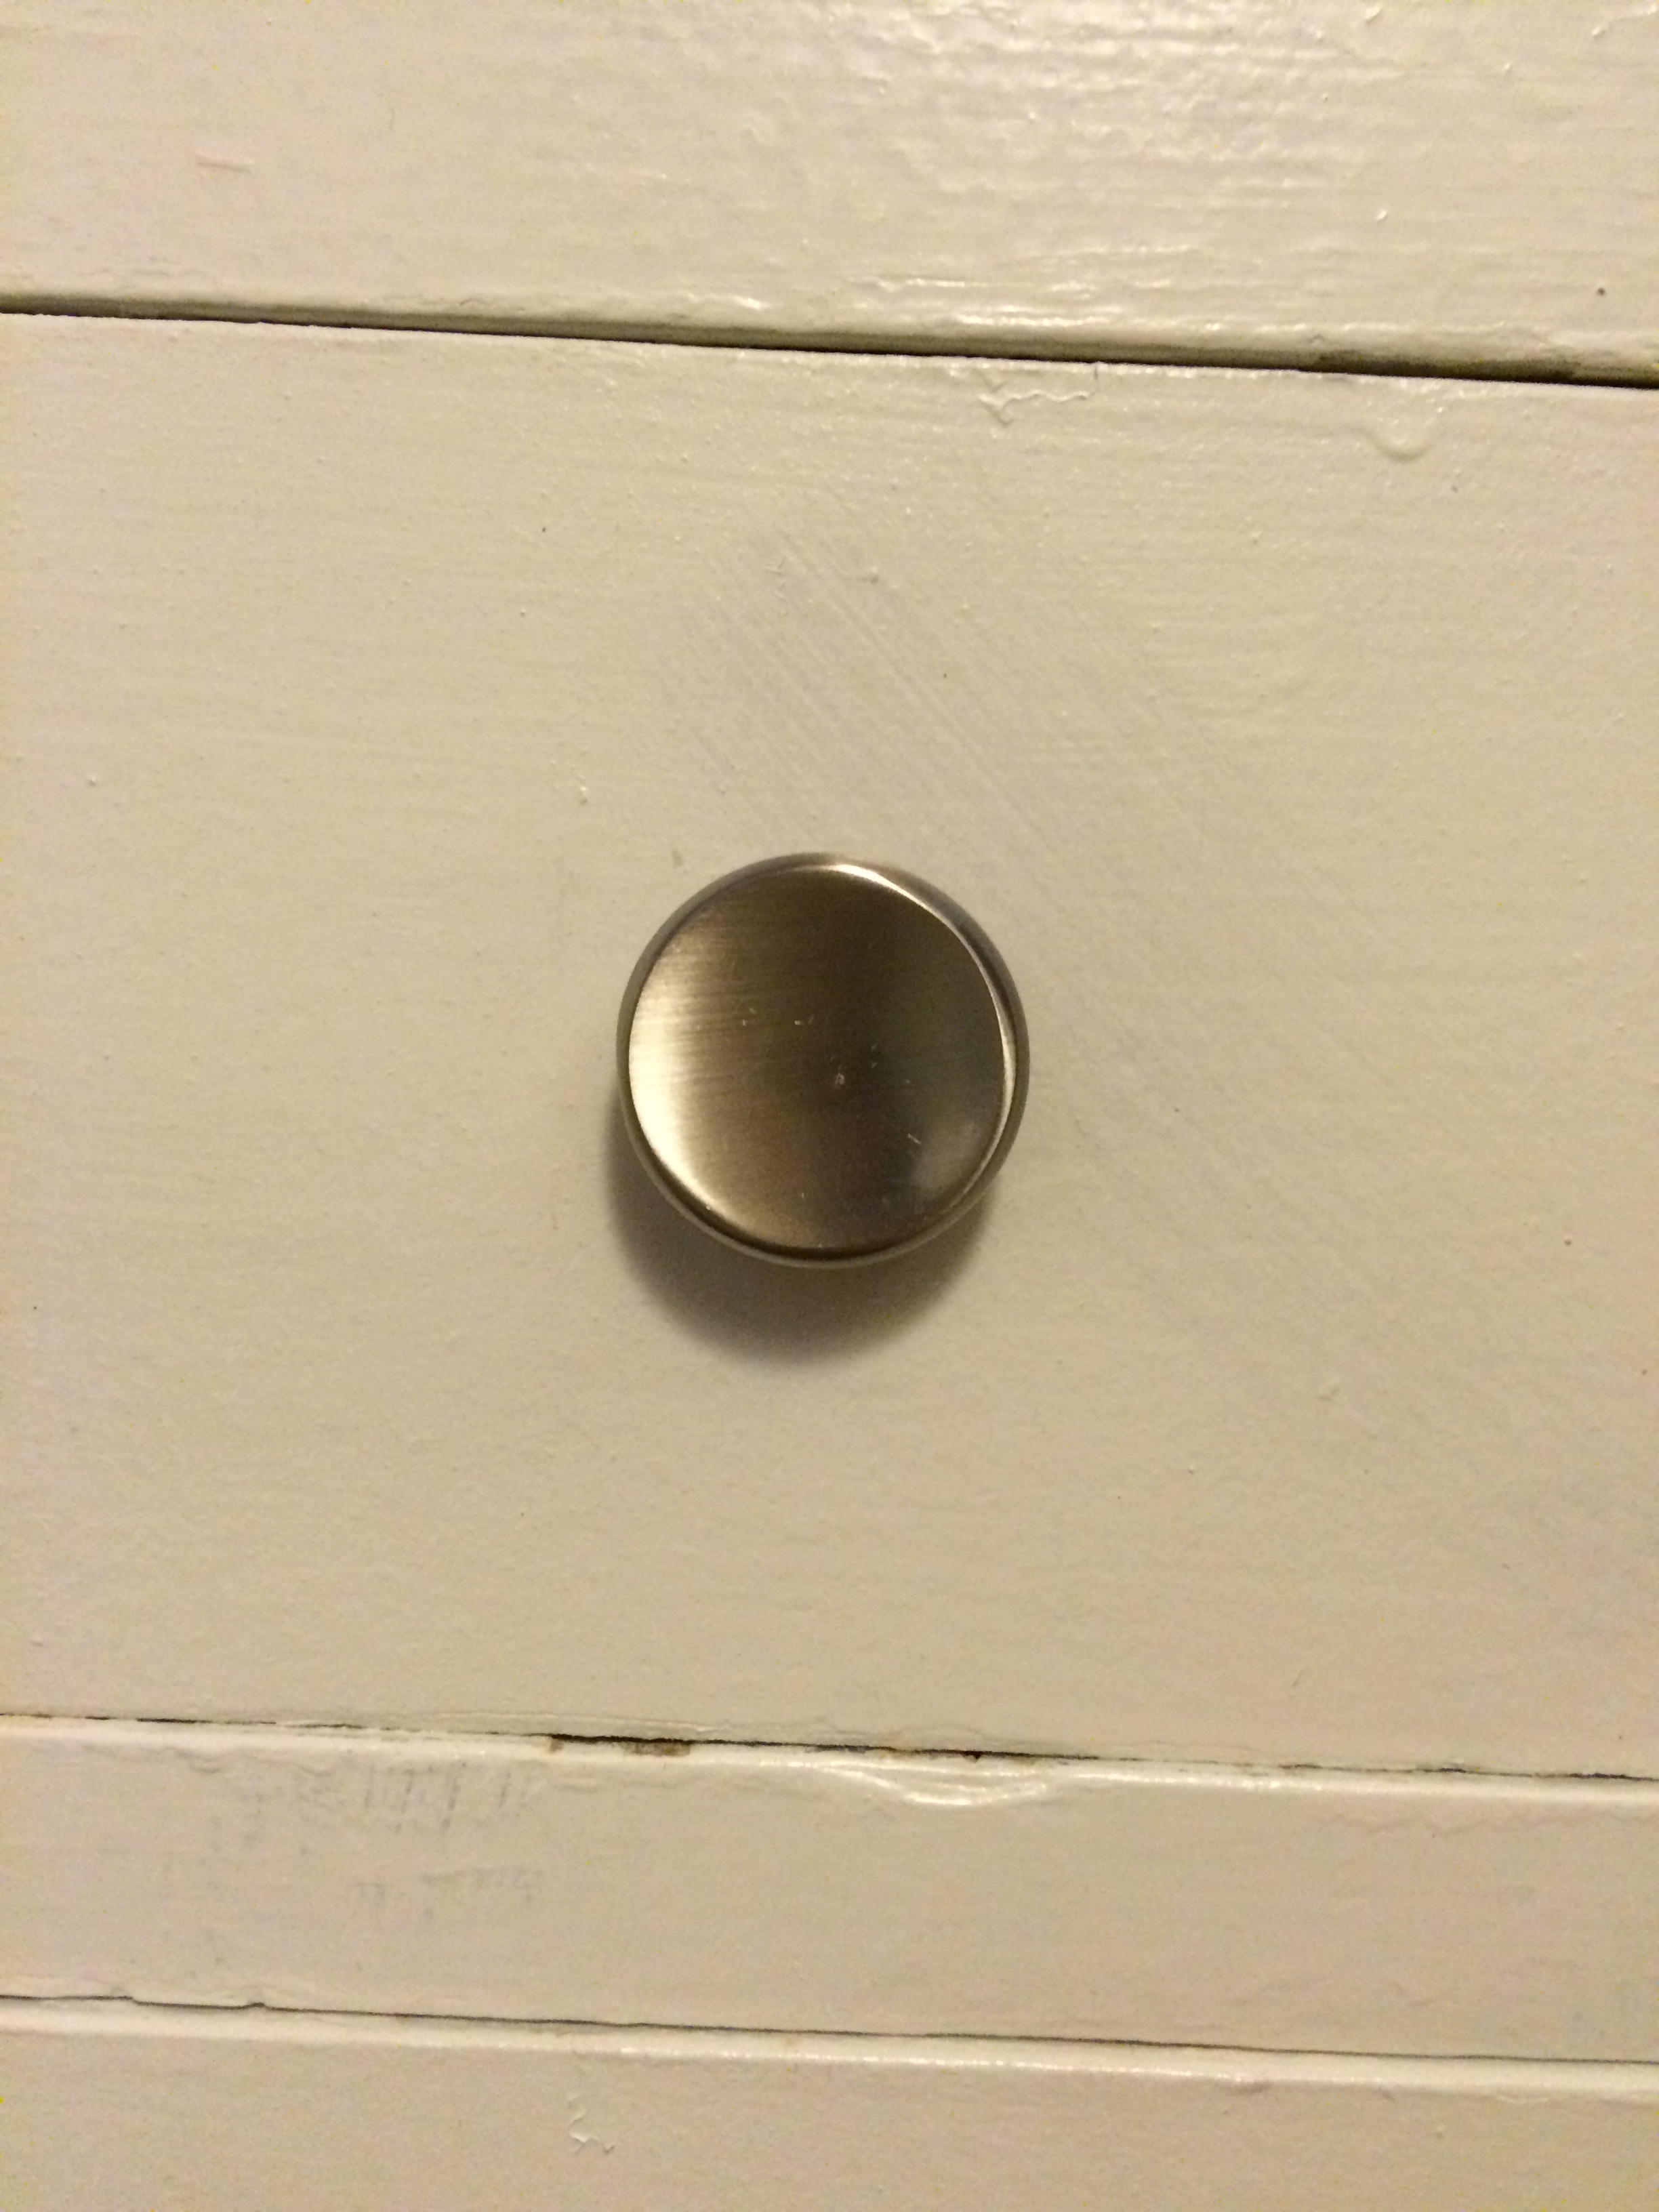
I got the parts for the base that were missing in the Lamp Parts section of Ace Hardware. The brass thing on the left is just to cover a hole that was probably for a switch (hole on the right). The brass thing on the right is a finial (cap) and lamp nipple (threaded tube) to connect the base to the ceiling.

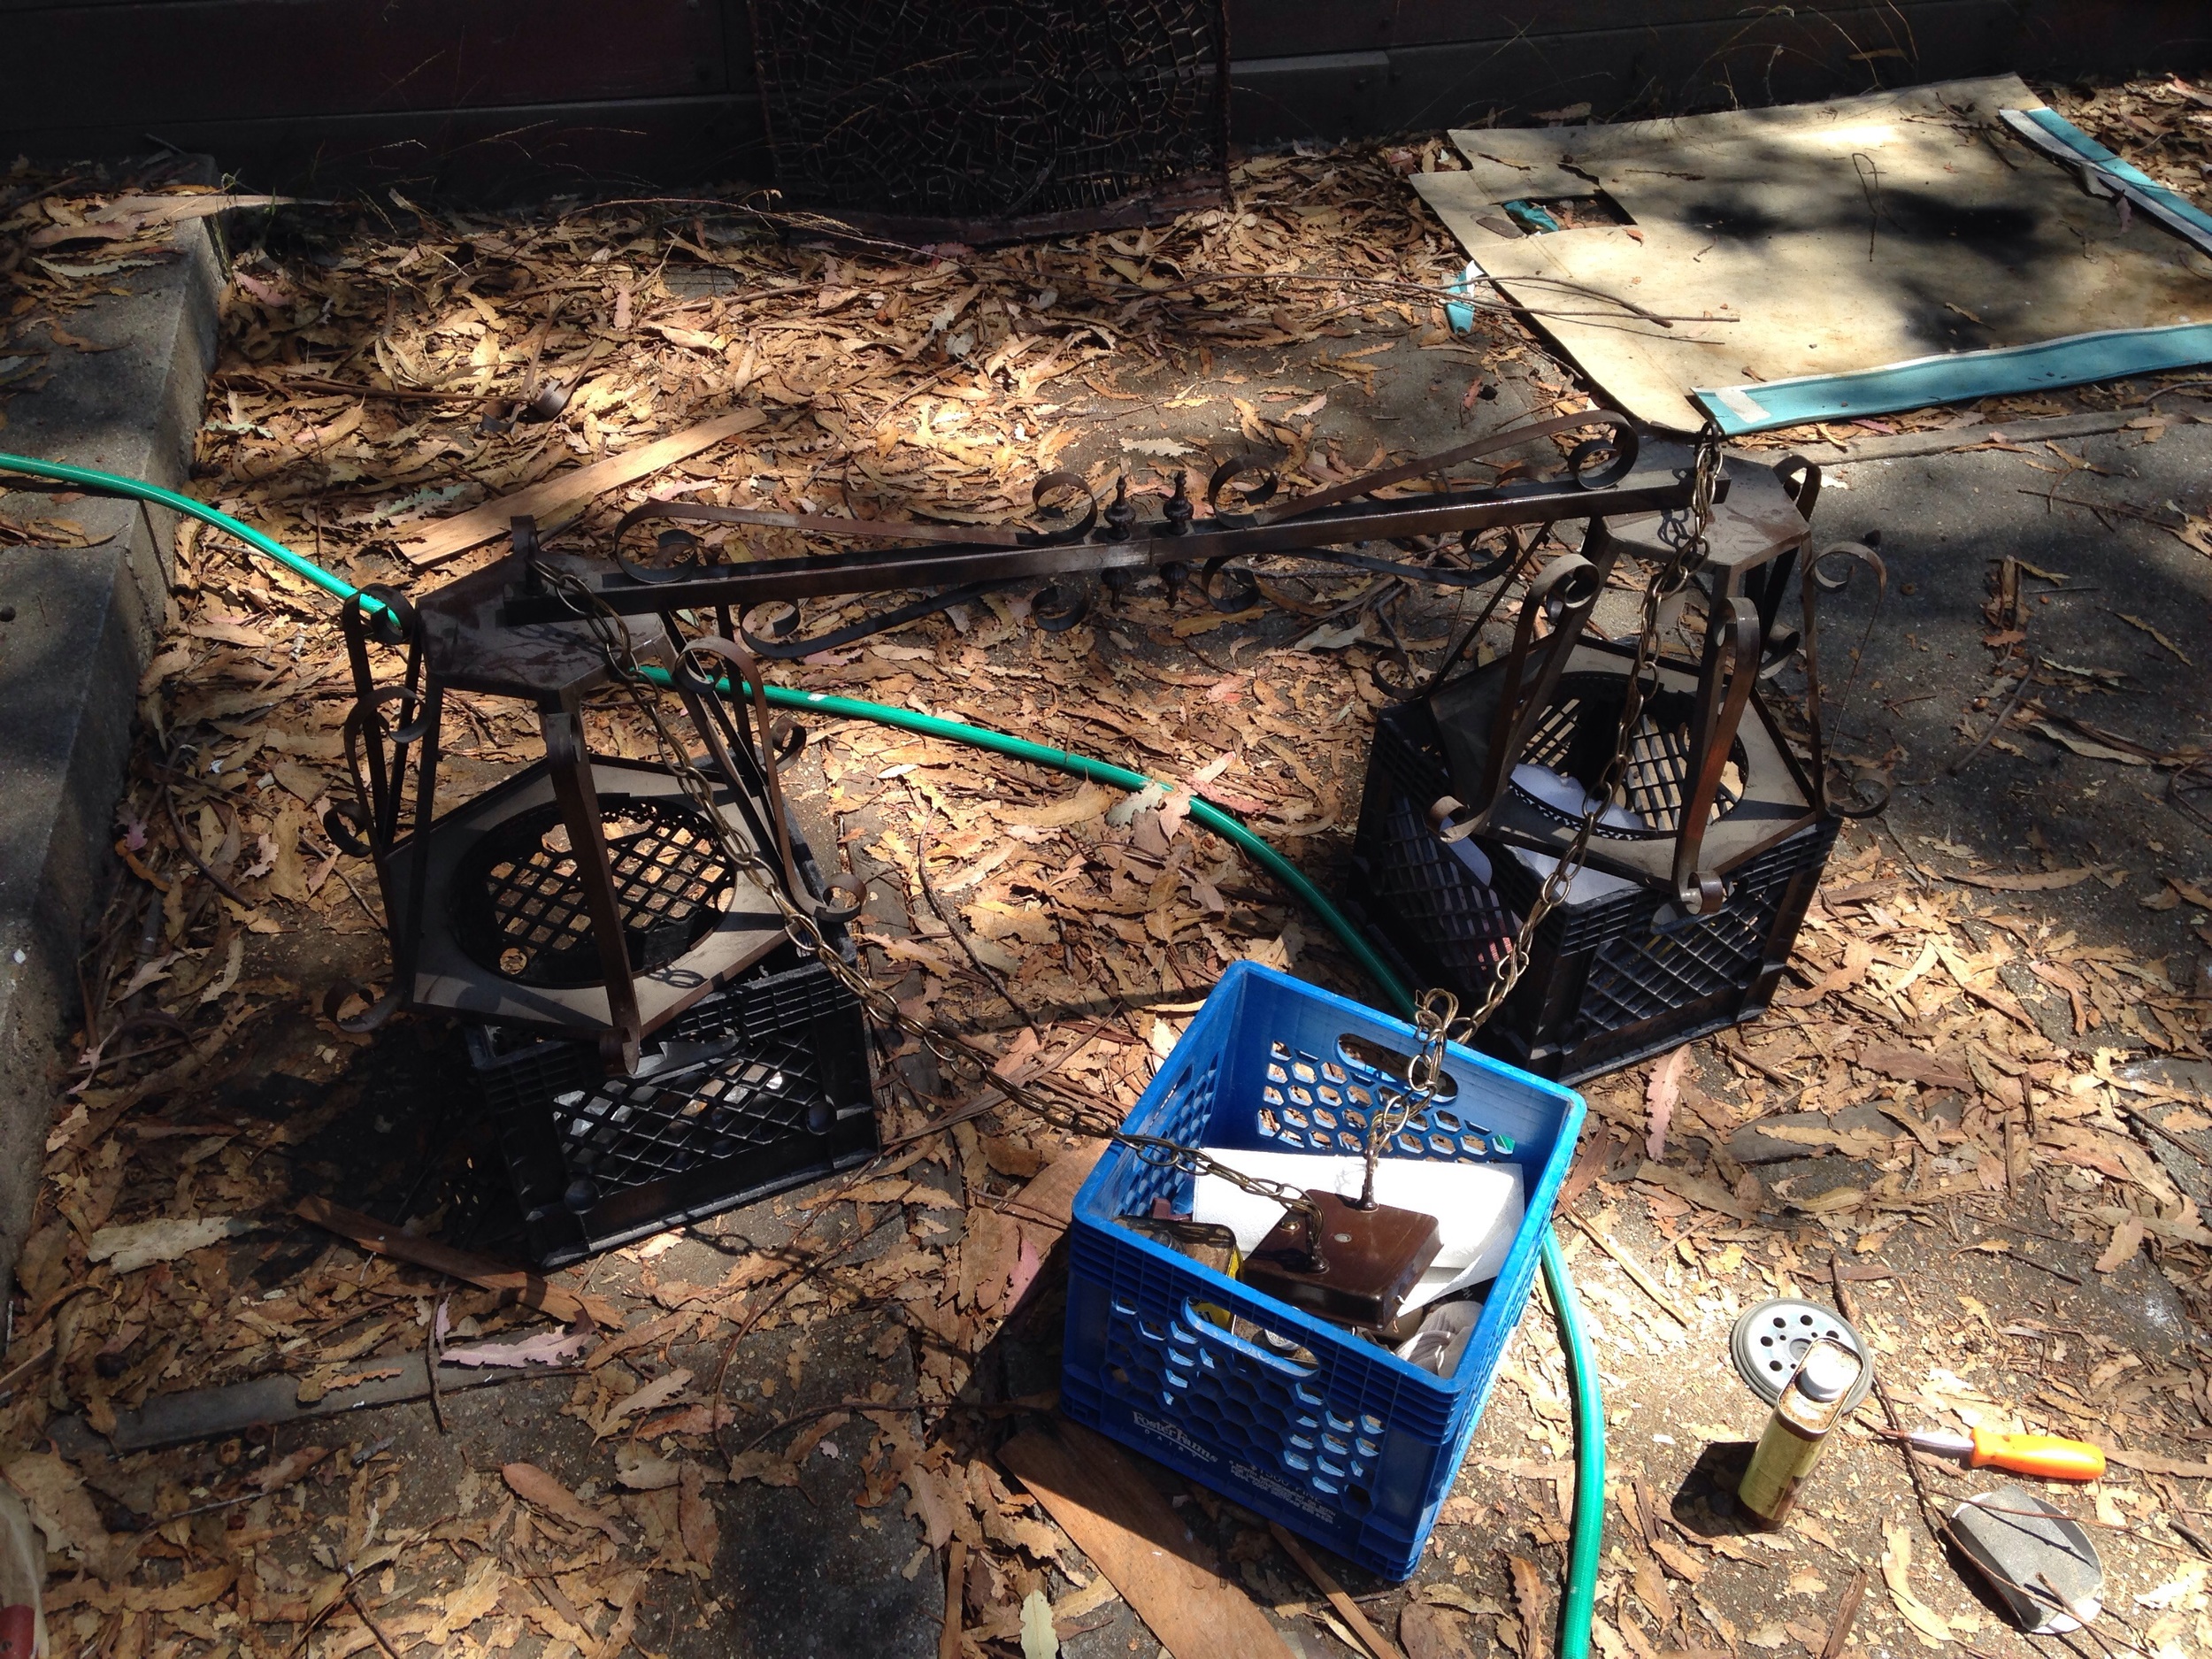
The paint was an awful "brown with hints of scratched gold" finish and it needs to be black to match the other black painted metal fixtures and our bed frame.

WOW it looks so much better in black
It's nice to have the lamp nipple (threaded tube) long enough so you can hold the fixture up while you wire it then tighten down the finial (decorative nut) when you're done.

I had to touch up the paint with the fixture up there because the chains move around as it settles into place. I had to give it a few shakes and wiggles to get it to sit as the chains and wires can bind together.
The room is pretty dark with the gold curtains so I opted for 2 100W globes

I usually put in a light bulb after I connect the wires and turn on the light to make sure it's working. It also helps to know that the connections are solid while you tighten down the finial because you can see if the light starts flickering.
It looks pretty sweet like this but I'm going to put the glass back in because it goes with the yellow window glass and gold curtains.
Time to clean the glass

WOW this looks way better than I thought it would. It's the perfect size and shape and matches the curtains, windows and other lights I've added. $20 plus some small lamp parts, spray paint and light bulbs! Awesome.


Looks awesome with those curtains which have black fleur-de-lys rod ends

The glass behind the curtains is yellow too!
While that turned out an awesome success! I might have to bail on the candelabra I was building from scratch...

It even matches the laundry room light and this wall light I got for $10 that came with the Spanish gothic light fixtures I got for the living room