
Master Closet Remodel
Since I work a 9-6 type of job, I don’t get to work on the bigger projects Evan is working on. I would also have close to no idea of how to even begin and execute most of them. But I have been working on some things, mainly in the master bedroom. The first project I started was the master closet. While the size and layout were ideal from the beginning, its physical condition was far from it. This closet was likely an addition made after the original house was built and a poorly built one. It is currently completely wrapped in plastic and tarps at the exterior.
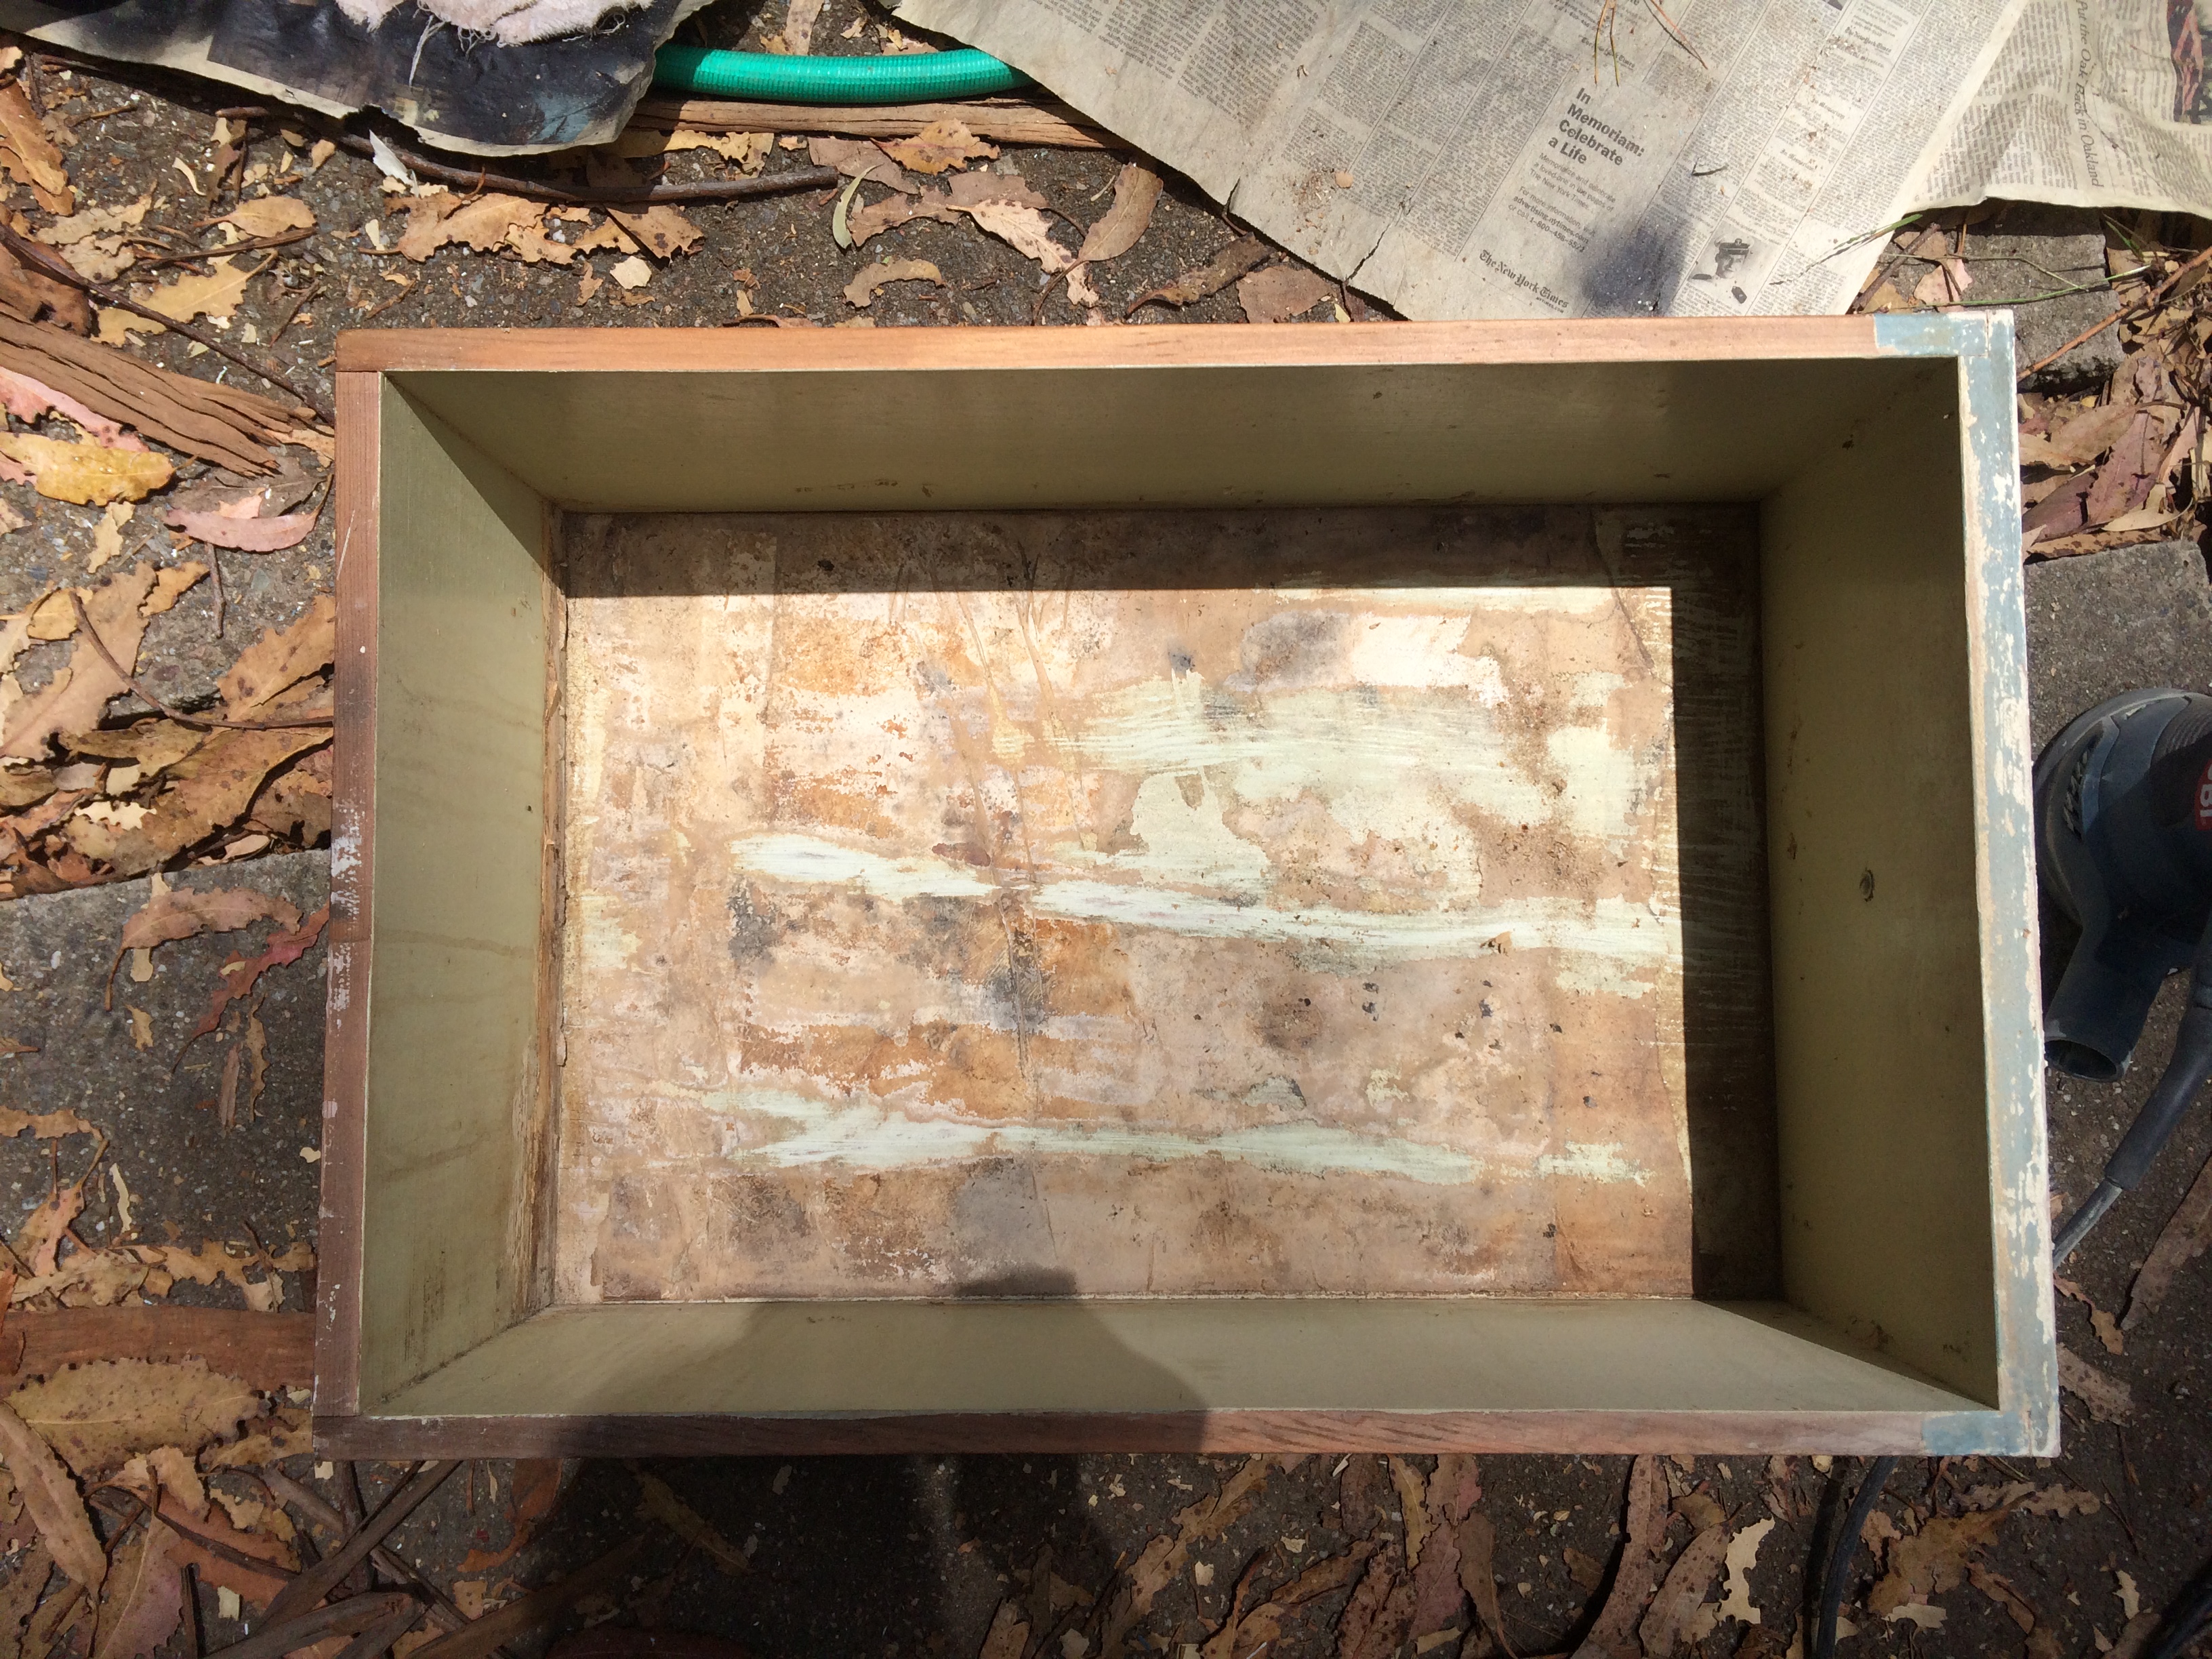
Before these tarps were added, a bit a water made its way in the closet, causing a lot of the cabinetry to have water damage. Unfortunately, I forgot to take pictures of the inside of the closet showing the damage, but I did take on of the inside of one of the drawers. Most of the drawers were in this state so I had to do something to clean them up…
First, I cleaned them all with a wet rag and then primed both the inside and outside.


Second, I painted them with Behr zinser in "Swiss Coffee" color.

Then I lined the inside of them with wrapping paper that I got at Marshall’s for $3/roll (ended up using 1.5 rolls) by using Mod Podge (*link). These were the steps:
Measure the inside of the drawer and cut the wrapping paper to the measured dimensions
Line the bottom of the drawer with a layer of Mod Podge using a foam brush
Carefully place the cut paper on the Mod Podge. I tried sticking the middle of the paper first and then carefully setting it down inside to the outside to avoid air bubbles getting stuck under the paper. (I do need to practice this technique, but am still happy with the outcome.)
Add another layer of Mod Podge and let it dry (I waited a whole day)
- Add one last layer of Mod Podge and let it dry


I also primed and painted both the inside and outside of the rest of the closet; doors, shelves, interior/exterior faces. This wasn’t so bad, but it did take awhile because I didn’t use tape to protect surfaces I didn’t want painted and free handed with a small brush (large faces were done with a roller).


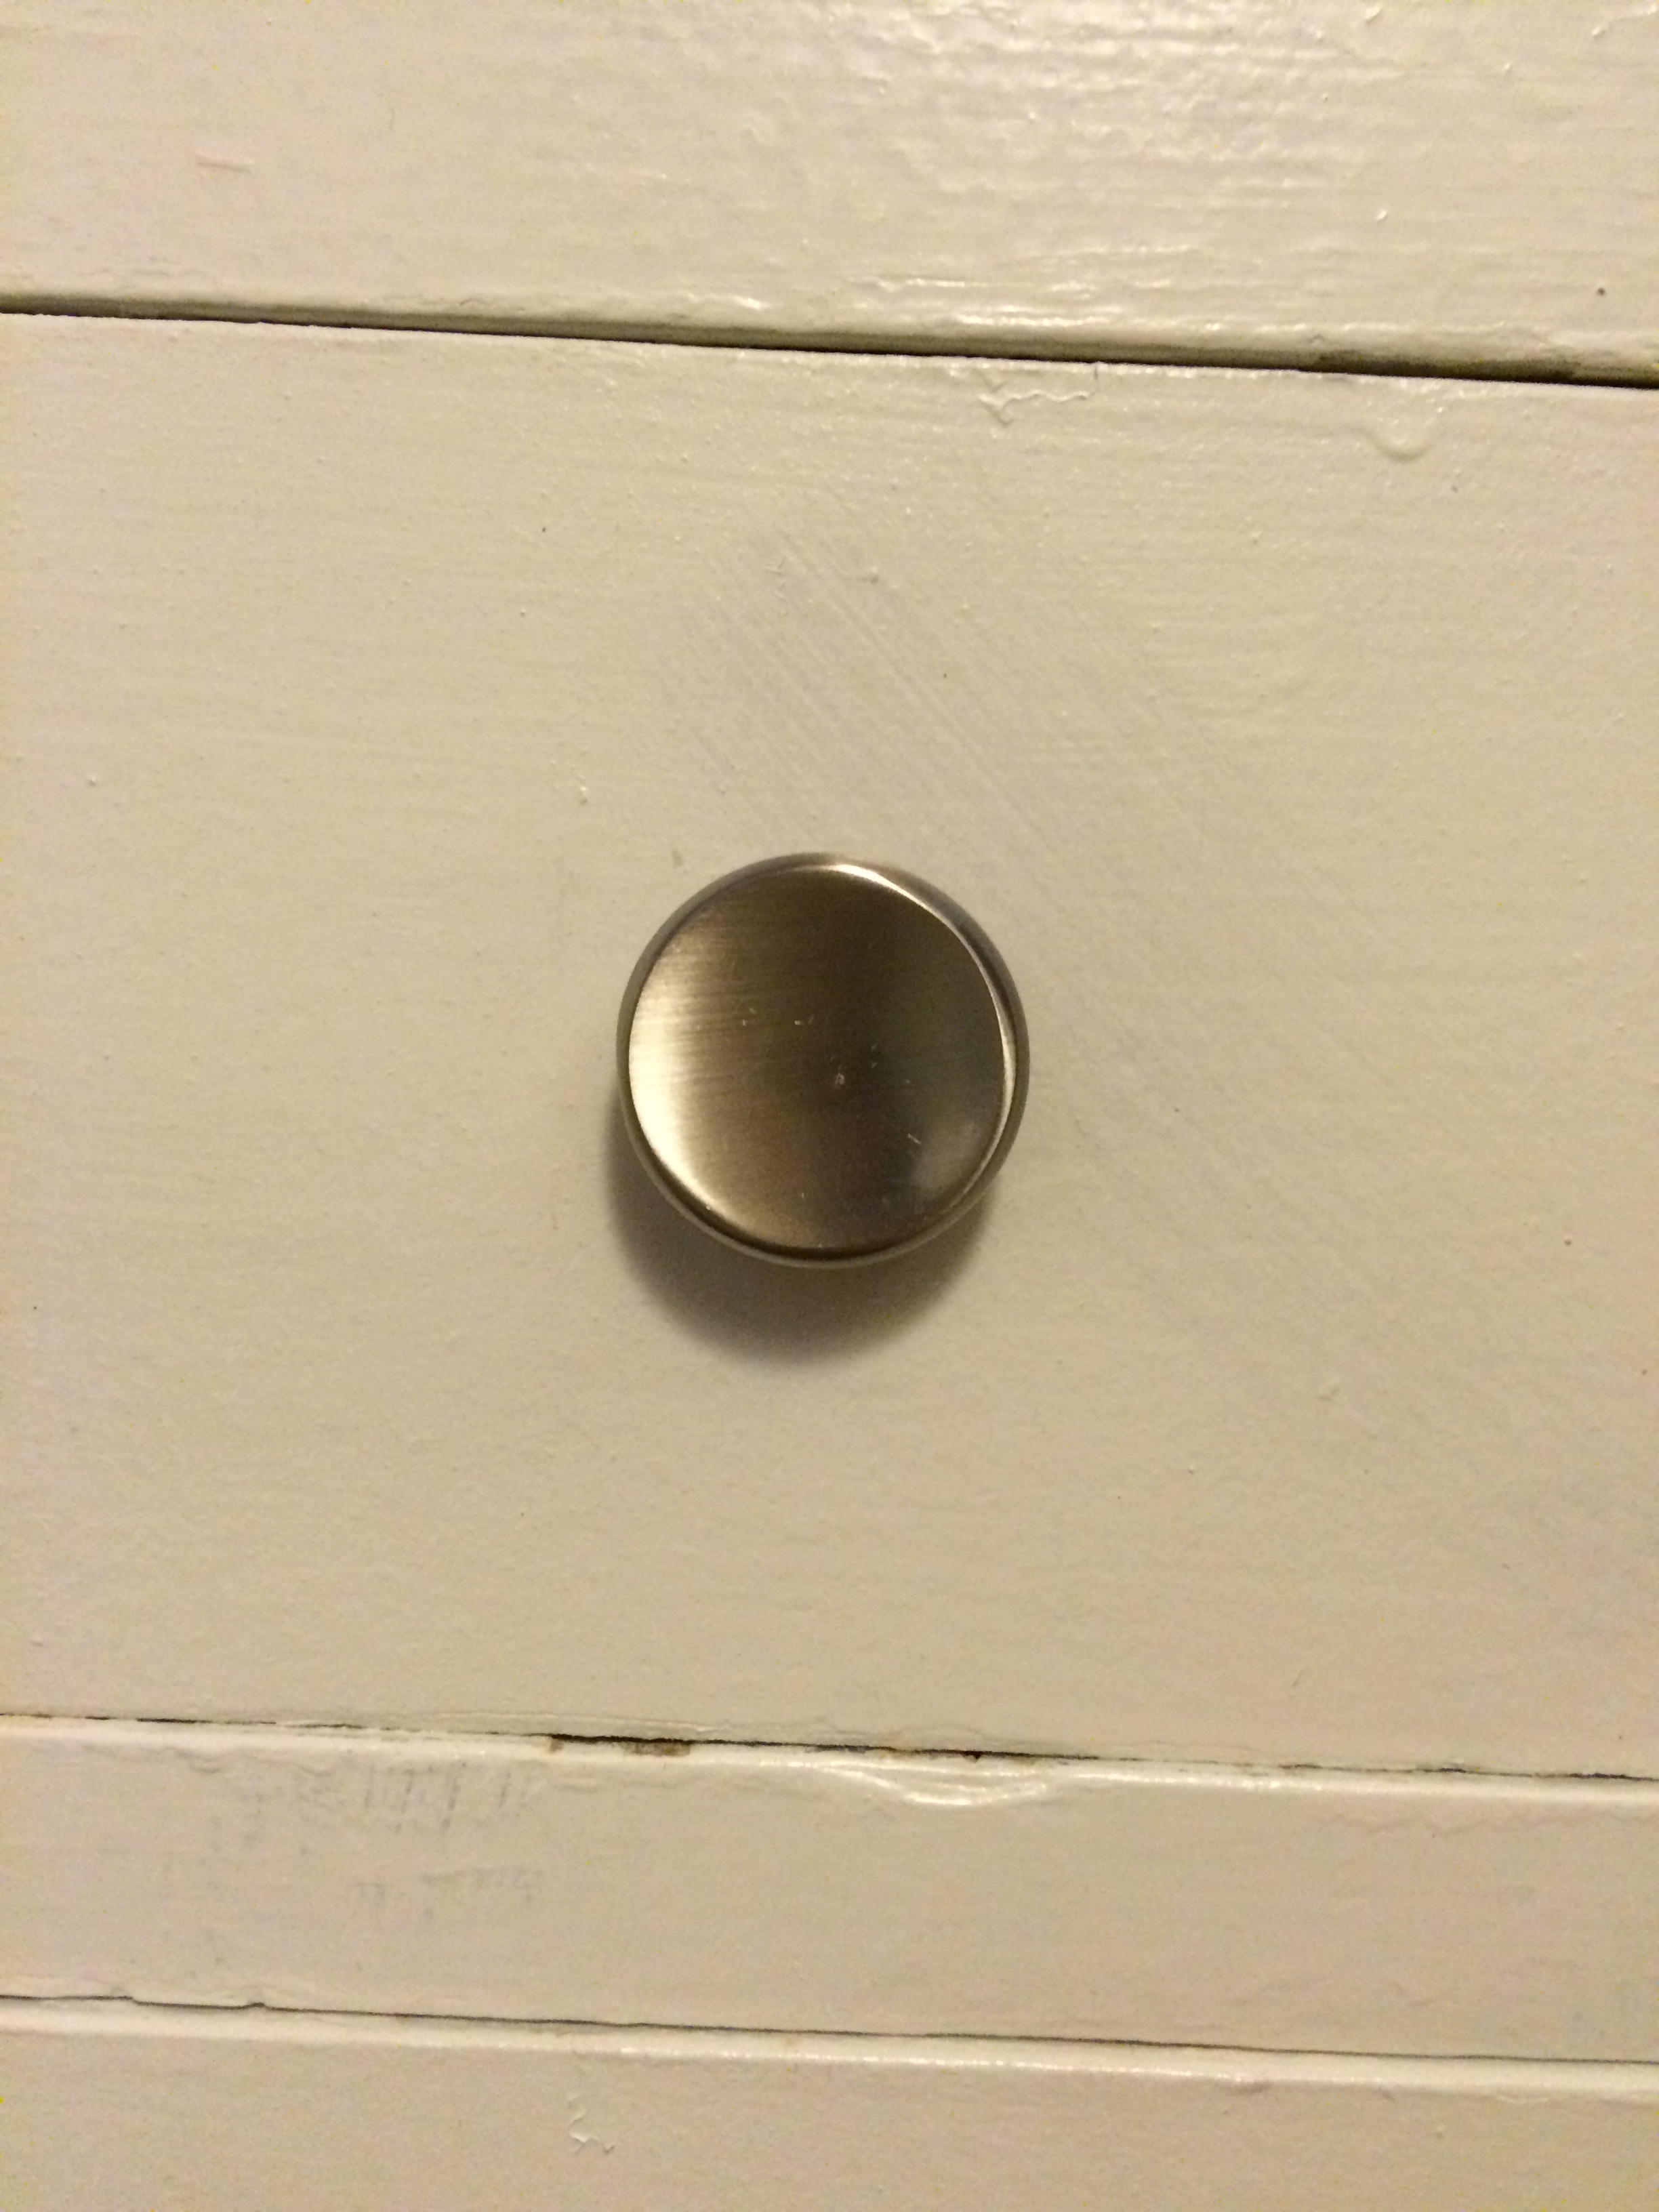
Before painting or priming everything, I took off the existing wooden knobs because I knew I would want them replaced. I ended up choosing simple nickel knobs from Home Depot that cost $1.28/each.
Another update I made to the closet was adding a giant mirror from Home Depot to the vanity area. I love that it takes up the whole wall; it helps open up the room. http://www.homedepot.com/p/Glacier-Bay-48-in-x-36-in-Beveled-Framed-Wall-Mirror-901360/205186420 (check if correct mirror)
And 2 weeks later, my closet was done! I am very happy with how it turned out. I love that all of my clothing, shoes, accessories, etc. fit in one space together. In the past I’ve always had to use under bed storage bins and with this closet, that has been avoided.