
Gothic Mid-Century Mexican Wrought Iron light fixtures for the living room
The tall ceilings in the living room are missing a matching pair of light fixtures, likely made by "Otar - The Lamp Maker, Santa Cruz, CA" (from the historical documents).
I talked to the man who grew up there whose parents bought the house in 1960 about the lights in the living room. He said they were brass carriage lanterns but were stolen when the house was unoccupied.

He said this is the closest picture he could find of what they looked like
He also said that there used to be one next to the front steps.
I wasn't sure whether these were original since I haven't seen brass fixtures in any Maybeck houses. I got the idea to use some wrought iron lanterns from this picture of the Geisler House (1924), which could be what the originals in this house looked like.

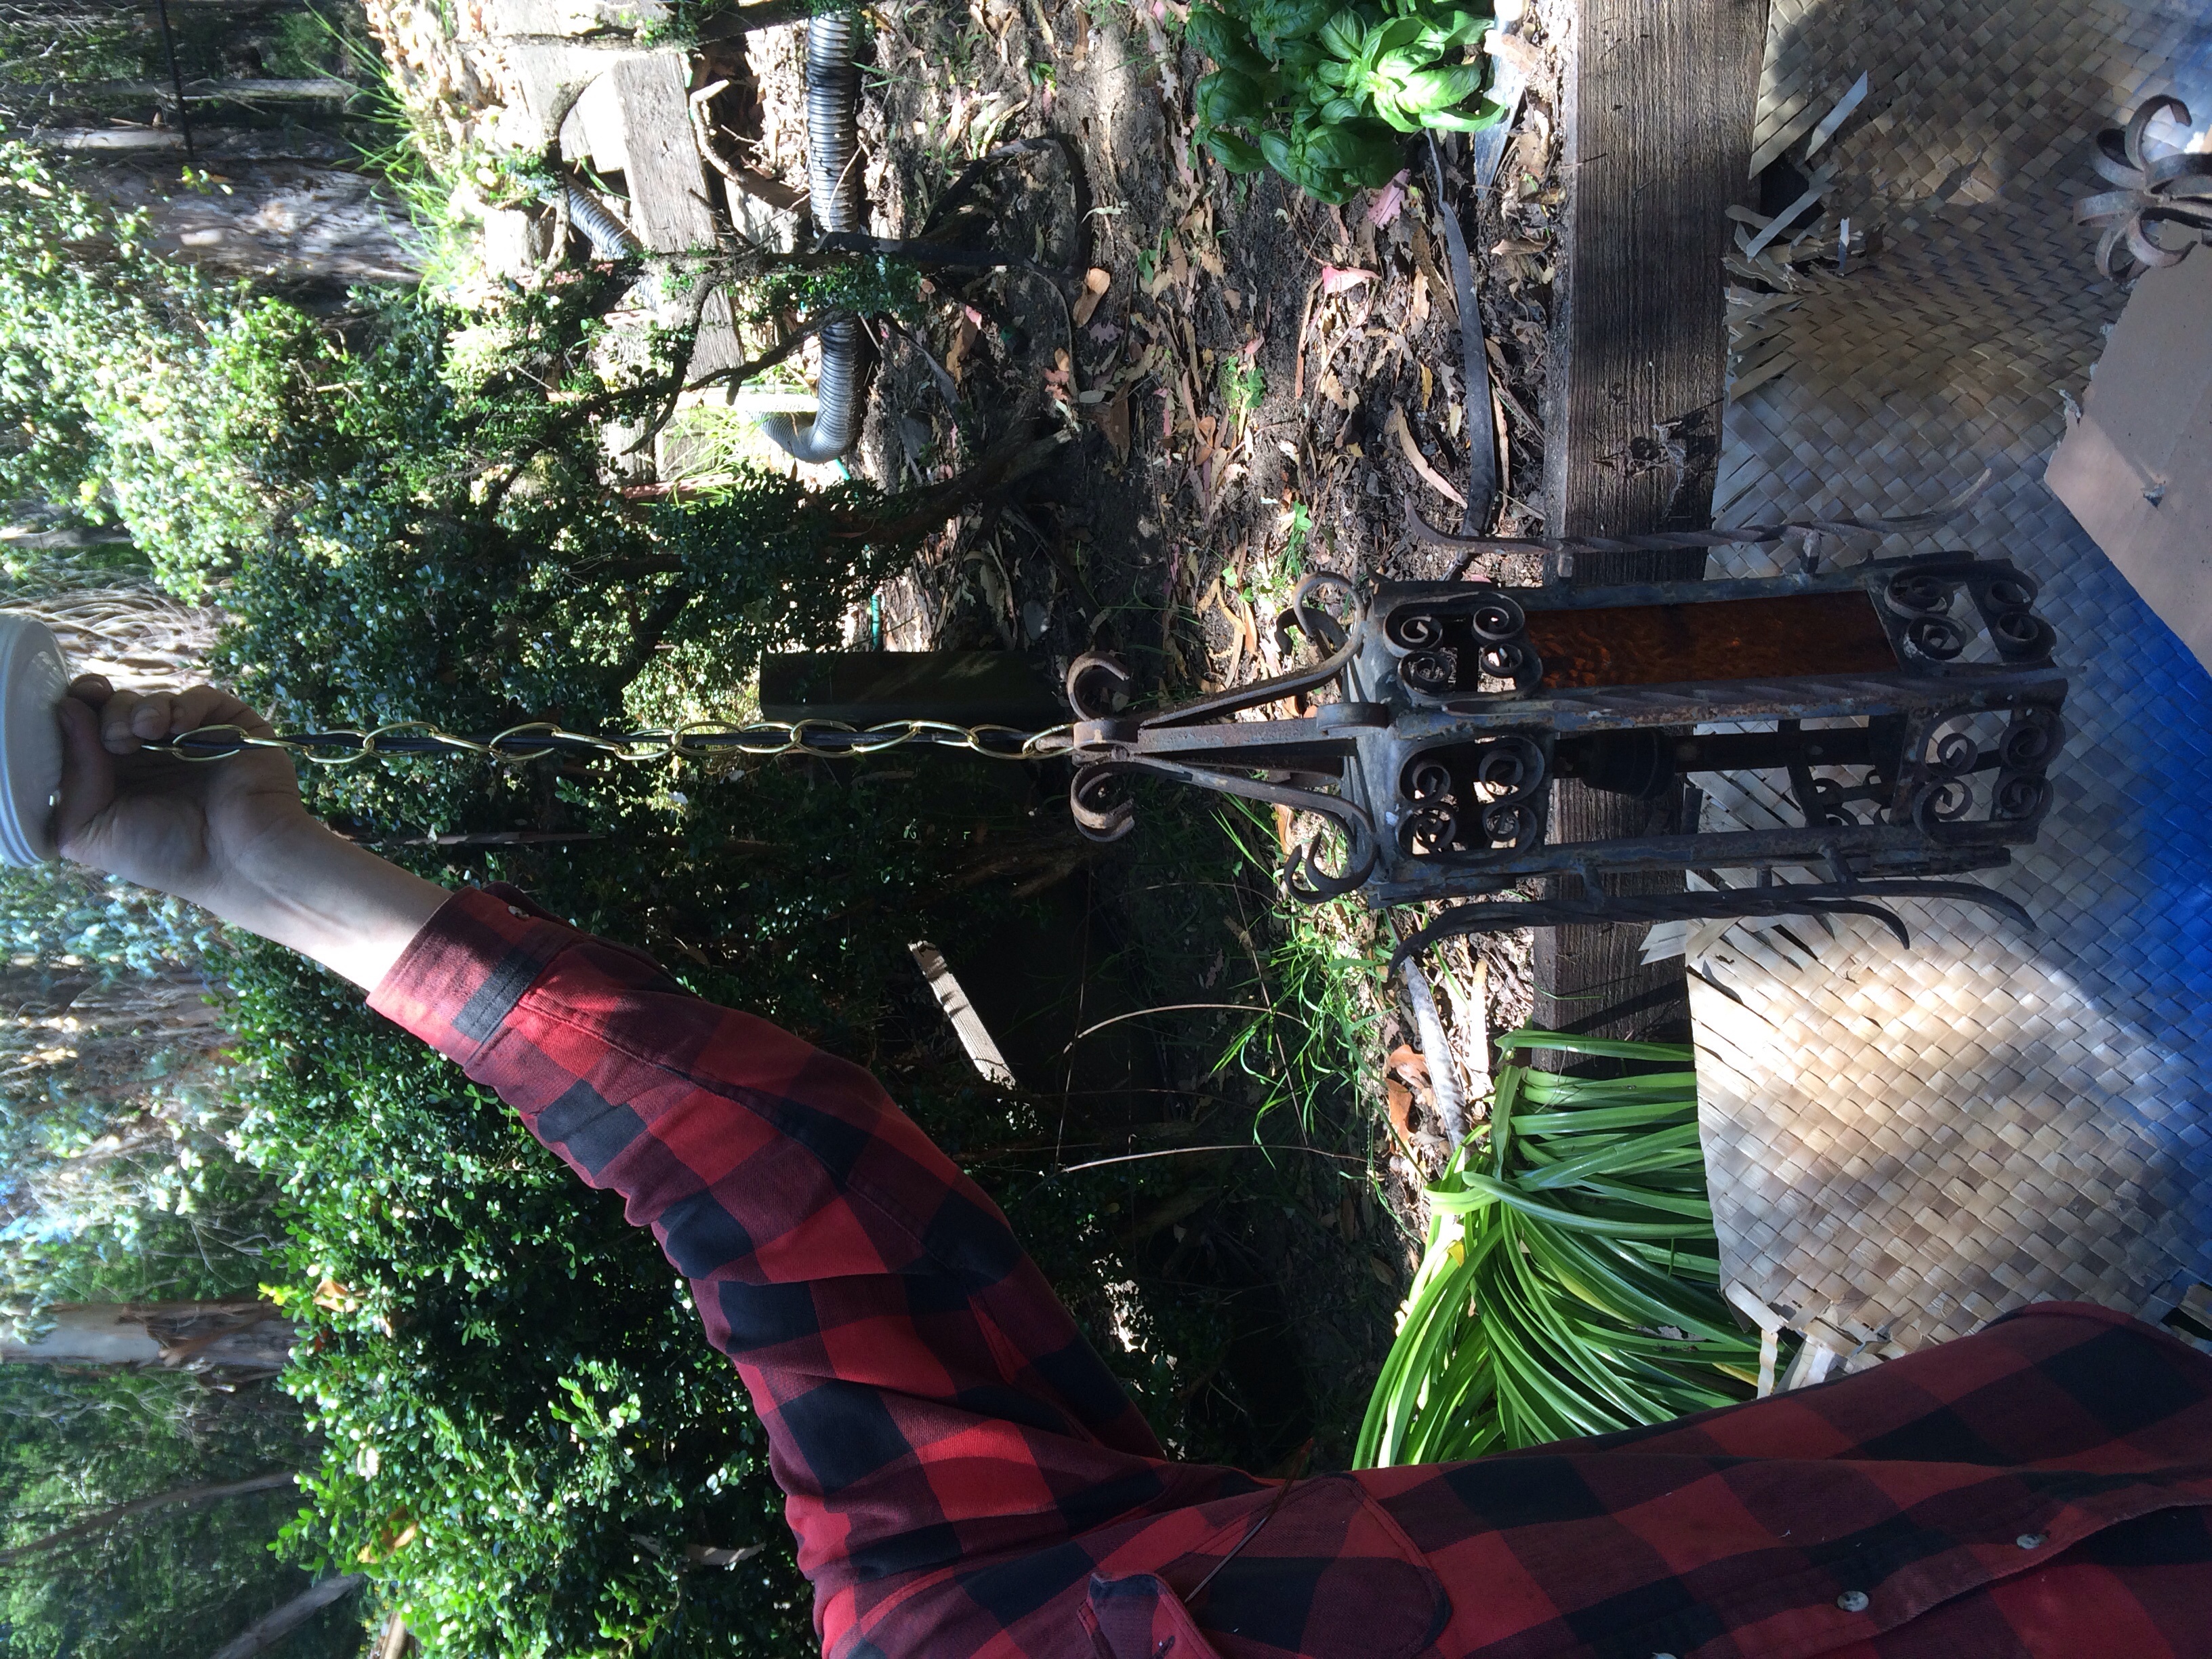
So I started looking for a pair of light fixtures of this type. I found a similar kind I really liked that was made around the '50s-'70s. Made in Mexico from wrought iron, with textured glass (a tipoff that it's mid-century), also in amber. It wasn't too hard to find one at a time, but they were usually around $100 for one. However, I couldn't just buy two separately since there was a lot of variation in the finer details of the design and glass color and texture. I lucked out and found a pair for $50! They were rusty because they had been outside but that wasn't a problem for me. I drove down to San Jose to pick them up.

A matching pair! They had been hanging from the cord... They needed a swag chain and canopy base to become a regular ceiling fixture.


Brushed off some rust with a wire brush then started to paint with Rustoleum Rust Stop Satin Black.

Added some swag chain
Added a base via "Canopy Base Kit" from a hardware store. Most hardware stores have a lamp section with swag chains, "lamp cord" power cord if you need to rewire, and other light/lamp parts.

Coming along.

I cleaned the glass while it was out

Oh yes!

Here's where the light used to be

Wow.
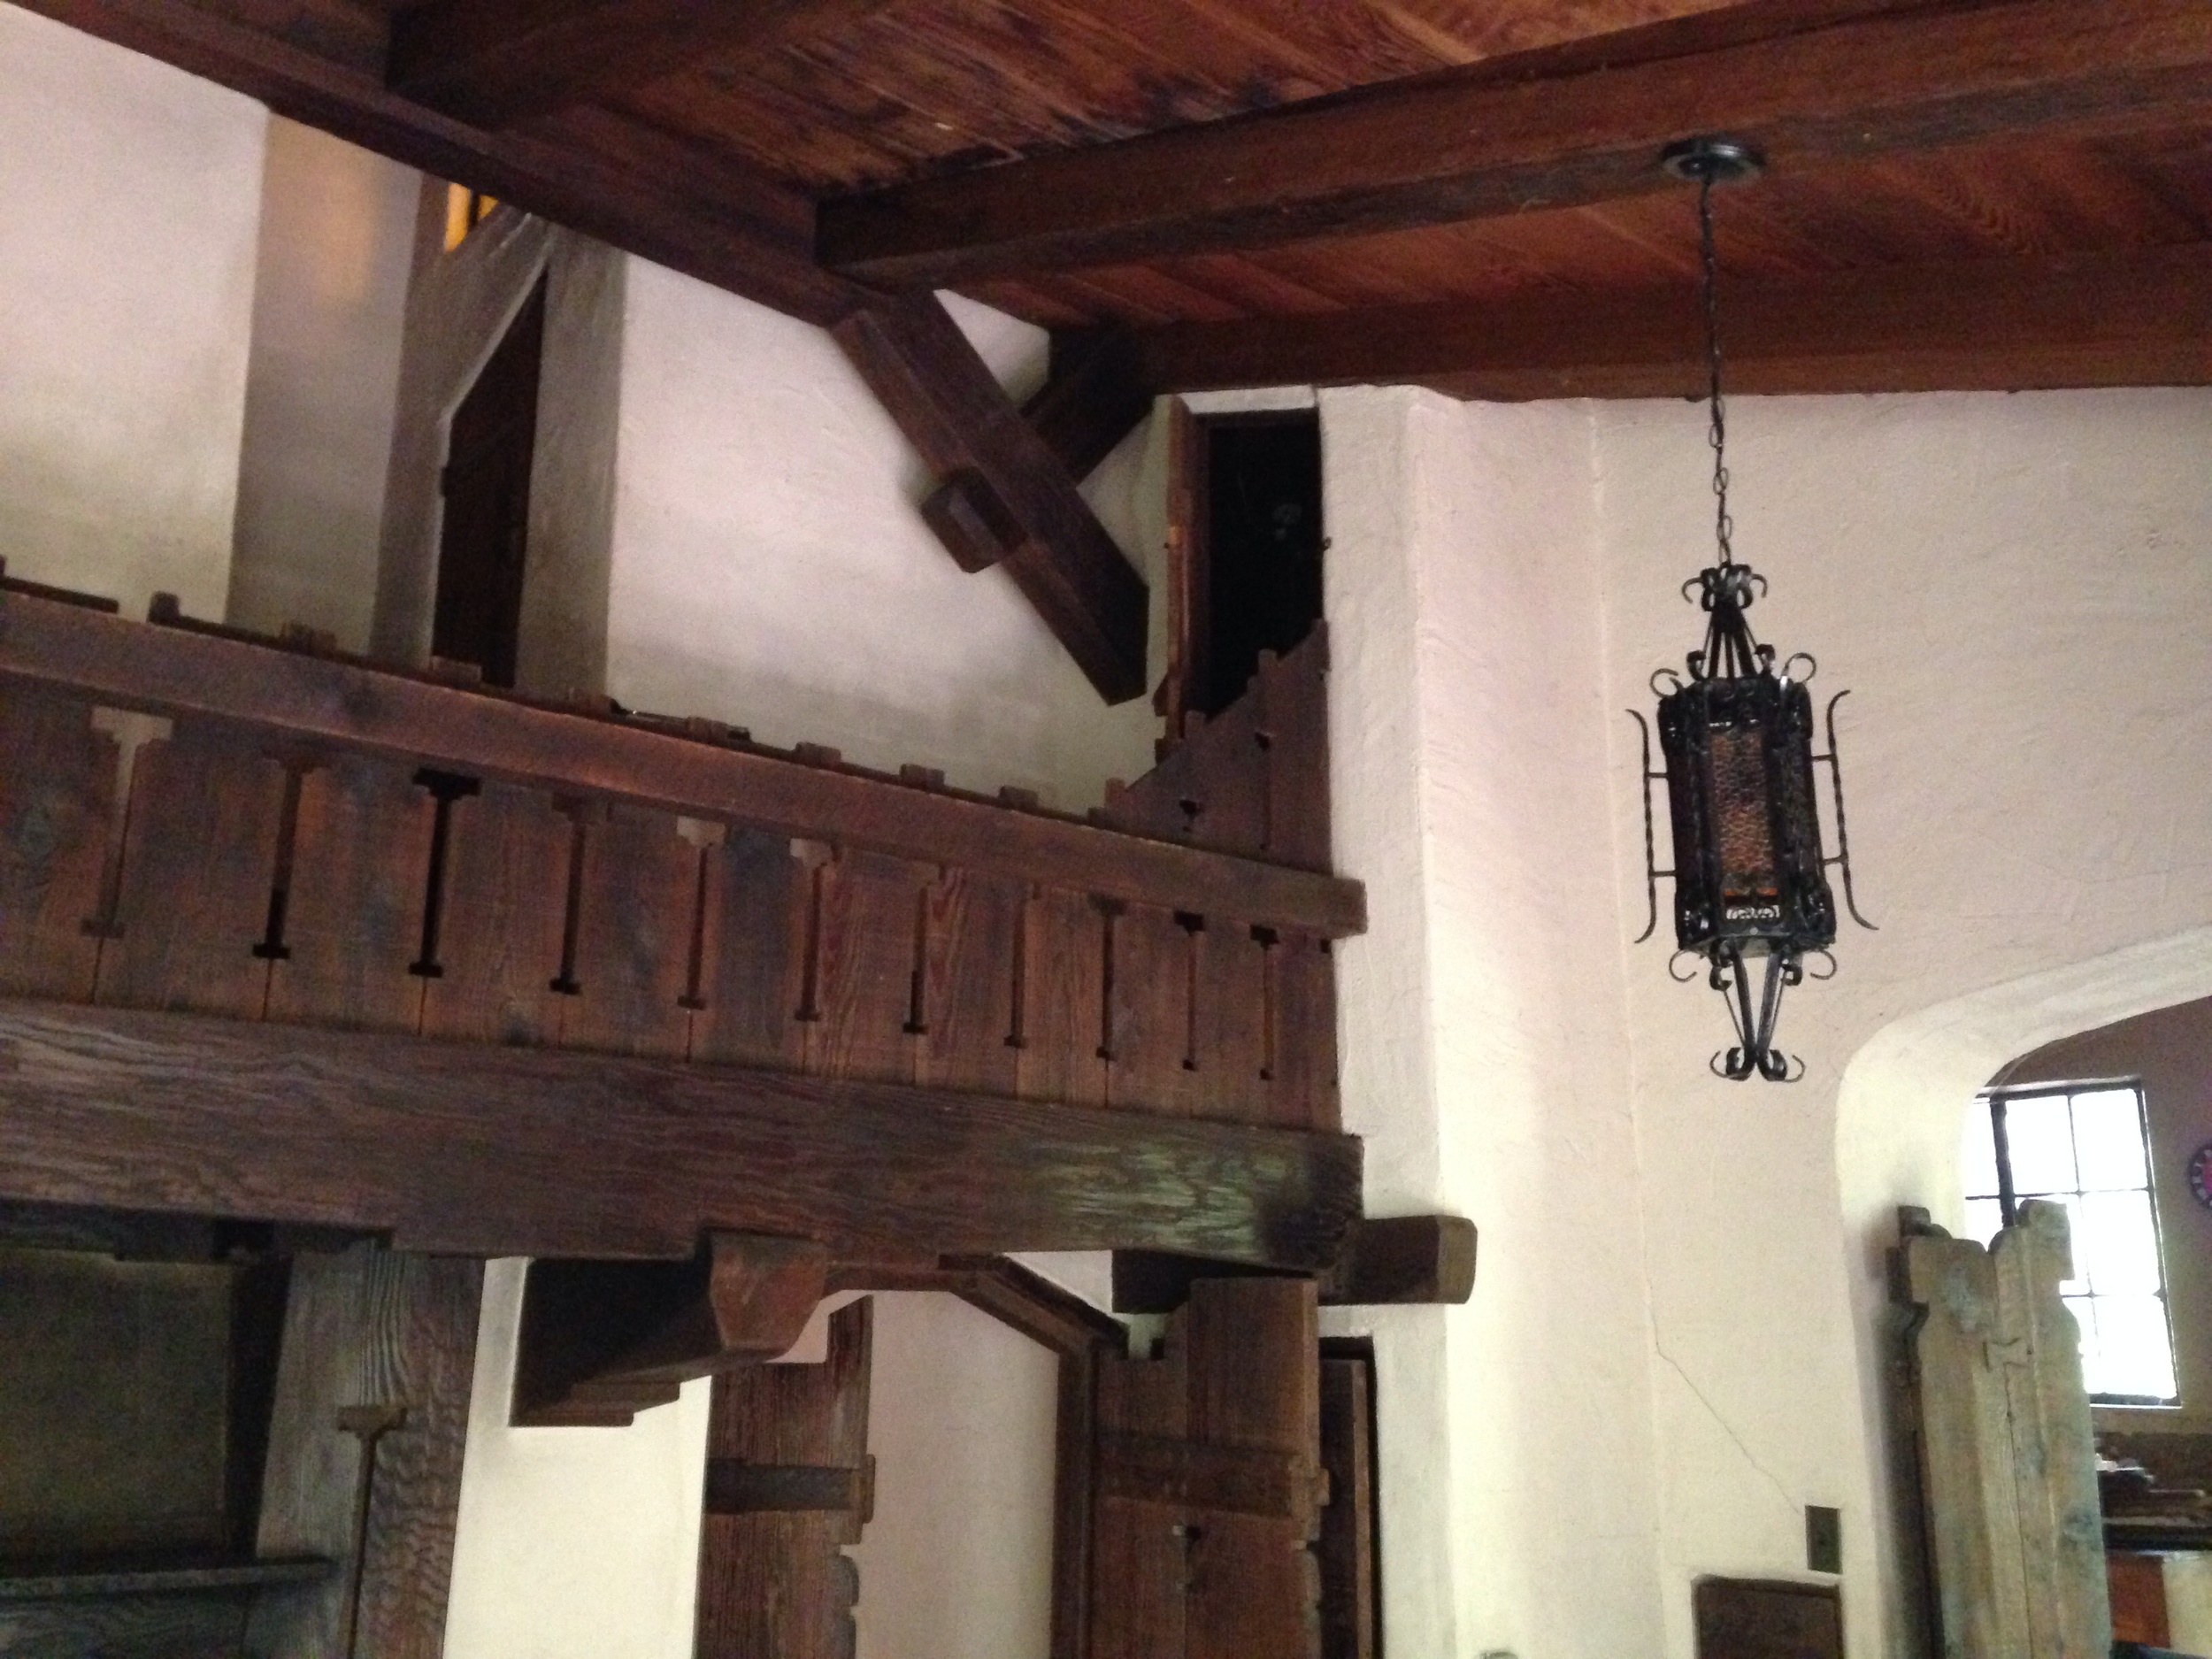
It looks so right that it almost looks like it has always been there. Great success!
Looks awesome I think! The lights aren't going on so I'll troubleshoot that 3-way switch next...

