Raising the shower head, tile layout, and expensive grouts explained
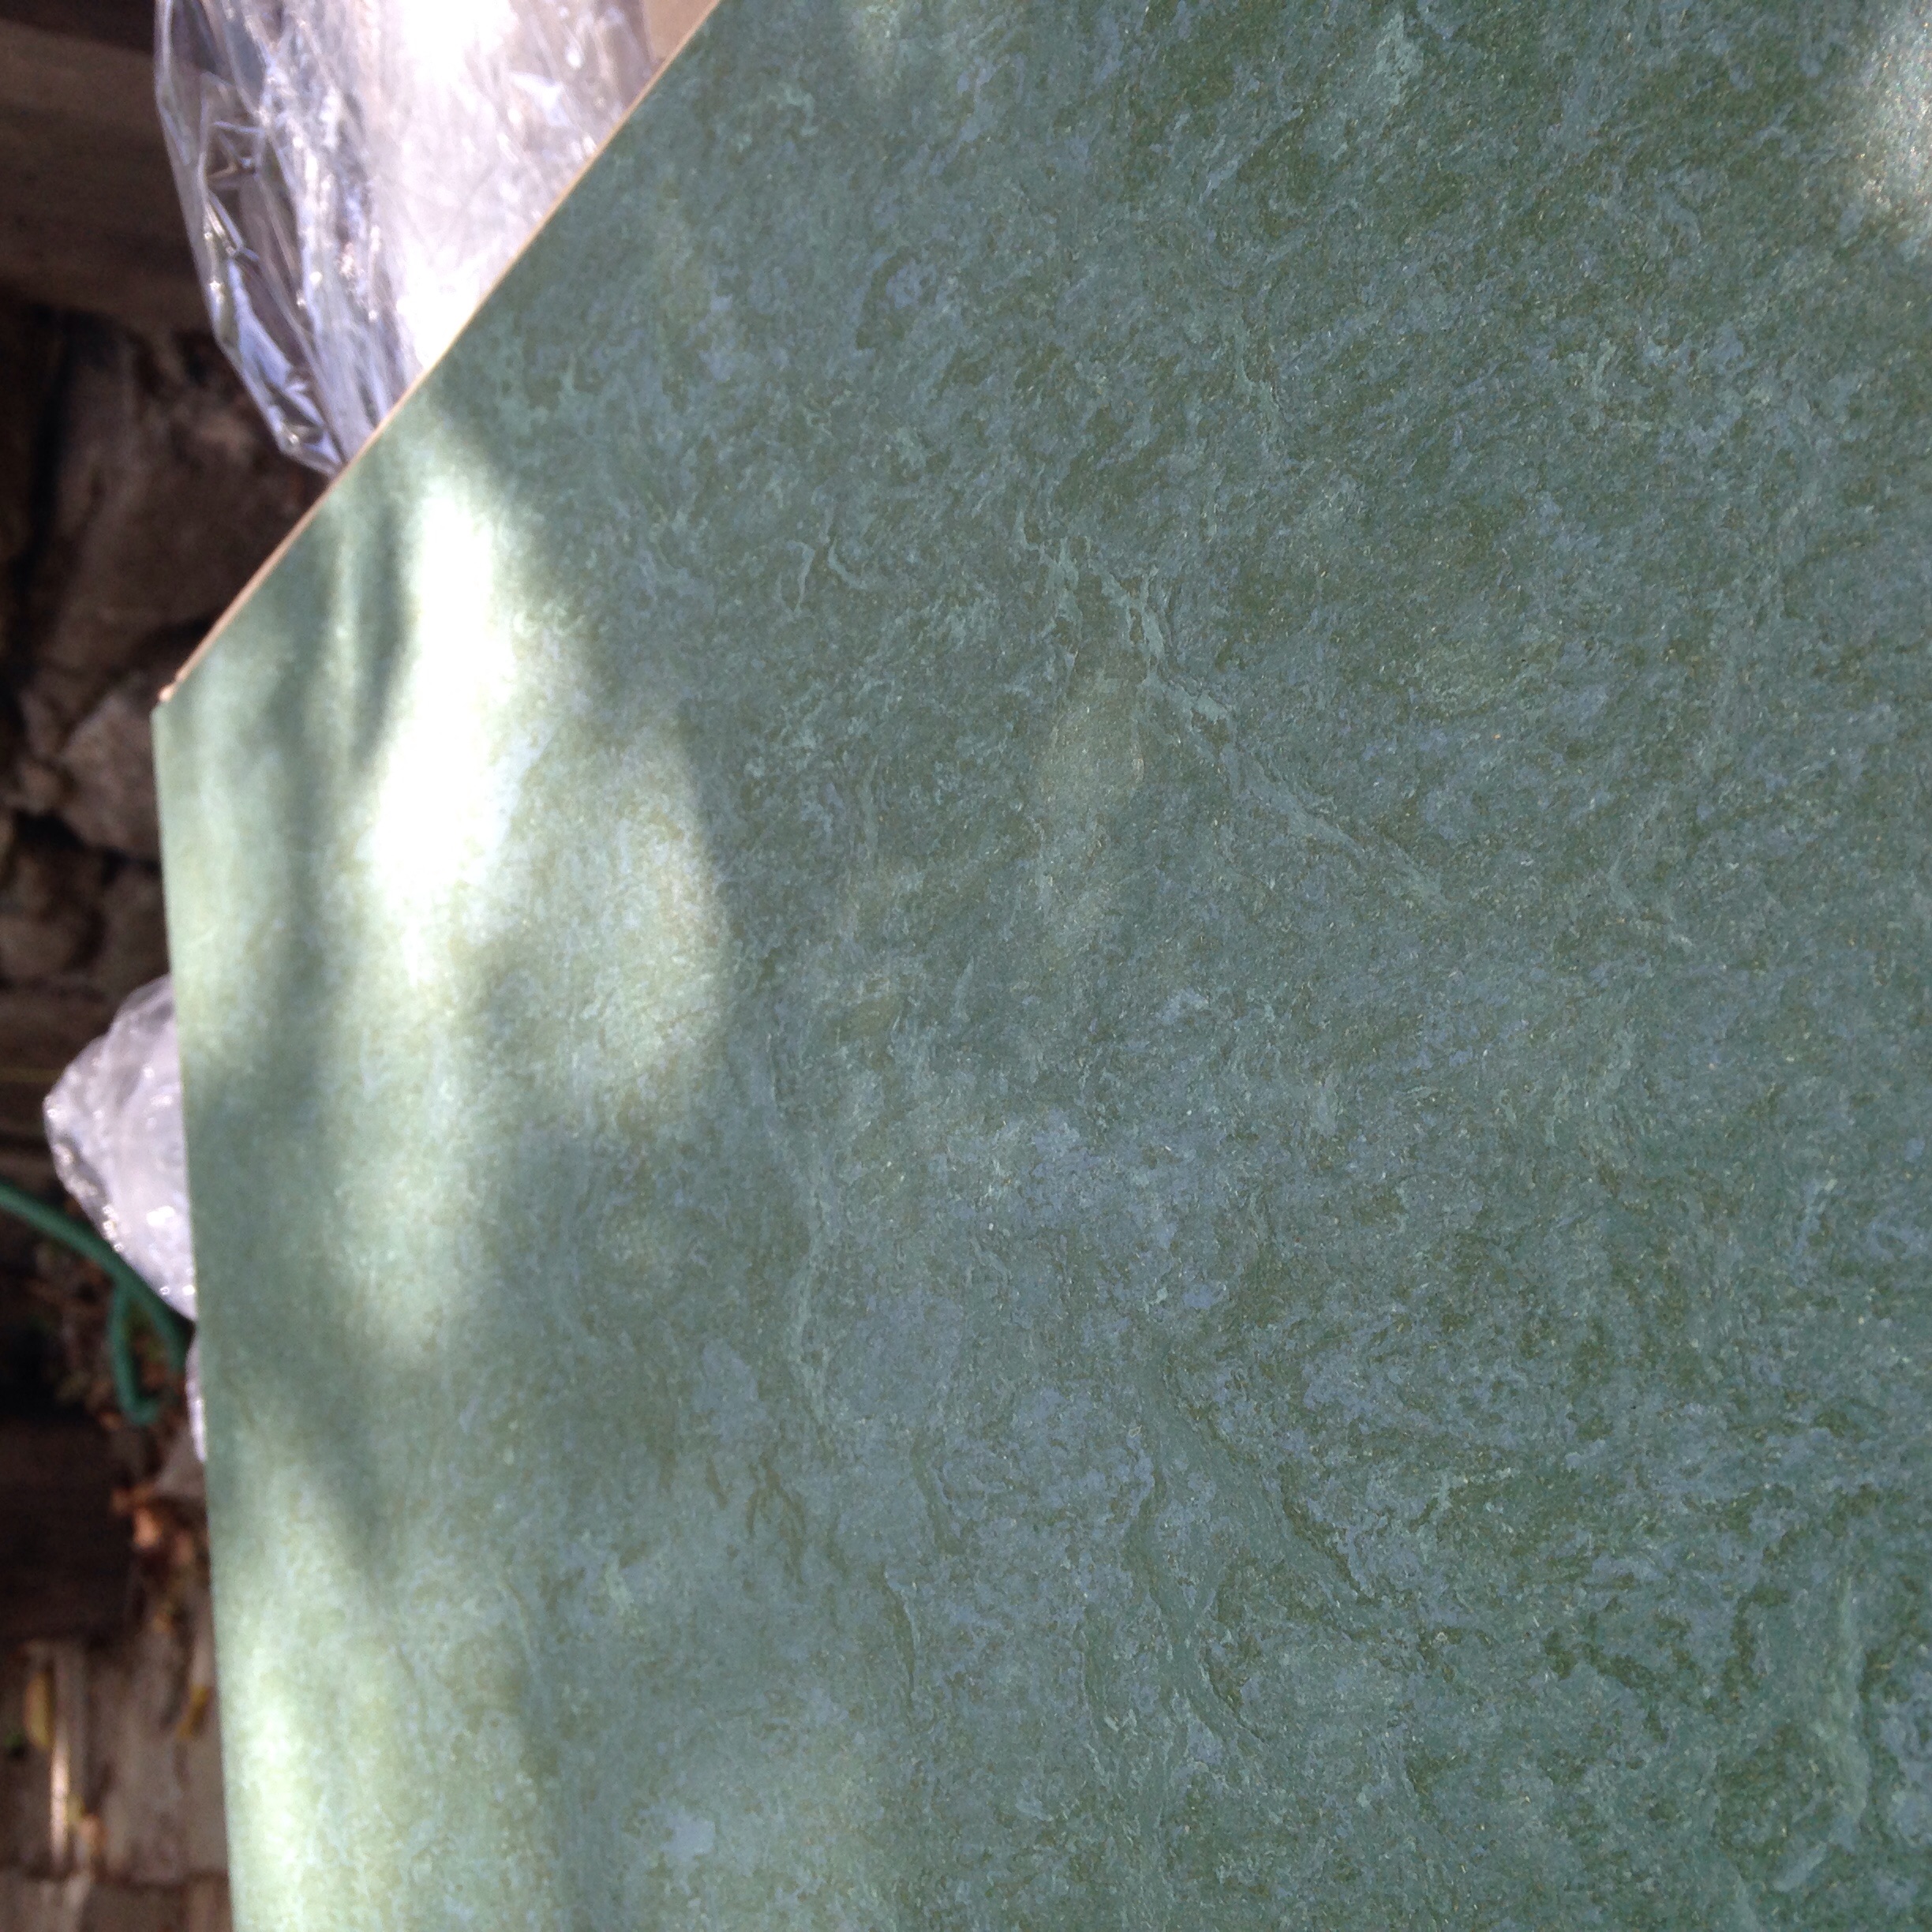
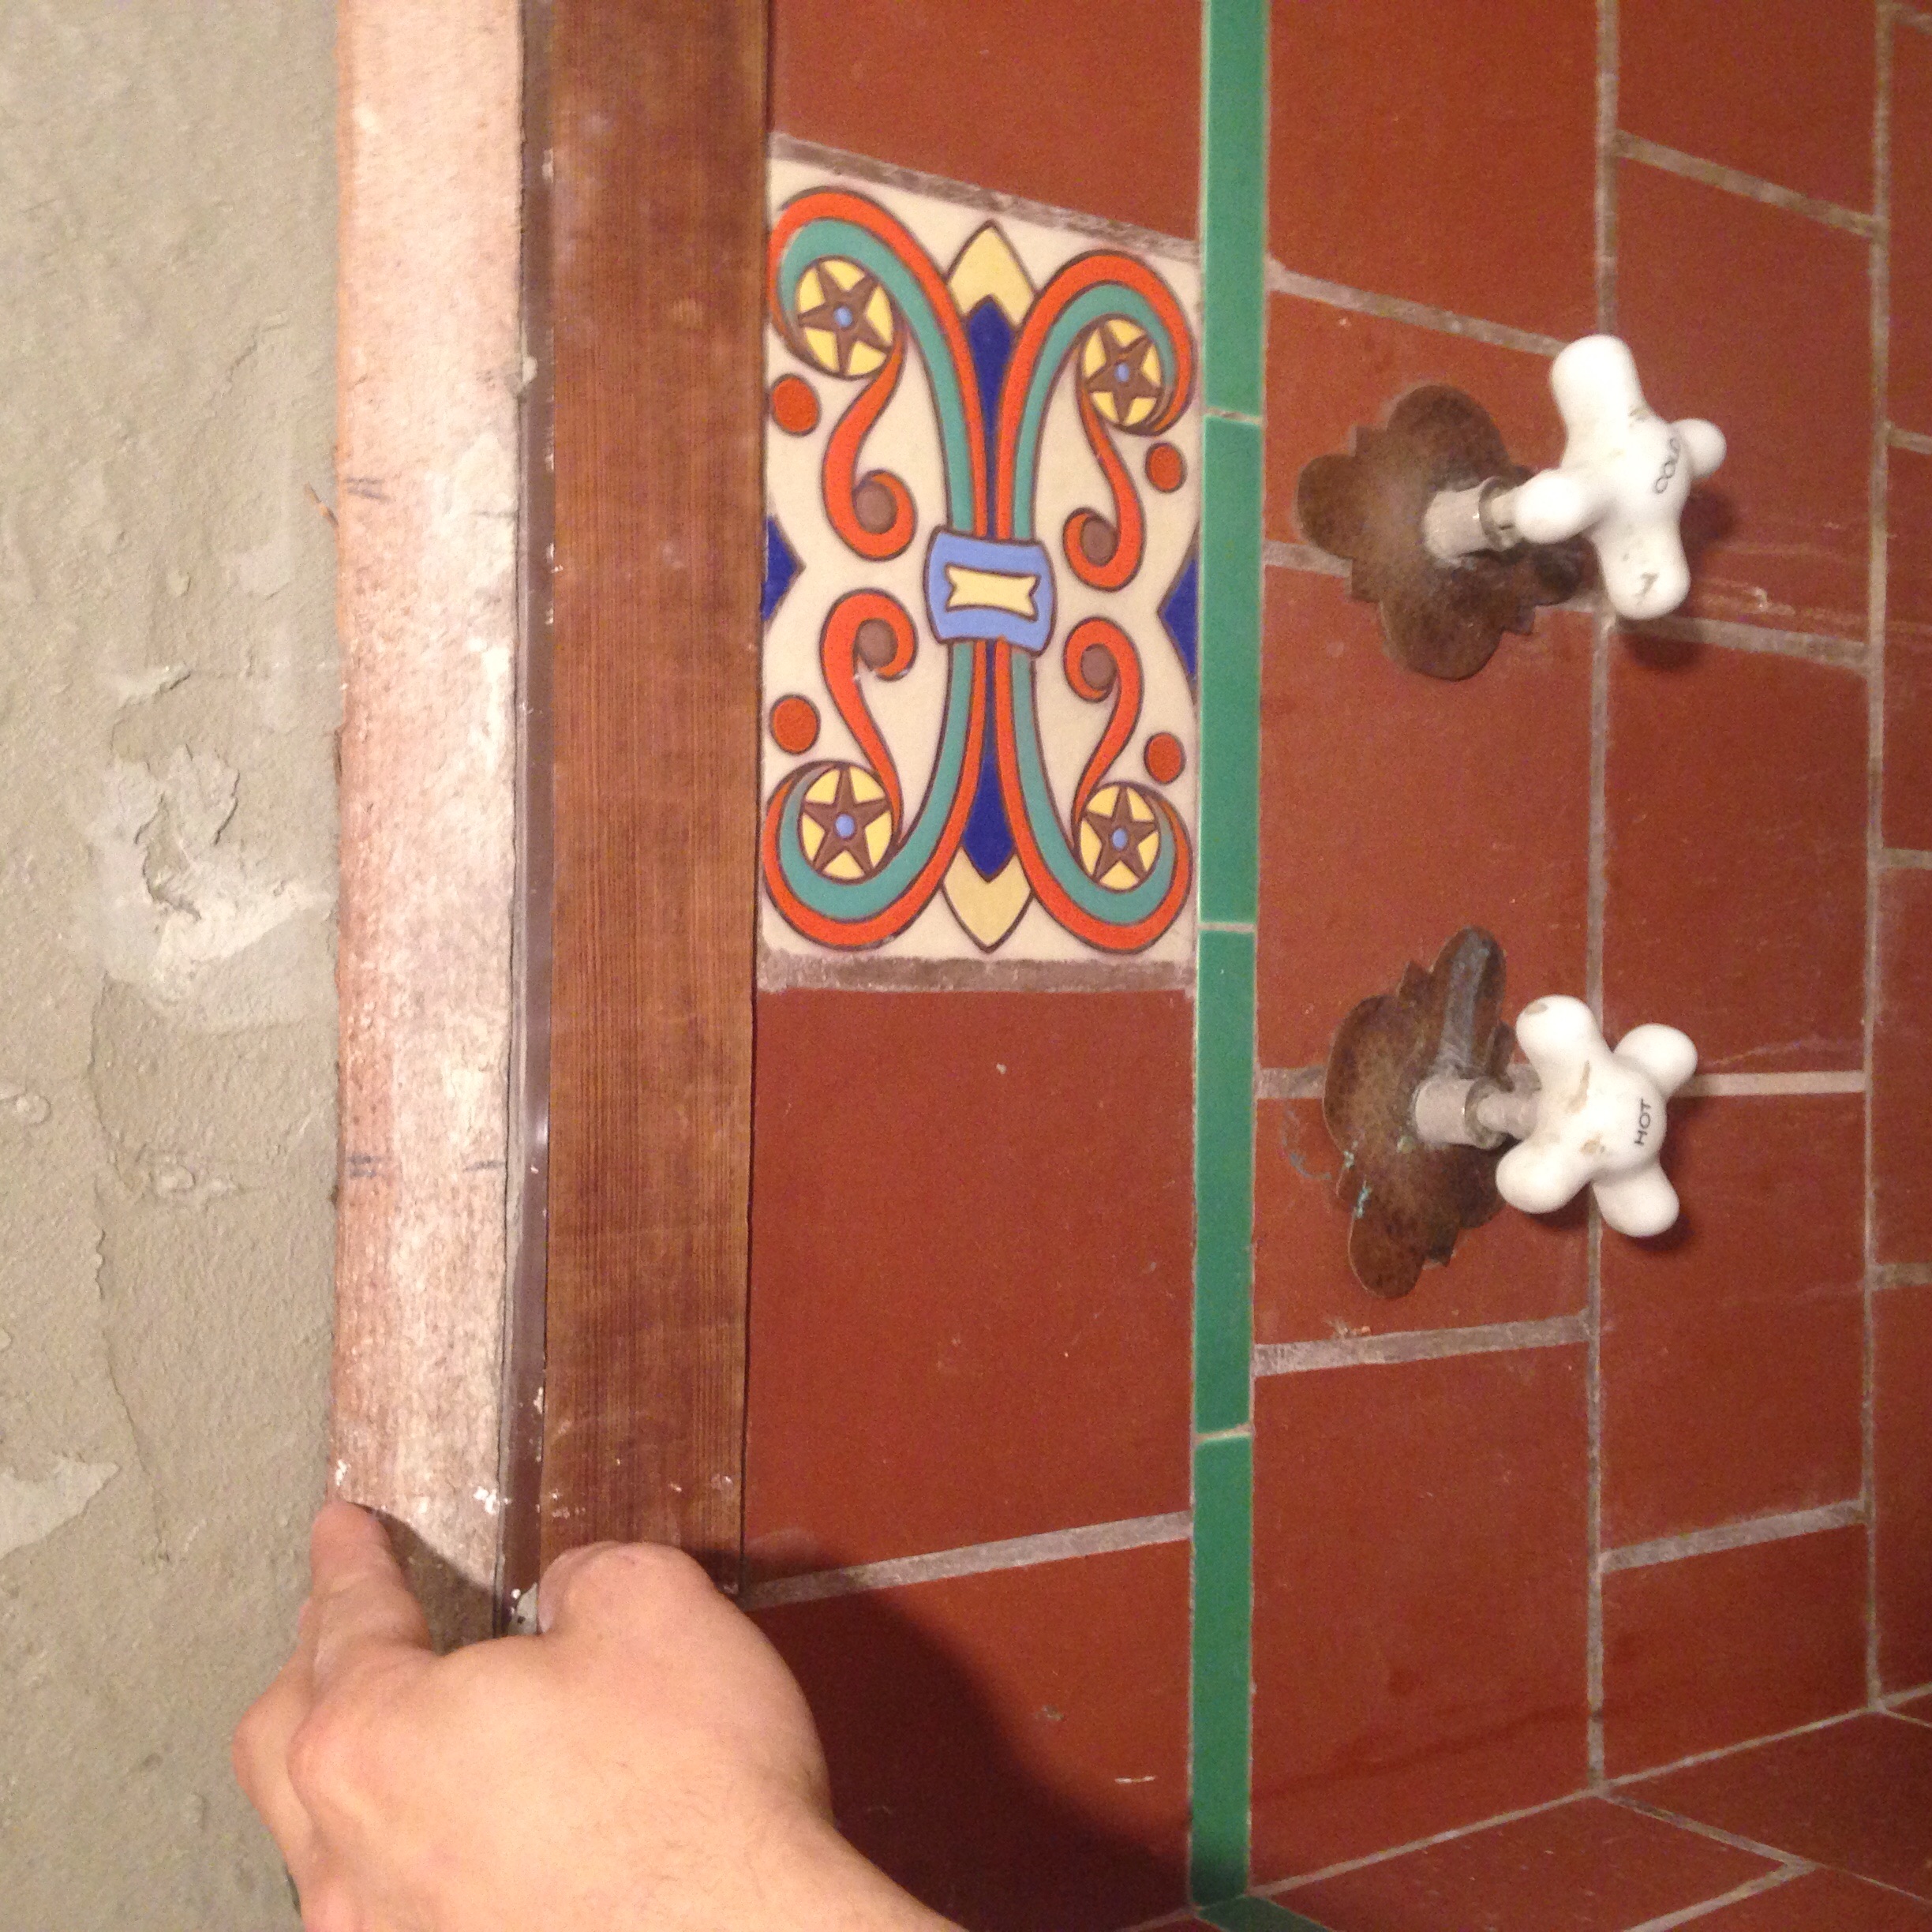
As you can see below, the original downstairs bath tile is quite lovely. I want to preserve the original design, while adding subtle improvements. I talked about adding LED cans earlier (link). Since I'm 6'4", I wanted to raise the shower head which is currently chest height.


The hole middle bottom is the original height. The mark near the top is where I want the new one to go.

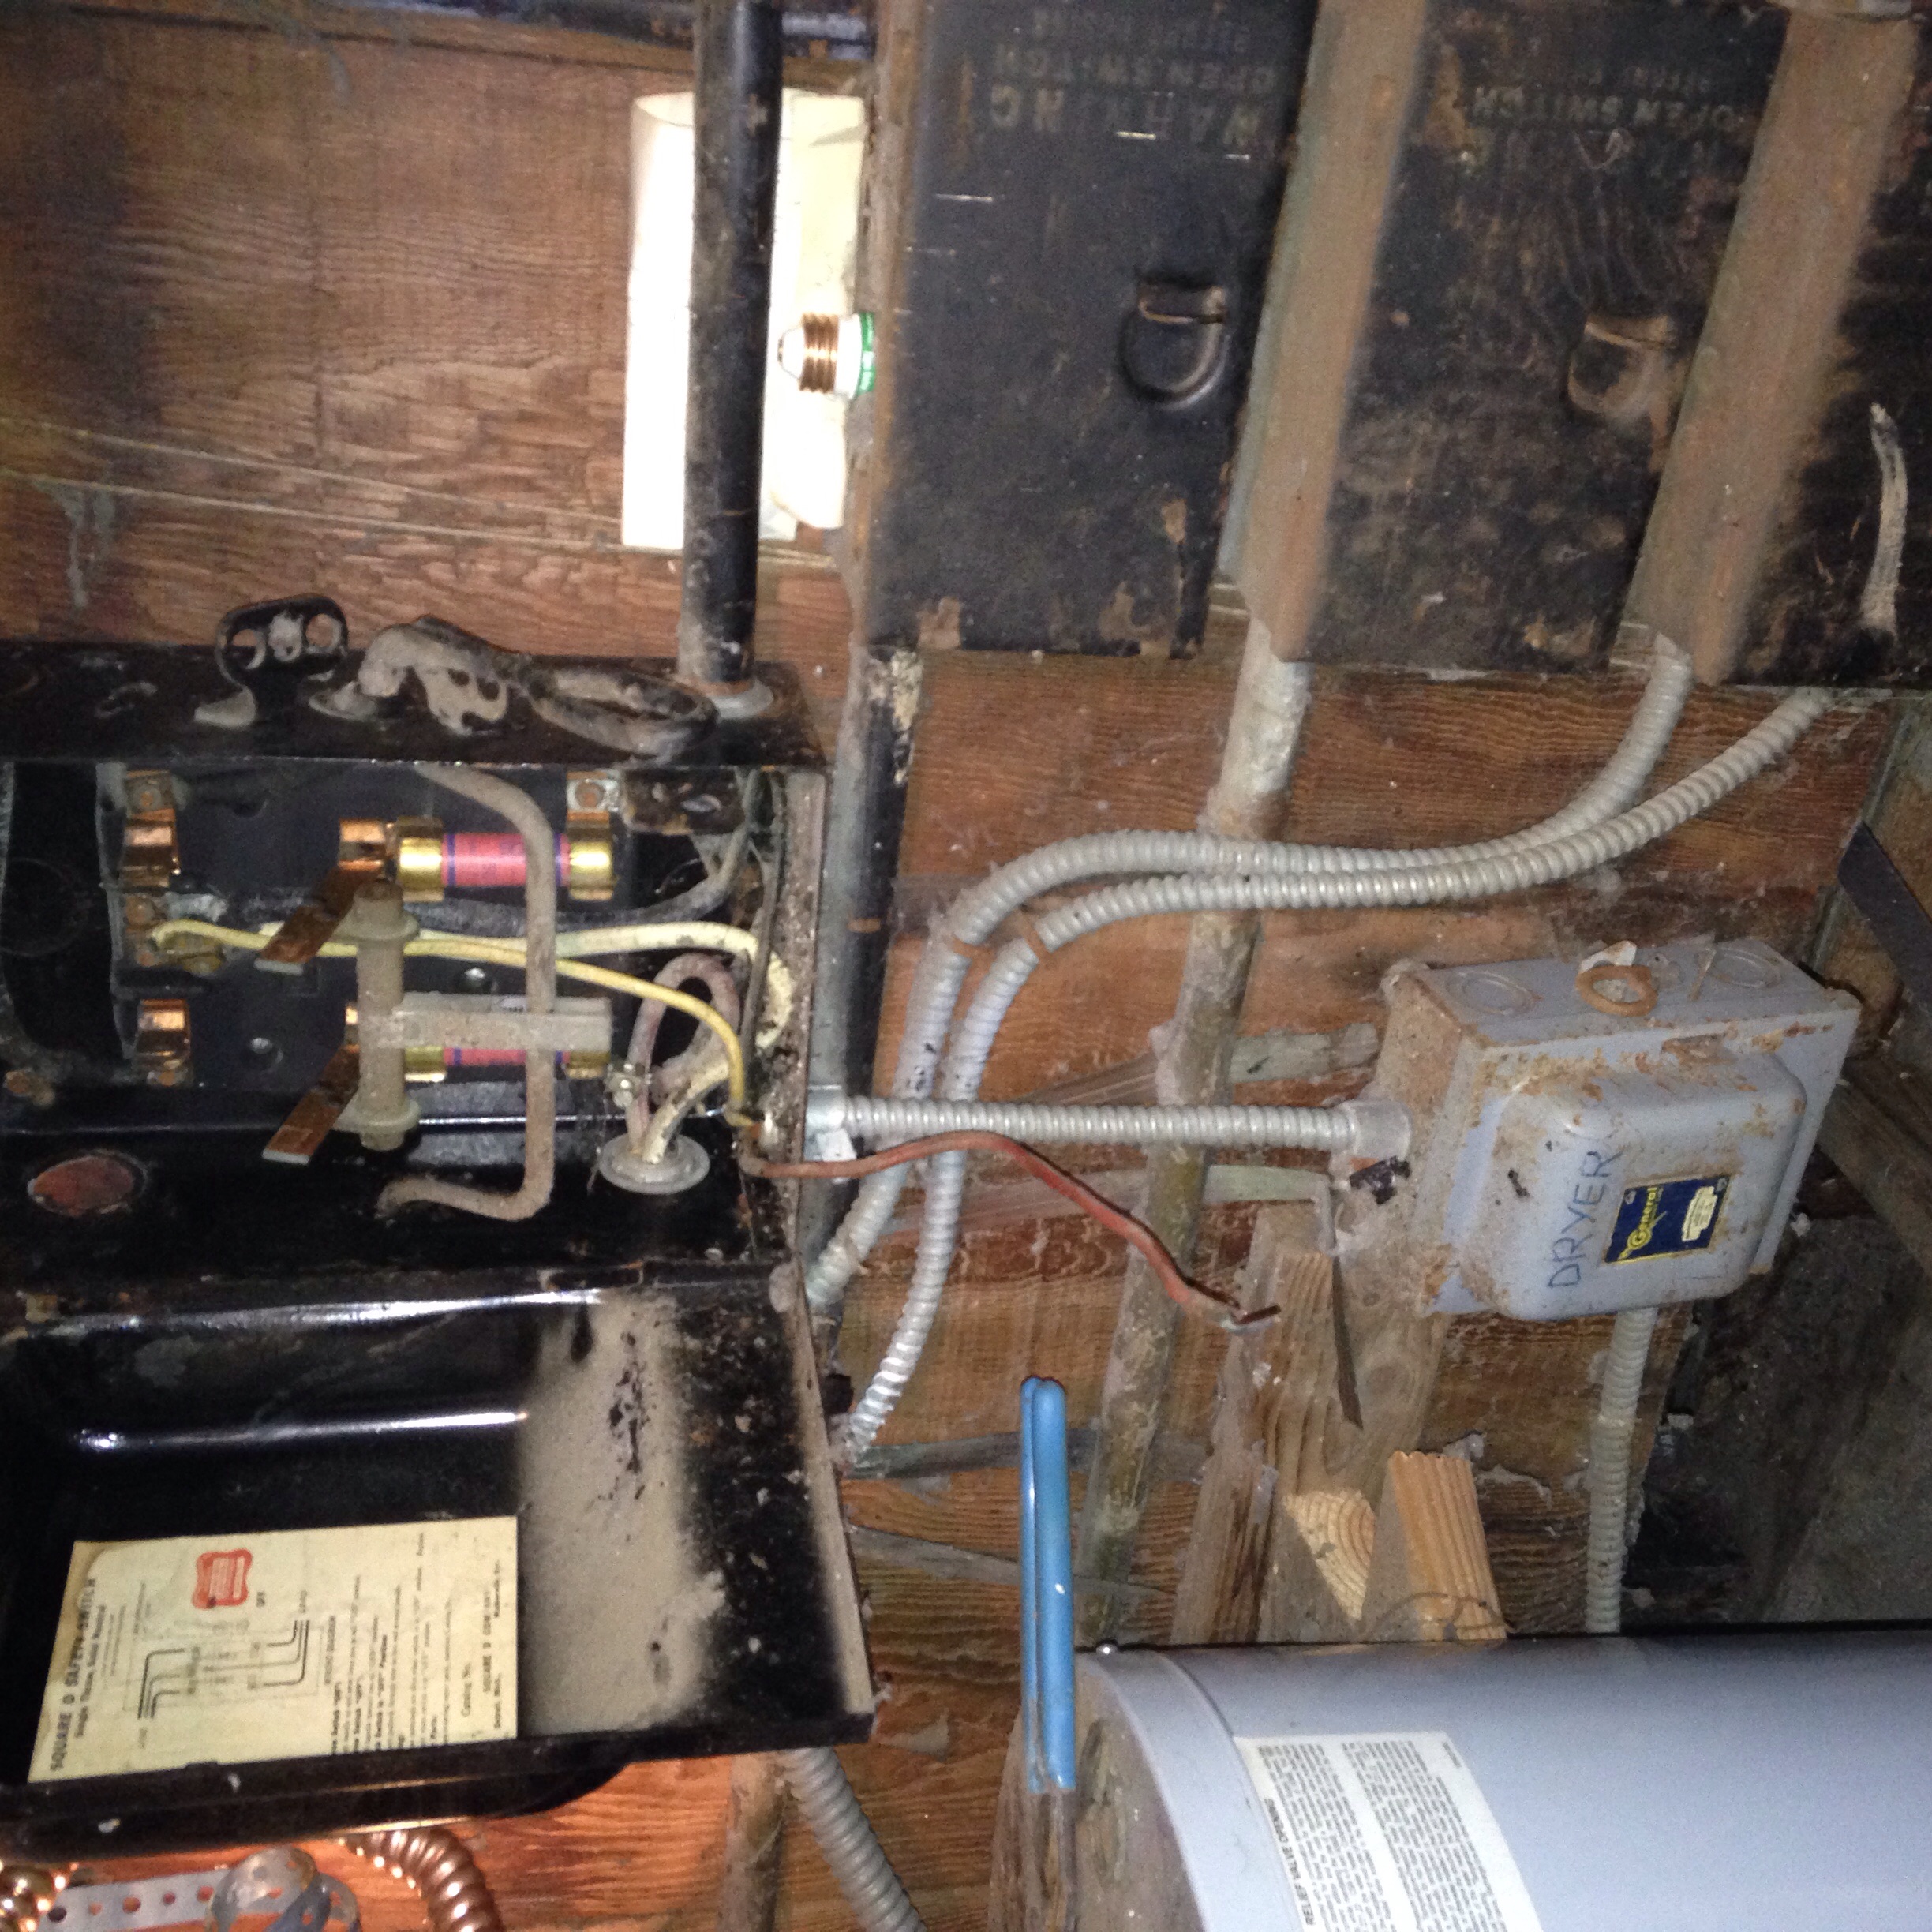
I carefully extracted the rusty old galvanized pipes when doing the copper plumbing and reused the cool old brass valves.

I added some brown aluminum flashing to direct the water over the redwood trim and not into the wall behind the tile.

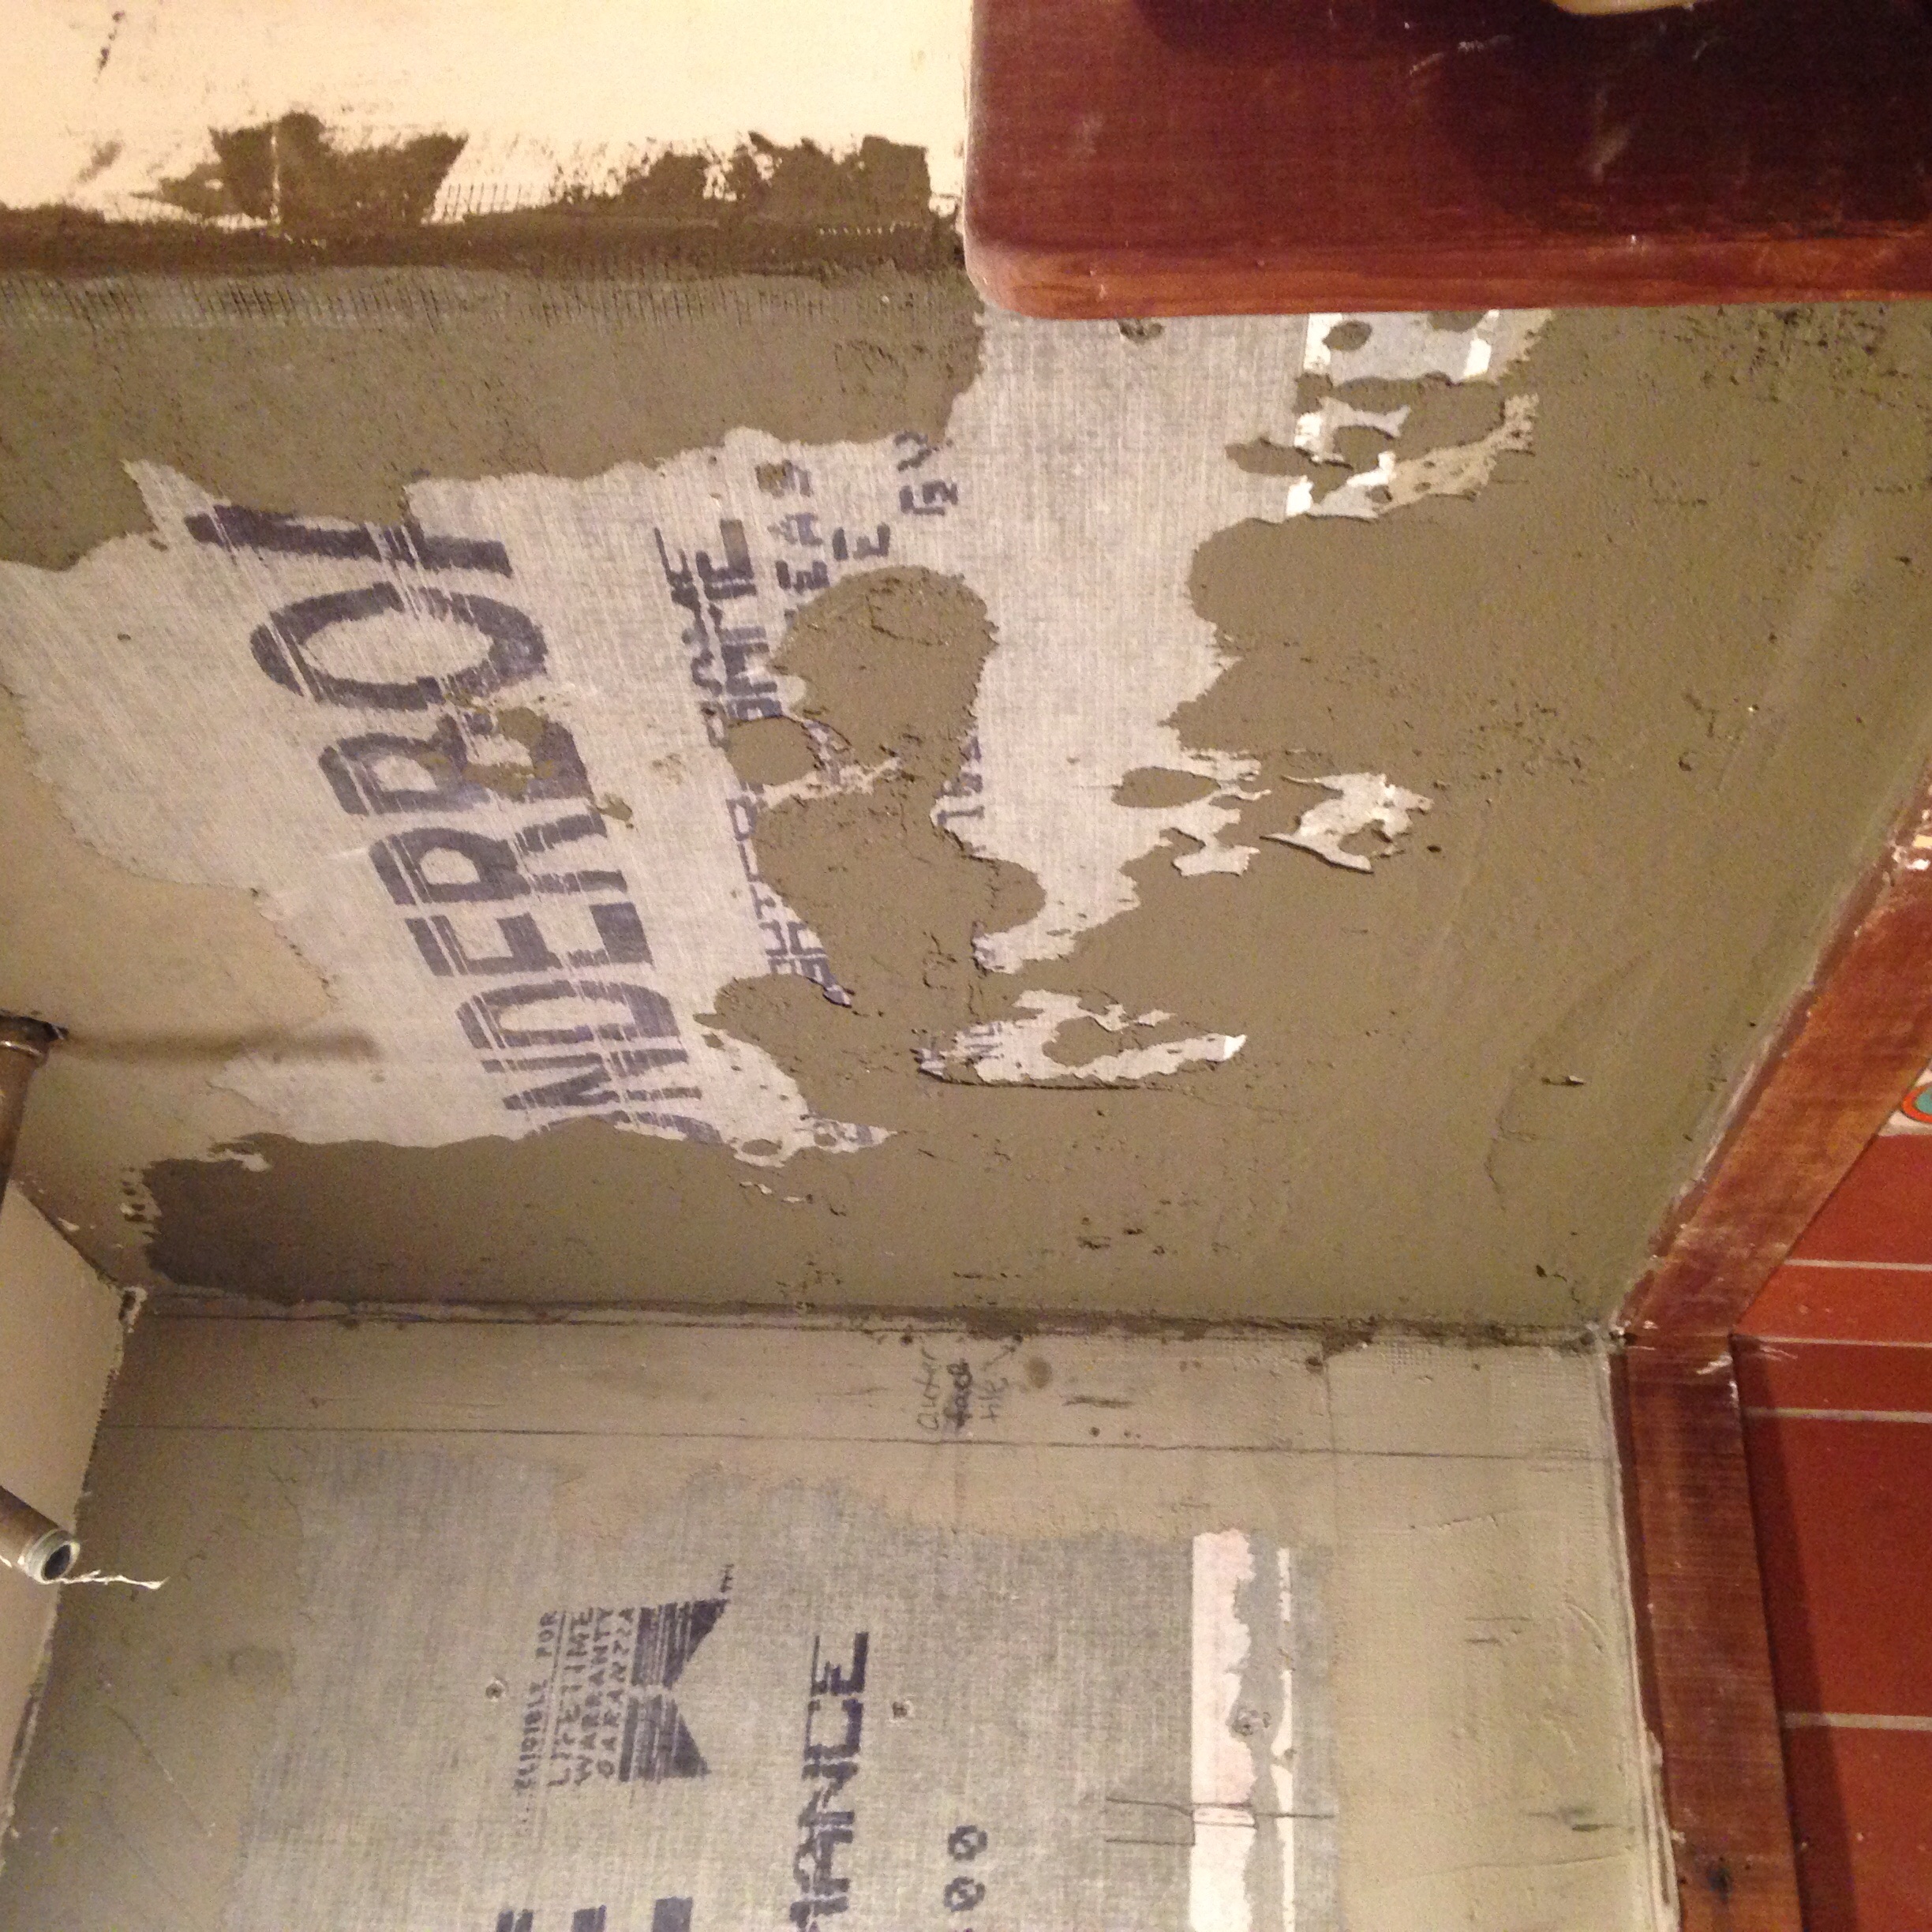
After adding some cement board for the wall, it looks like I'm going to need to add some mortar to straighten the surface

Here is a confusing diagram of how I'm trying to do the obvious - make the tile even
Evening out to make it so the finished tile looks continuous with the old tile

more straightening
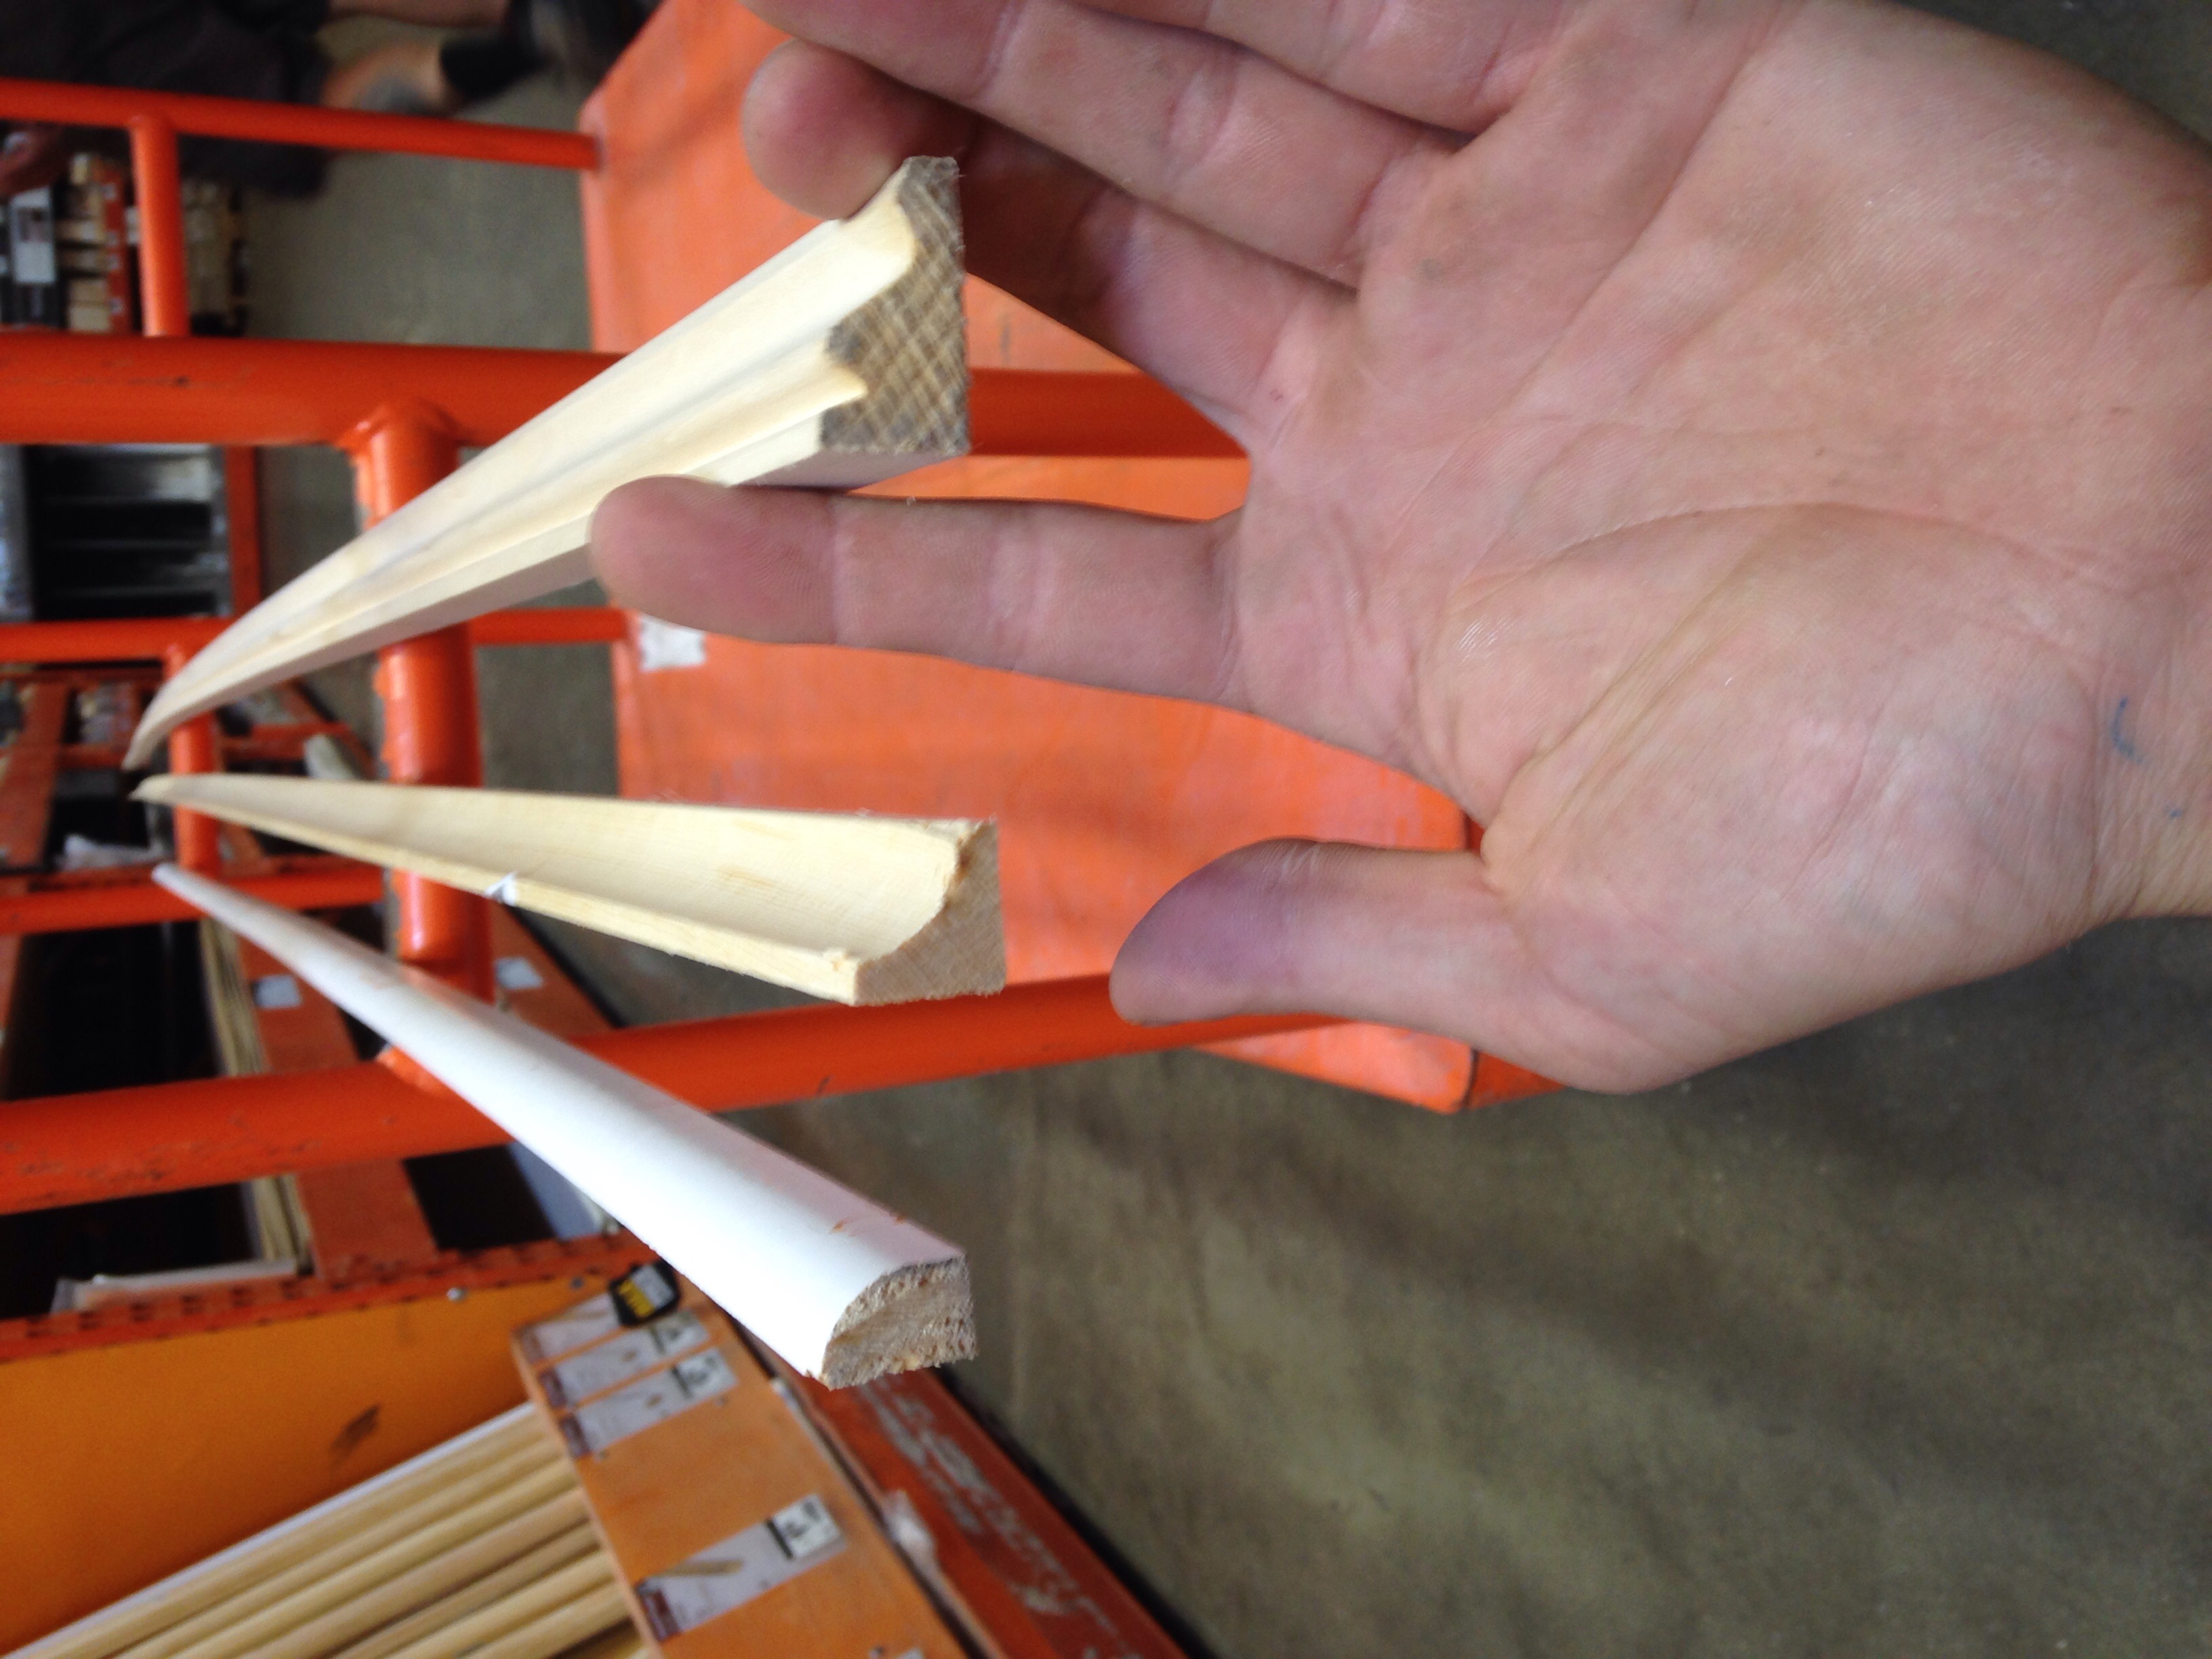
This is what you call a story stick: you mark out the grout lines on a piece of lathe so you can easily hold it up to the wall and compare layouts.

Most of the work is setup and layout. The actual tiling goes pretty quick.
You need a logic to do the layout. In the above pic, I used a standard rule - if the tile is in a running bond pattern, with an accent strip, you typically continue the running bond past the accent strip as if it wasn't there. In the above pic, imagine the area with the jade colored tile to the redwood trim deleted and you can see the running bond pattern is simply "interrupted" by the accent strip. But since I want to use a 1/8" grout line to minimize visual impact, the different 6" tiles top and bottom can't line up. So I centered it on the center line of the tile that dies into the soap dish.

Here's a tricky little piece
More layout planning
I used my story stick to plan the adjacent wall layout, above. This is a tricky one because the center line is blurred - the middle of the shower valves does not line up with the accent tile, and neither of those line up with the shower head. I'll just pick what looks the best using a bit of logic from before since there is no obvious "correct" layout.

This option starts with a long edge bullnose 3x6 which looks good along the right side.

That results in this appearance in the middle. The middle white tile lines up with the middle tile between the shower valves. The accent strip looks a little weird but 2/3 is the best we can do.

Another aspect of layout you should consider is where the cuts will occur. Having a small piece on the side is fine if you have a plumb wall. If you don't, these pieces will emphise the crookedness of your wall

This is a bullnose corner. Home Depot has regular 6x6 white dal tile and bullnose in stock but not 3x6 long edge bullnose. You might be starting to notice that having an ideal layout requires LOTS of planning. I think it took about a week to get the special order tiles.

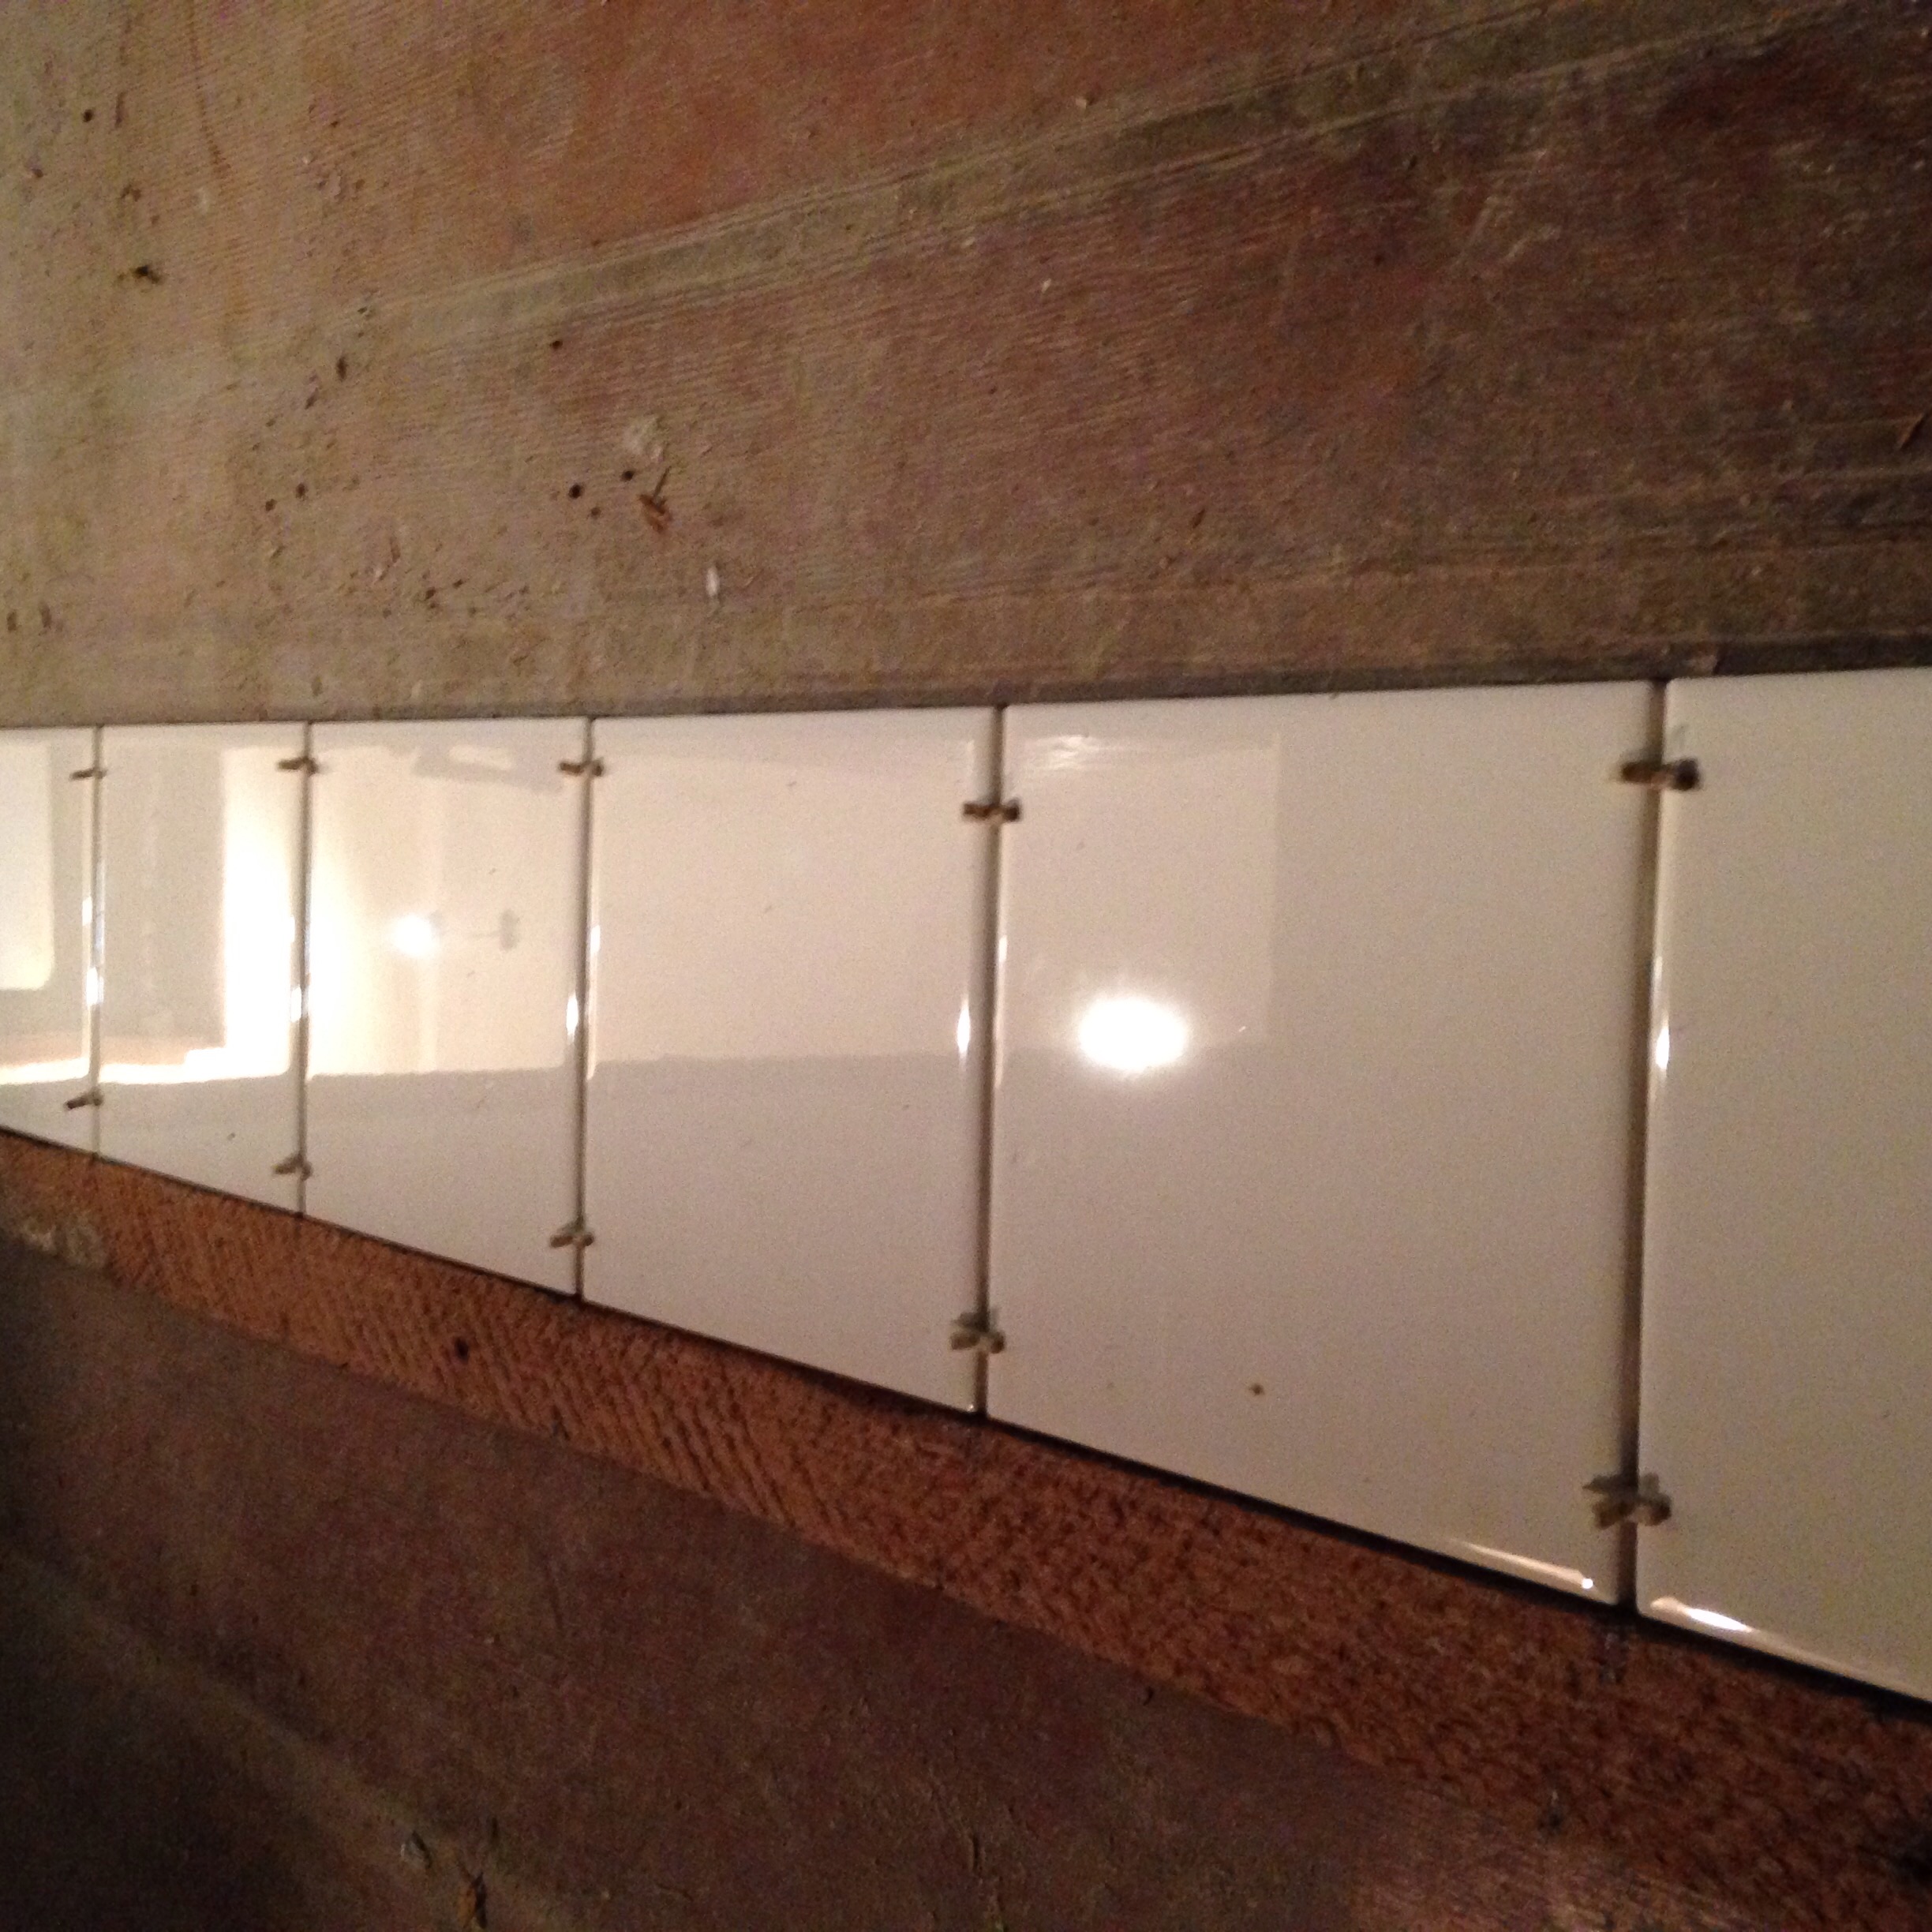
Tile is set
Now I wait for mortar to set and then grout...

LOOKS AWESOME!!!

I used this expensive grout.
I used expensive white grout. Traditional grout is water permeable. That means bacteria and mold can get into your grout because they have water and food - your body oils and dead skin.
Traditionally this was prevented with a tile sealer, which is basically a fine oil clearcoat. The oil finish is soaked up by the grout (and stone surface of natural stone tiles) and repels water, directing it down to the drain. You want the tiles, thin-set mortar and grout bone dry or the water behind the tiles will create hairline cracks when it escapes and the materials contract.
Over time, cracking is inevitable because of the expansion and contraction of materials by the changing of temperature and moisture of day and night and through the seasons. Oil finishes have some ability to stretch, but over time they become very tight and hard as they change in chemistry and eventually like sap they become brittle too.
If you are diligent about keeping your bathroom clean and sealing the grout every 10-15 years, you can avoid complete failure for a century. It is inevitable. However the ubiquitous use of bath fans in modern times has helped moderate changes in moisture. I think every bathroom should have a fan for moisture and odor.
Modern materials have come to the rescue to solve this age old problem. Grouts resembling plastic in texture in cured form have come onto the market which are extremely durable and water repellent throughout. First of this kind was epoxy grout, which is very effective but a sticky mess to install. Everything used to wipe it up essentially has to be thrown away.
The cool new thing is urethane grout. Like urethane or acrylic paint, it is water soluble until it cures, then it is as durable or better than oil paint. I'm a big fan of Zinser BULLSEYE 1-2-3 primer for its amazing sealing and priming properties. This "Fusion Pro - Single Component Grout" is very similar in smell and physical characteristics to the Zinser primer but thicker with lots of sand thrown in. The Fusion Pro grout could possibly be a Zinser primer type product with sand thrown in for texture. The Fusion grout at $55 for a gallon is expensive - enough for a tub to ceiling 4x4 tile 3-wall surround - but worth it's money if it outlasts a small bag of traditional grout at $15 for even 5 years. I wonder how Zinser at $20 something for a single gallon with fine sand added would perform. If it matched the performance of the Fusion grout - hey you could make $25/gal just by pouring sand into paint! There's a money making idea!
Looks like I'm rambling again. The short story is if you want white grout, which I think is beautiful looking, you should probably spend money on fancy urethane type grout.