Got the Gothic lights working

After installing the lights, I wasn't getting them to turn on. First thing to check with my beeper (electricity detector)  was power to the switch box. I wasn't getting anything from the switch boxes so I checked the fuses to see if there are any burnt ones. So I decided I should tie into the power going to the other switches by the front door. I used a piece of spare wire, held by my wire strippers (with insulated handles) to jump power from the hot light switch to the living room 3 way. I touched it to one pole on the 3 way and the light lit up! Nice! Then I connected it to the other pole and POP! Blew a fuse. The reason for this is there actually was power to the box but I just have a crappy beeper. Connecting a 110v hot to another 110v hot makes 220v.

Even for people like me who are pretty good with 3 ways, it helps to make notes. The old knob and two wires were not labeled so I had to figure out which was which.

Now I know that B wire is hot in (supposed to be black), C goes to the light somehow and when B is switched to A (common), it goes to the other switch (beeped for hot over there). Since there are only three wires, I know that if the hot comes in her…

Now I know that B wire is hot in (supposed to be black), C goes to the light somehow and when B is switched to A (common), it goes to the other switch (beeped for hot over there). Since there are only three wires, I know that if the hot comes in here, the other switch box must be connected to the lights

I started labeling the wires with tape. A legit electrician would use different colored electrical tape to mark them. I started sketching it out:

image.jpg

Gothic Mid-Century Mexican Wrought Iron light fixtures for the living room

The tall ceilings in the living room are missing a matching pair of light fixtures, likely made by "Otar - The Lamp Maker, Santa Cruz, CA" (from the historical documents). 

I talked to the man who grew up there whose parents bought the house in 1960 about the lights in the living room. He said they were brass carriage lanterns but were stolen when the house was unoccupied.

He said this is the closest picture he could find of what they looked like

He said this is the closest picture he could find of what they looked like

He also said that there used to be one next to the front steps. 

I wasn't sure whether these were original since I haven't seen brass fixtures in any Maybeck houses. I got the idea to use some wrought iron lanterns from this picture of the Geisler House (1924), which could be what the originals in this house looked like.

image.jpg

So I started looking for a pair of light fixtures of this type. I found a similar kind I really liked that was made around the '50s-'70s. Made in Mexico from wrought iron, with textured glass (a tipoff that it's mid-century), also in amber. It wasn't too hard to find one at a time, but they were usually around $100 for one. However, I couldn't just buy two separately since there was a lot of variation in the finer details of the design and glass color and texture. I lucked out and found a pair for $50! They were rusty because they had been outside but that wasn't a problem for me. I drove down to San Jose to pick them up.

image.jpg

A matching pair! They had been hanging from the cord... They needed a swag chain and canopy base to become a regular ceiling fixture.

image.jpg
Brushed off some rust with a wire brush then started to paint with Rustoleum Rust Stop Satin Black. 

Brushed off some rust with a wire brush then started to paint with Rustoleum Rust Stop Satin Black. 

Added some swag chain

Added some swag chain

Added a base via "Canopy Base Kit" from a hardware store. Most hardware stores have a lamp section with swag chains, "lamp cord" power cord if you need to rewire, and other light/lamp parts.

Added a base via "Canopy Base Kit" from a hardware store. Most hardware stores have a lamp section with swag chains, "lamp cord" power cord if you need to rewire, and other light/lamp parts.

Coming along. 

Coming along. 

I cleaned the glass while it was out

I cleaned the glass while it was out

Oh yes! 

Oh yes! 

Here's where the light used to be

Here's where the light used to be

Wow. 

Wow. 

It looks so right that it almost looks like it has always been there. Great success! 

It looks so right that it almost looks like it has always been there. Great success! 

Looks awesome I think! The lights aren't going on so I'll troubleshoot that 3-way switch next... 

Three way switch

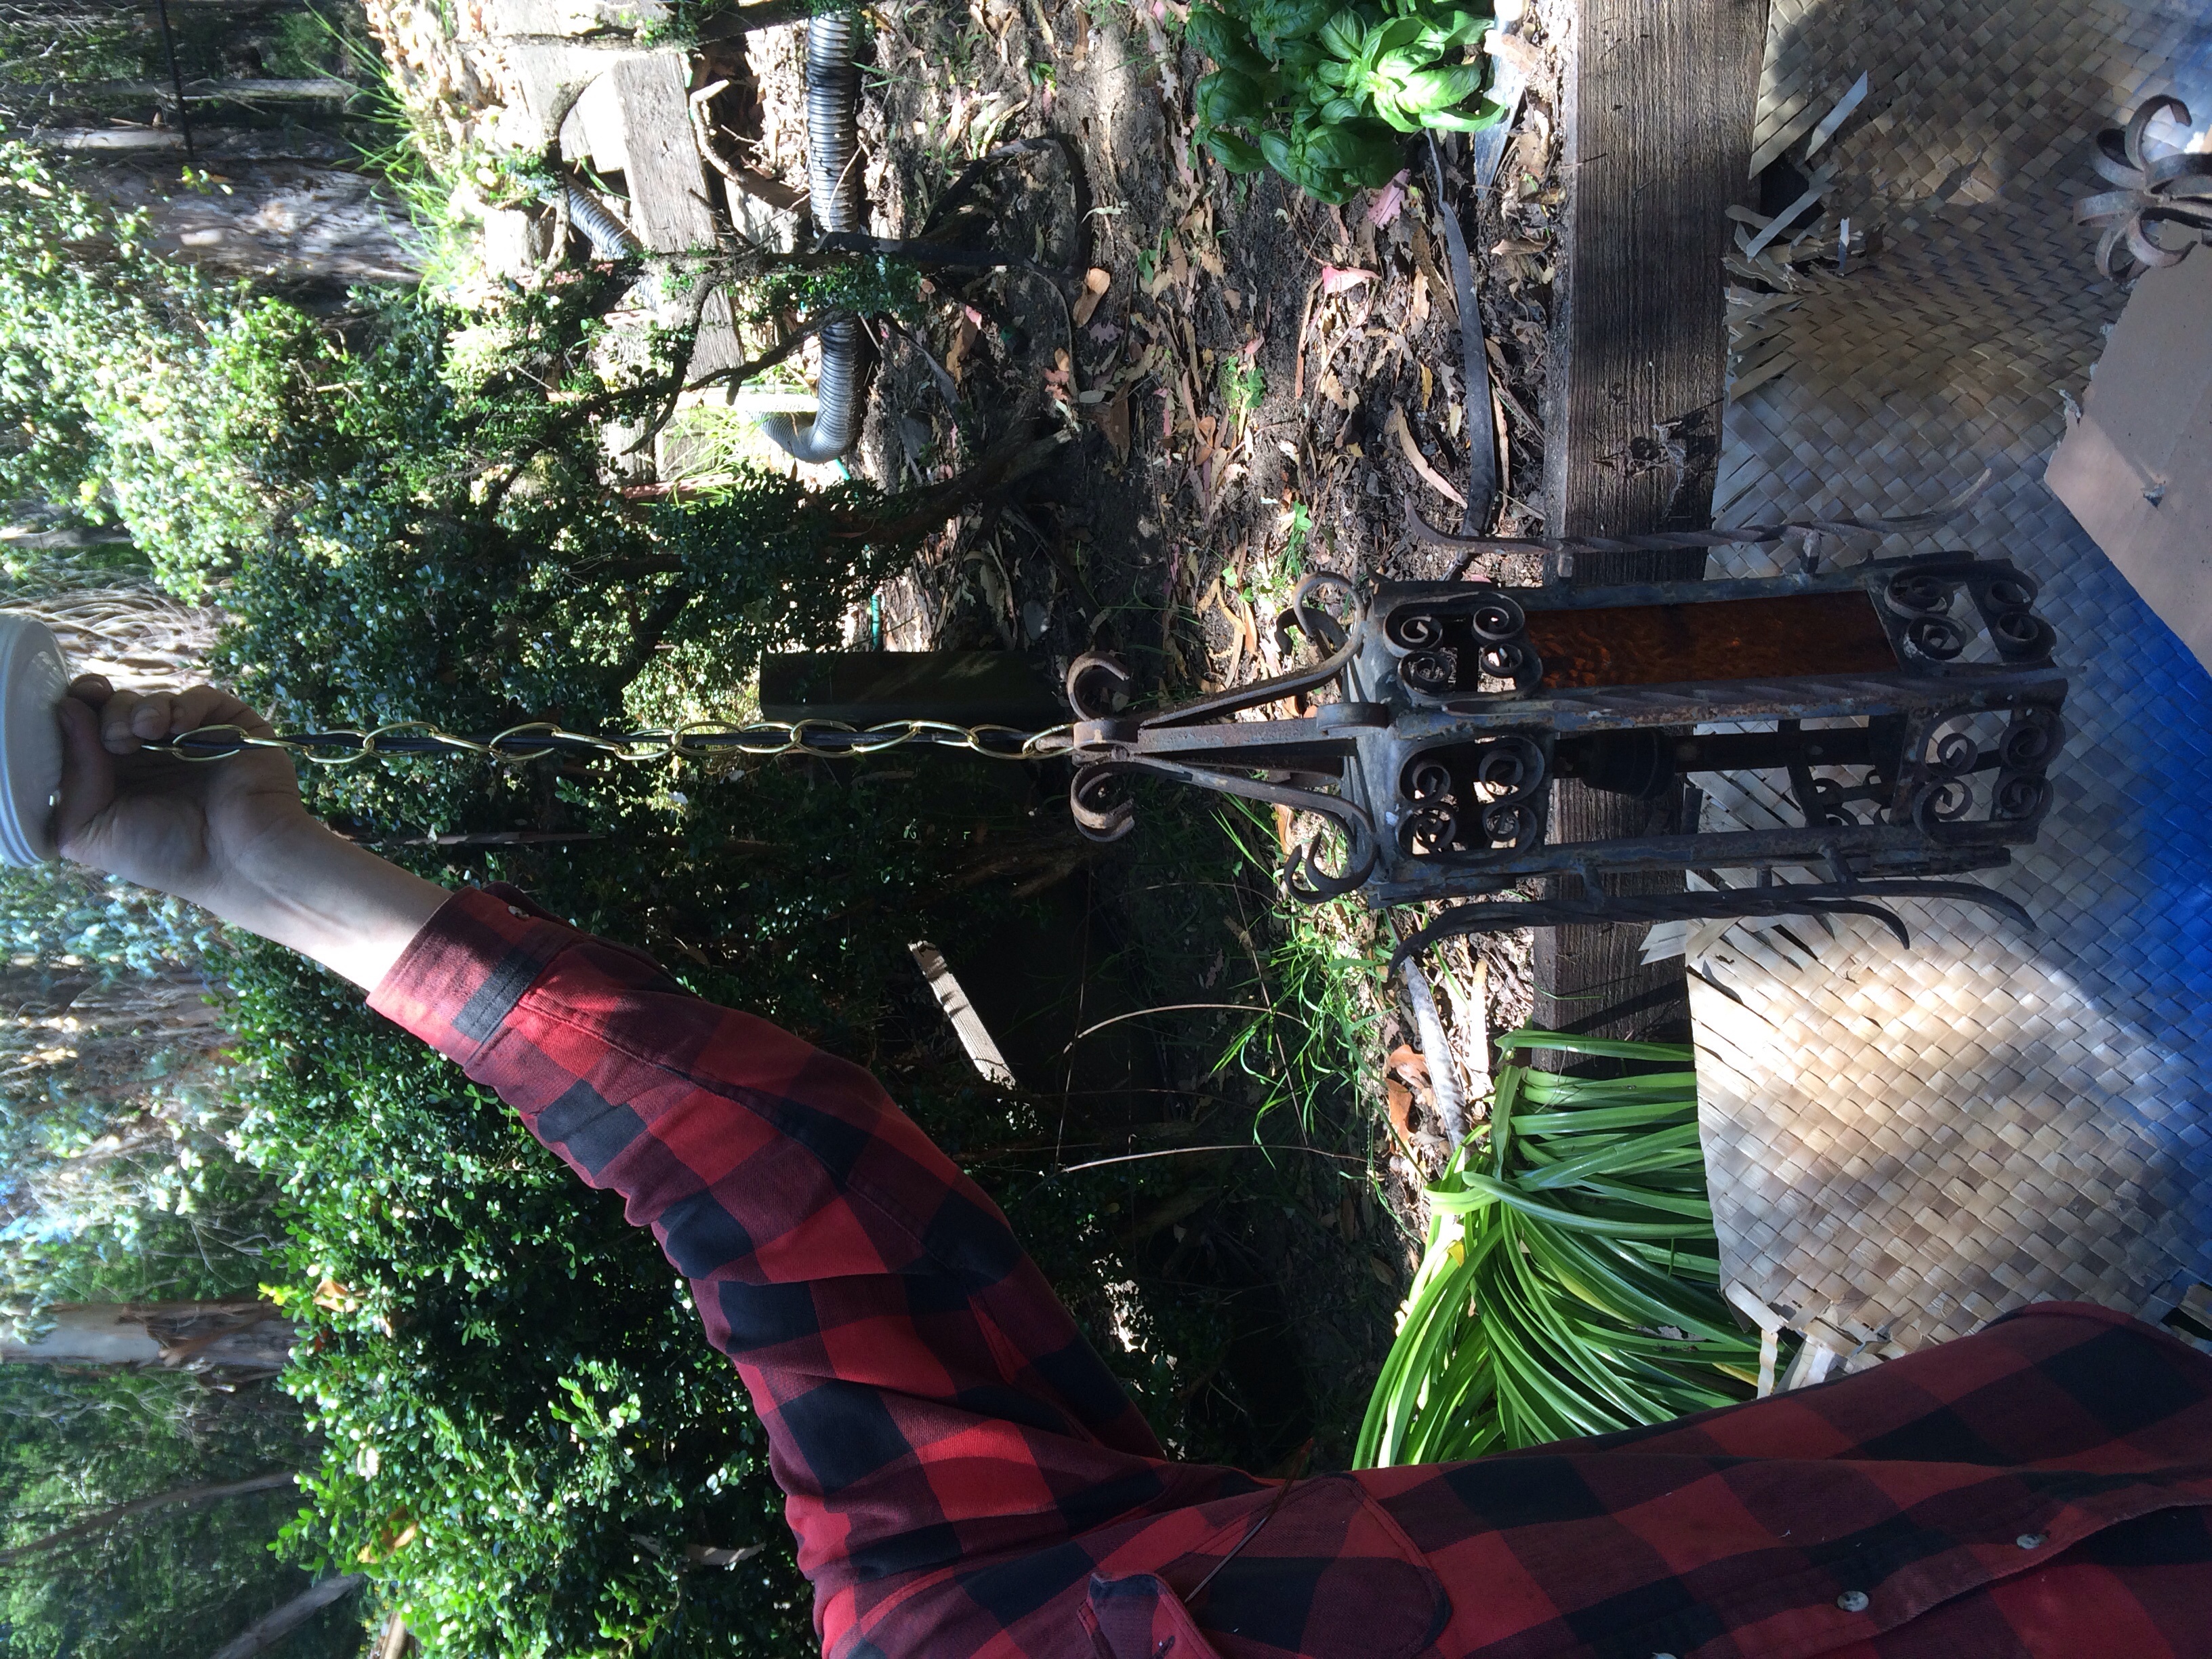
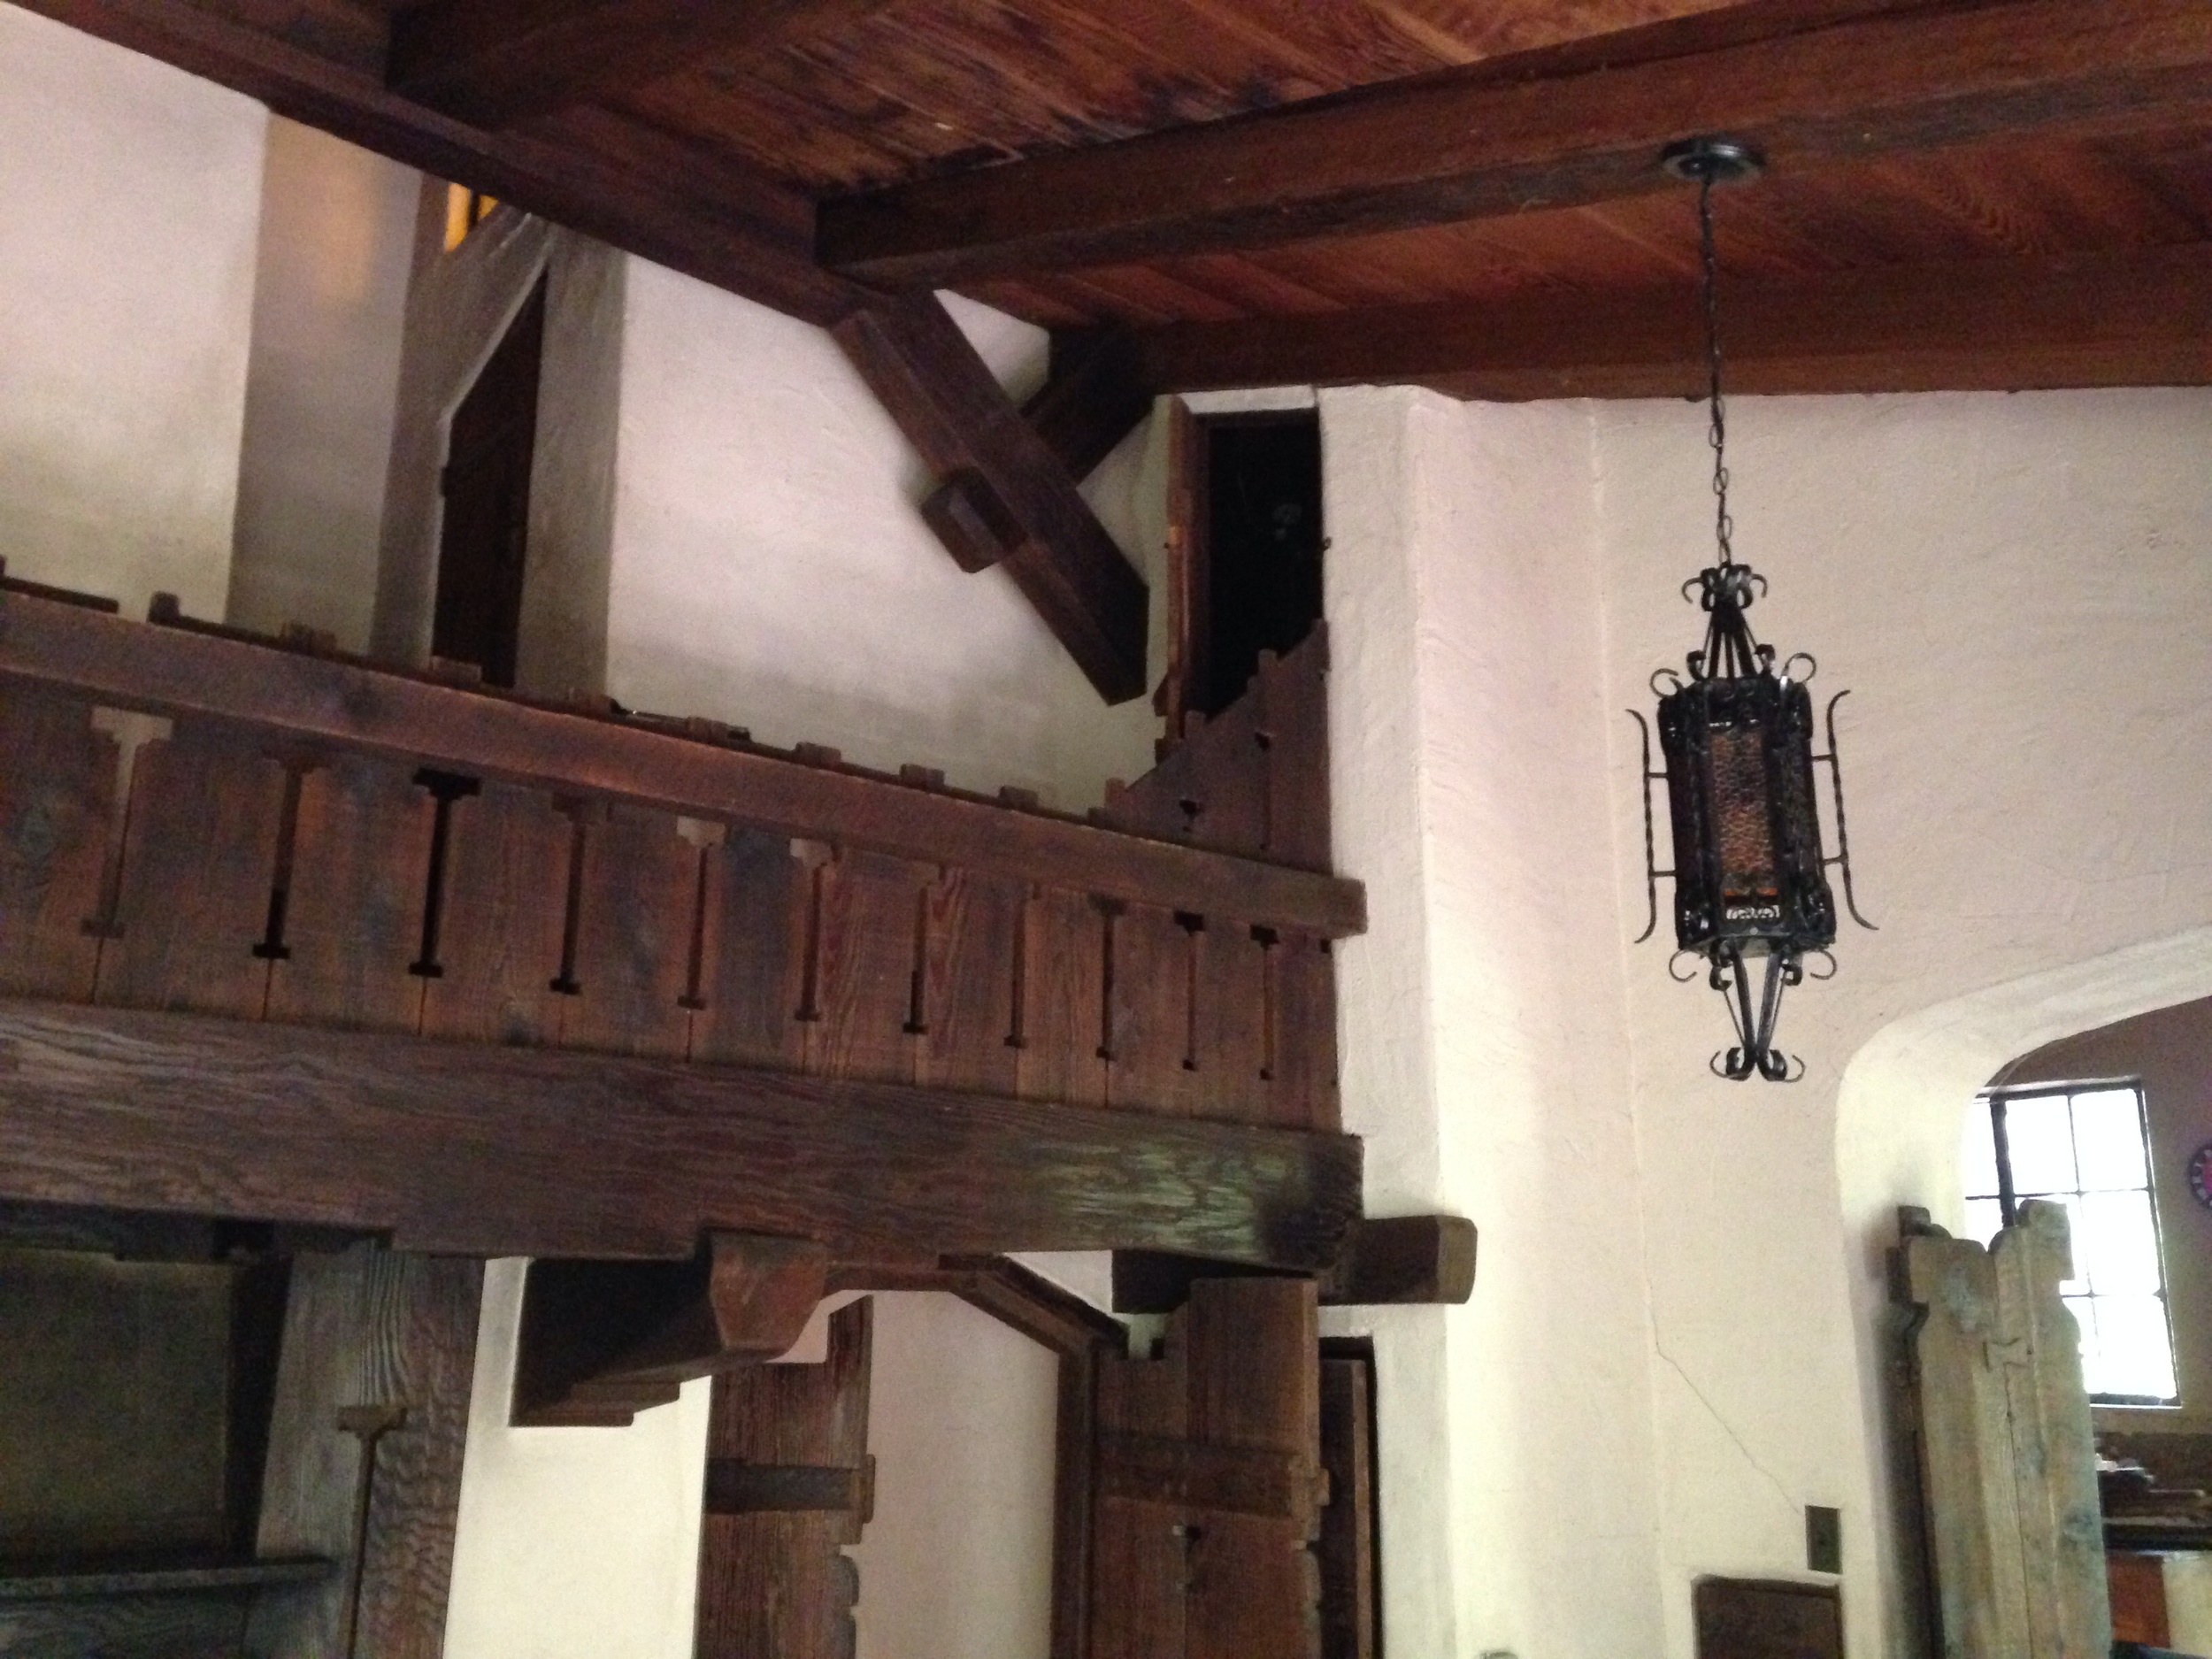
The bathroom is dark. It has one wall light with a pull chain and a "beauty bar" medicine cabinet light activated by (an oddly high) switch next to mirror.  I want to add recessed LED cans, put in a three way switch setup so the lights can be turned on or off next to either door, and add the original wall light to this circuit to maintain the original vibe.

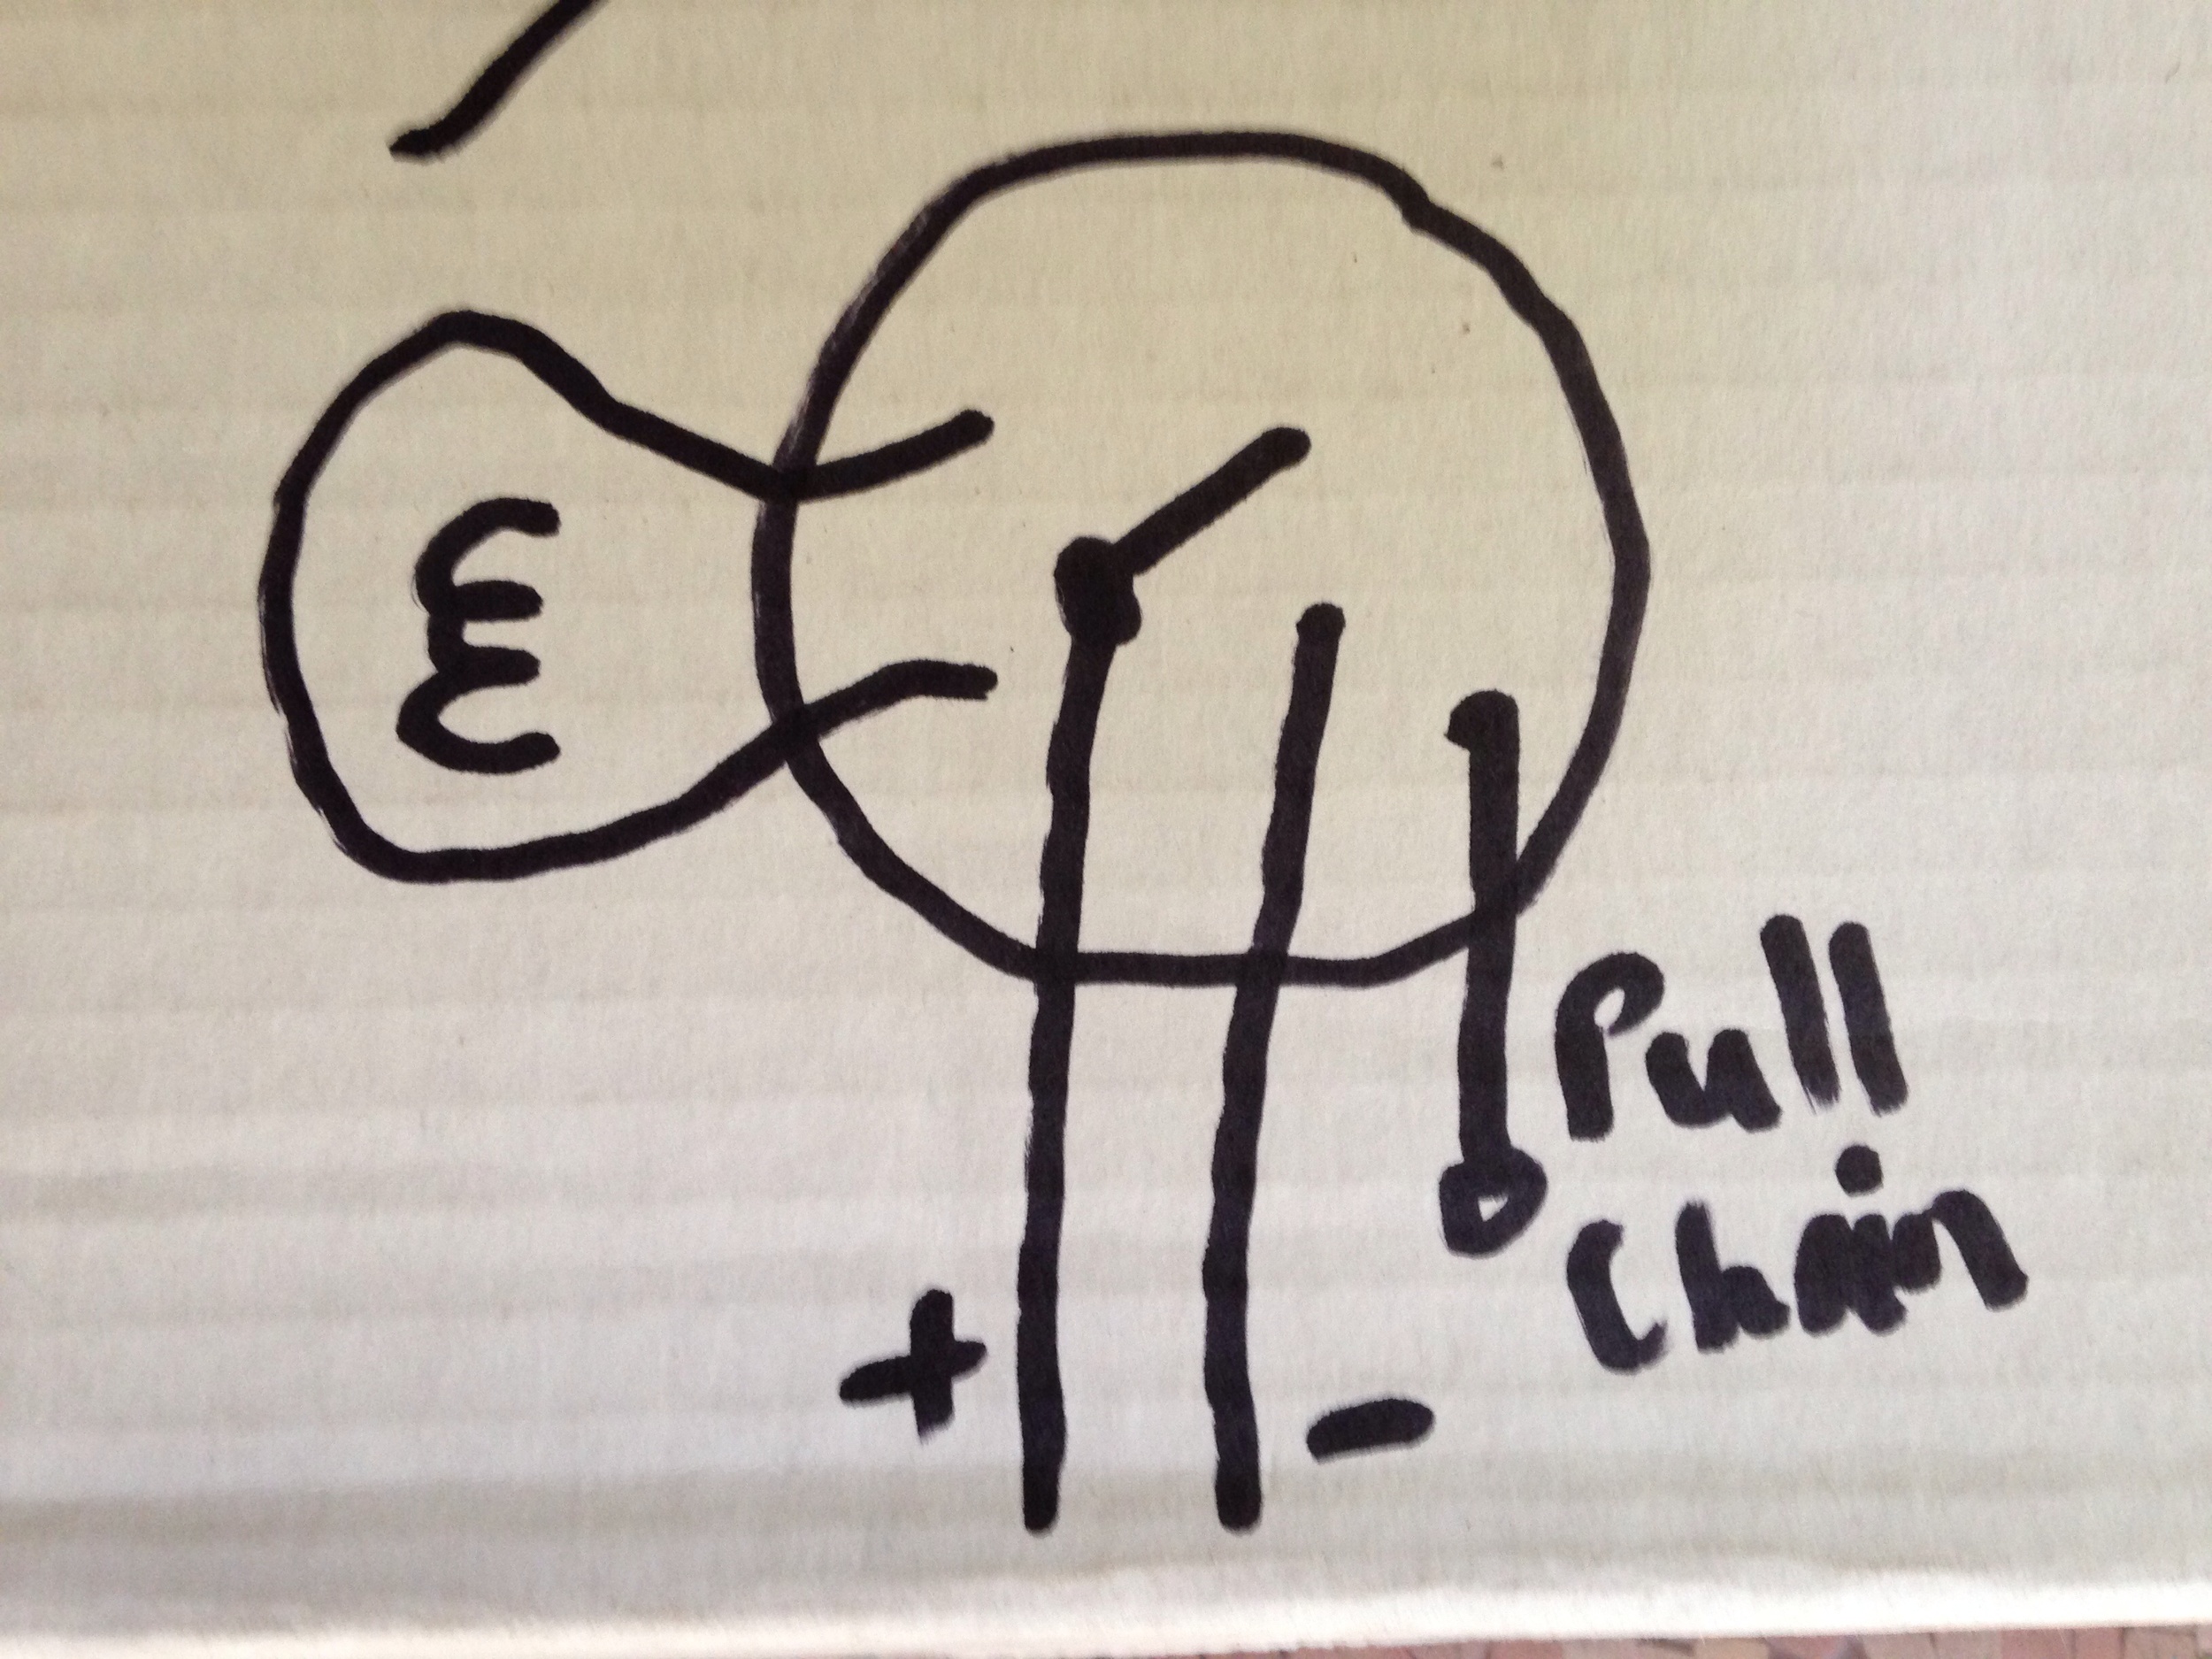
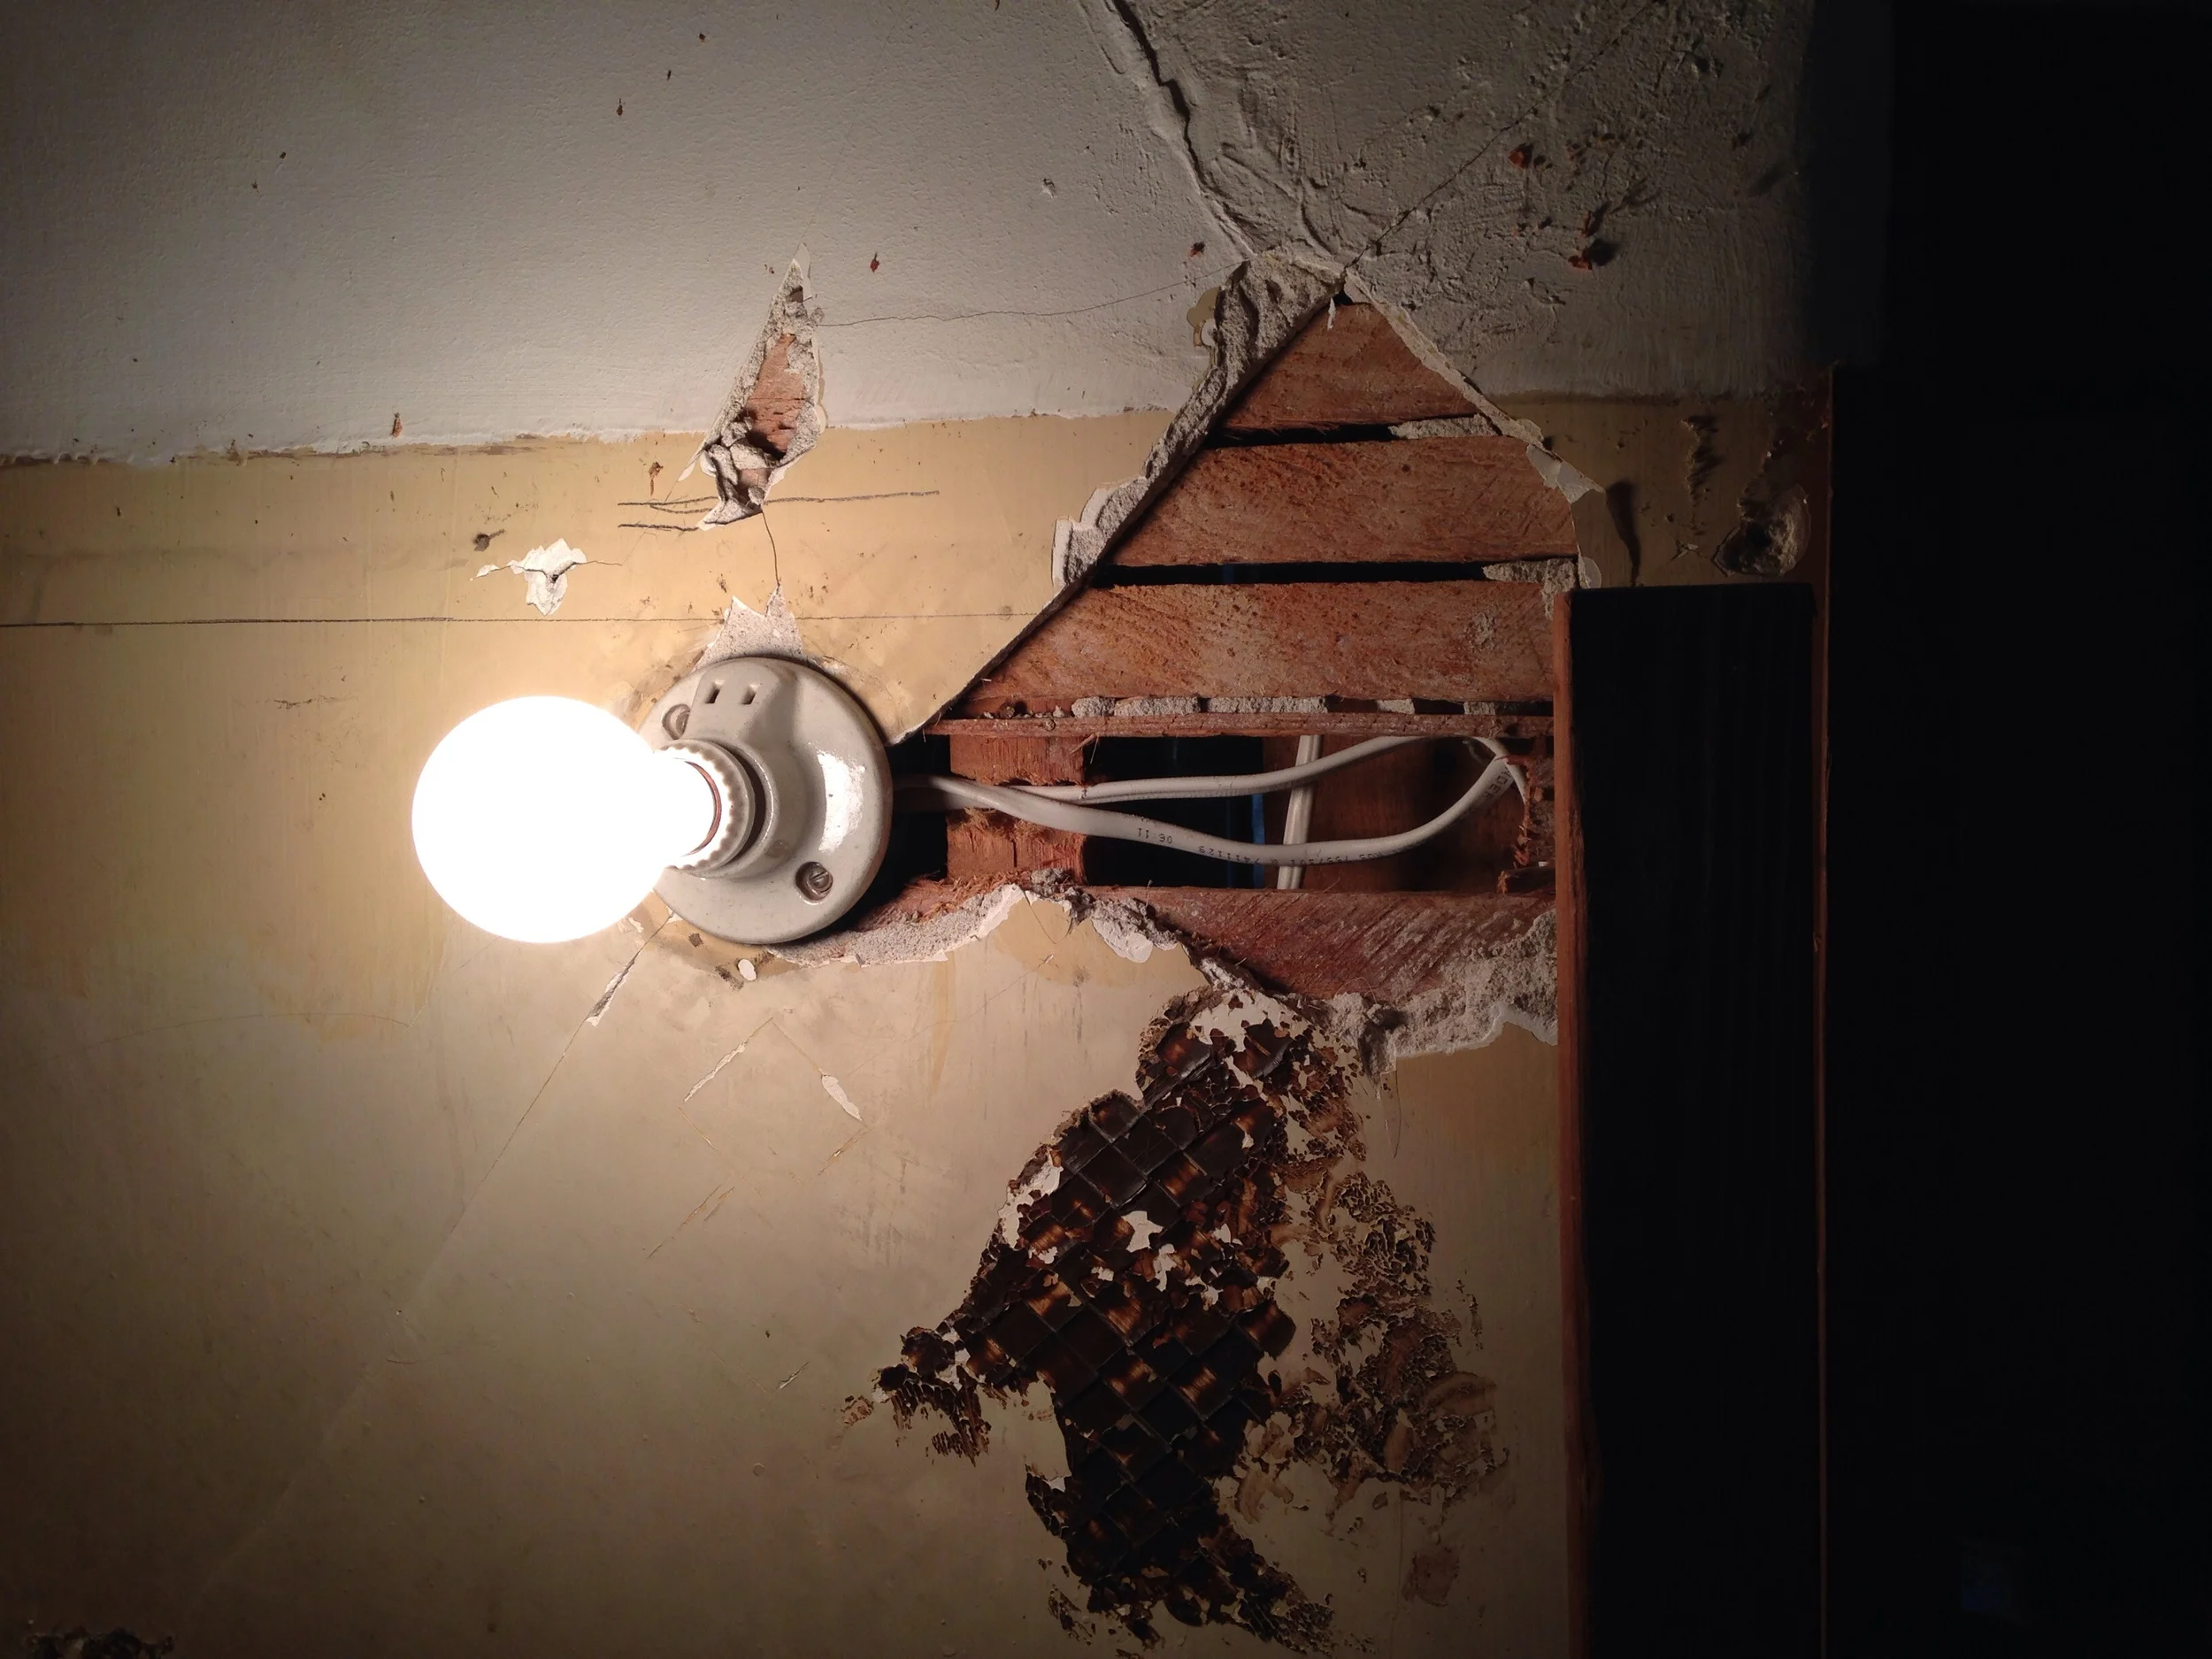
When you have a wall light with a switch on it, that means the switch is inside the light fixture and the wires in the box behind it are always hot. 

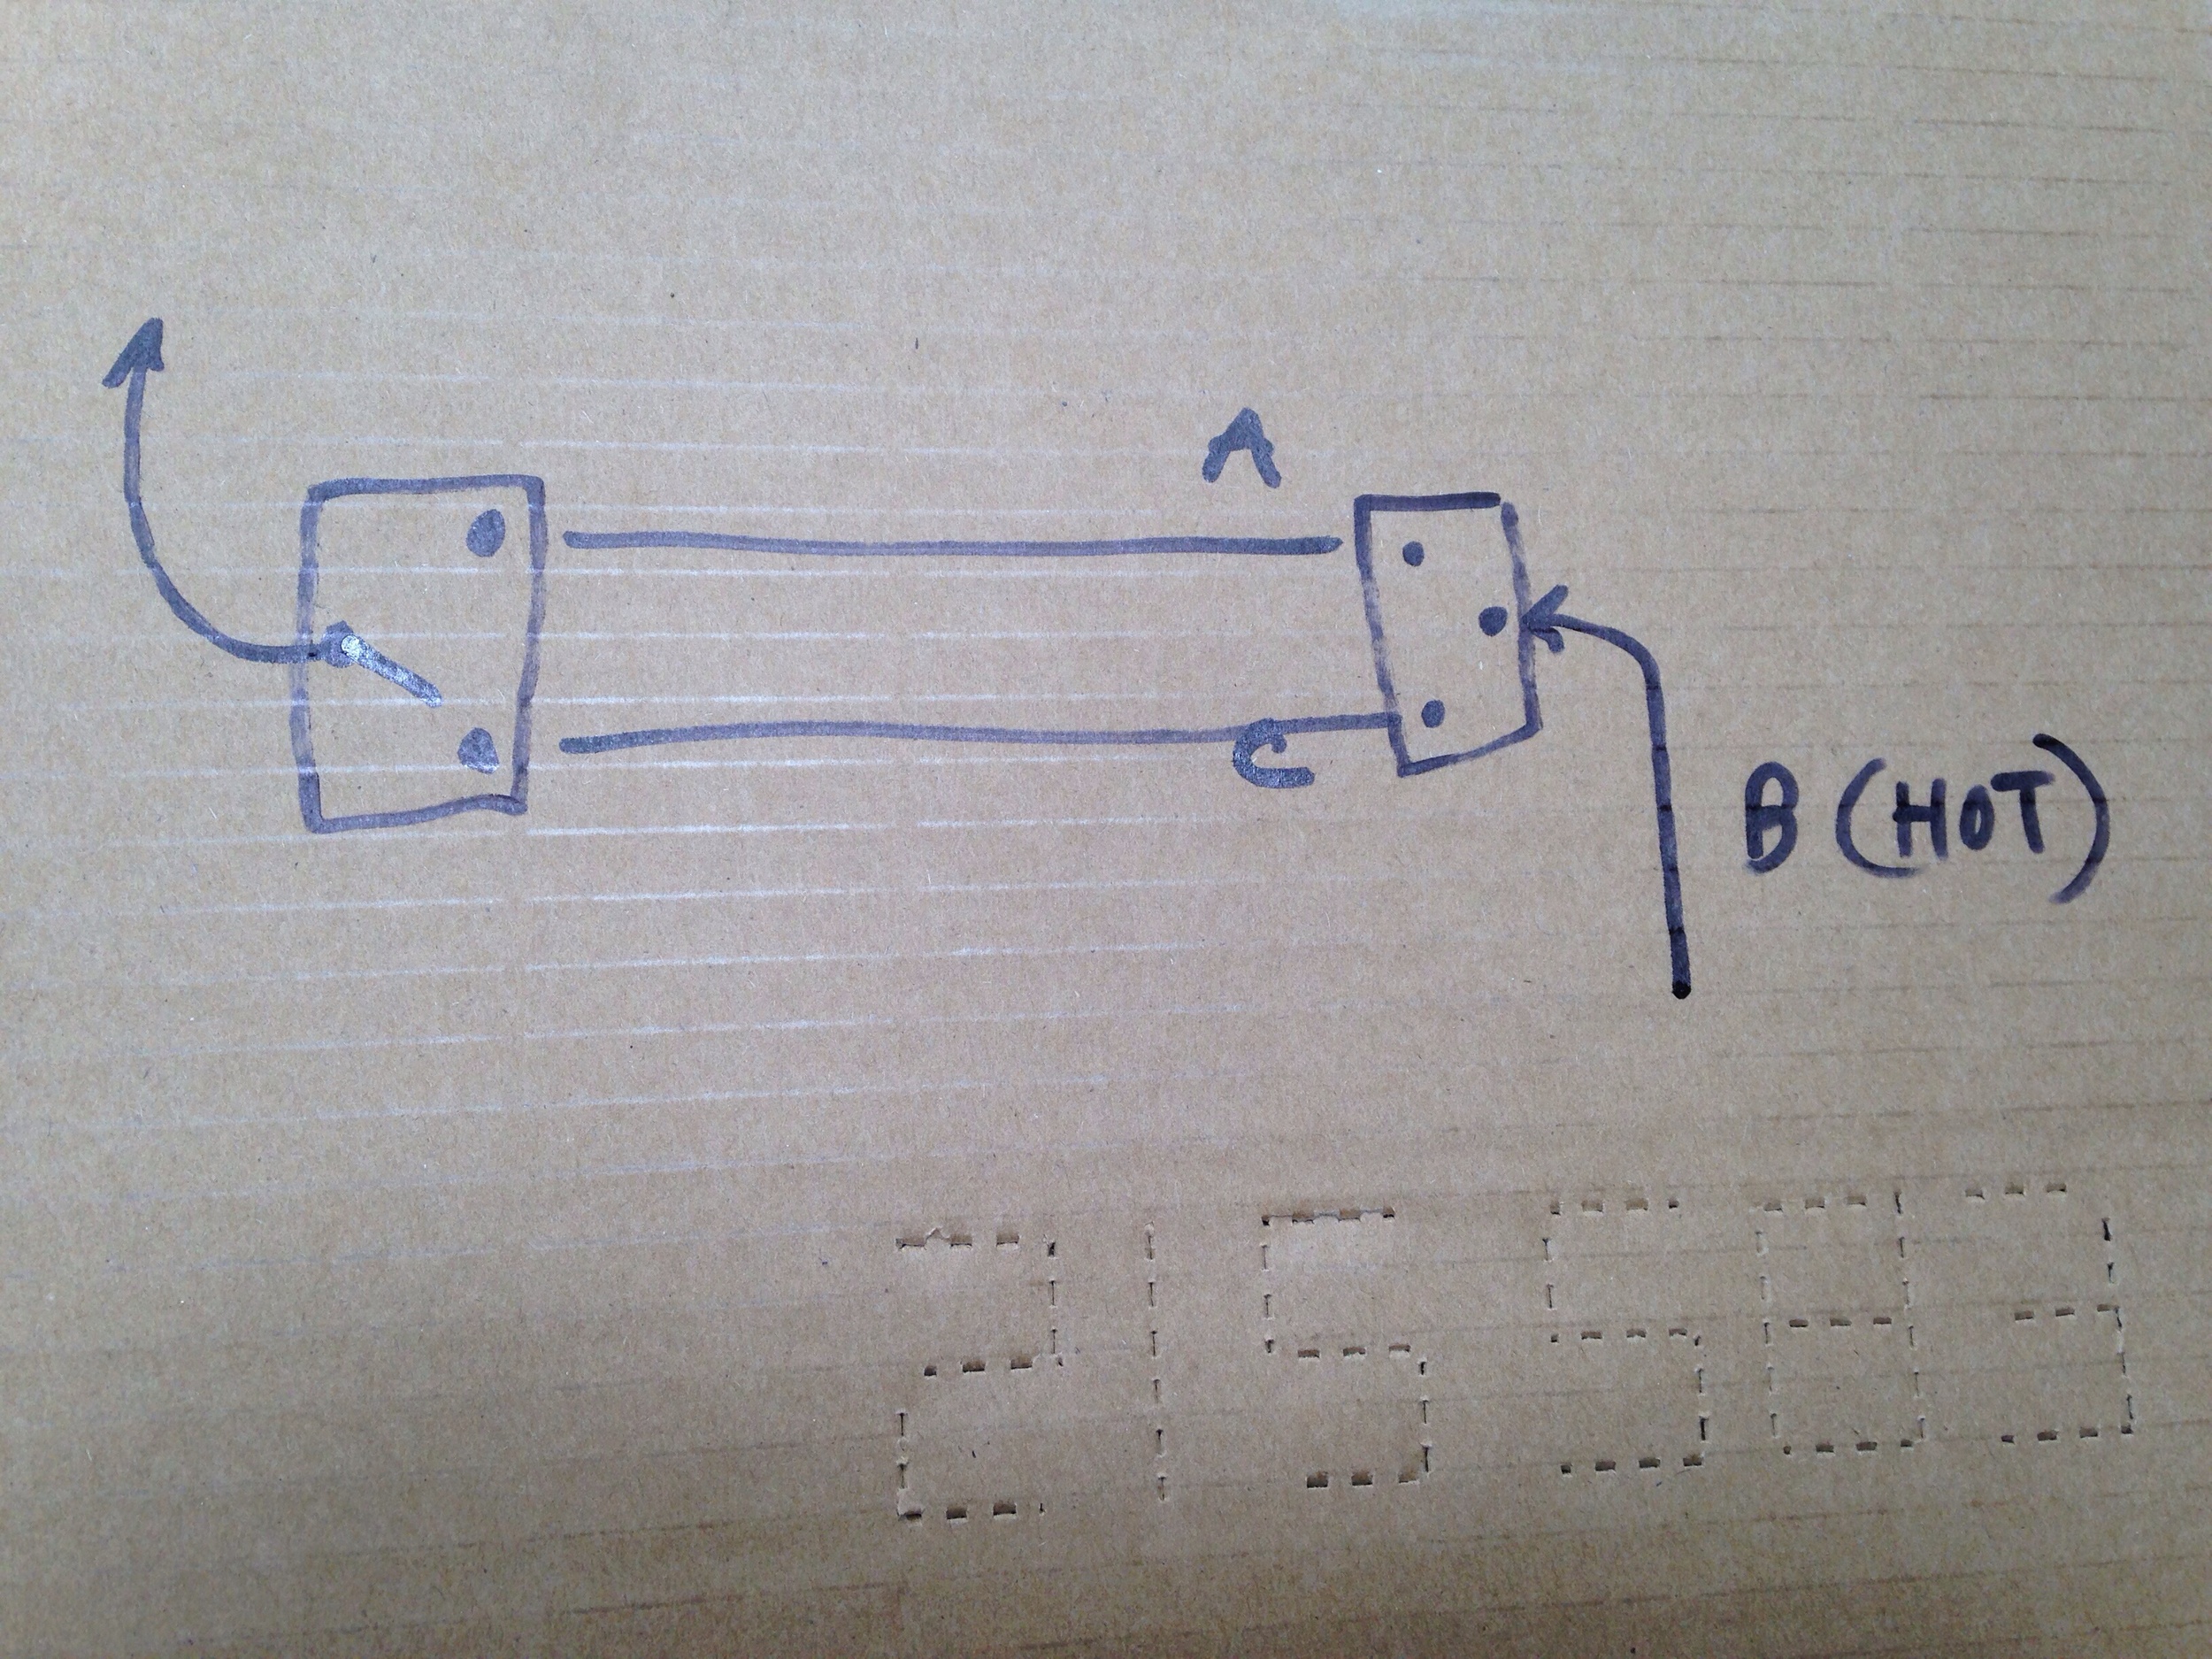
This will be our main junction box. The power will come into the box, go out to the switches, come back into the boxed as a "switched hot" and then the switched hot will tie into the old light and the new overhead lights called cans. To show you what I mean, I've drawn you some pictures.

This is how a light works. You allow the electricity to "escape" through the filament to the ground. A voltage is a difference in charge that allows this to happen. The charges want to even out so you allow them to do so by making them do something …

This is how a light works. You allow the electricity to "escape" through the filament to the ground. A voltage is a difference in charge that allows this to happen. The charges want to even out so you allow them to do so by making them do something for you

This is actually closer to how the electricity is routed. It goes in through the bottom tip and out through the threaded sleeve. 

This is actually closer to how the electricity is routed. It goes in through the bottom tip and out through the threaded sleeve. 

This is a typical interrupter switch. The switch breaks the connection that supplies power to the light. 

This is a typical interrupter switch. The switch breaks the connection that supplies power to the light. 

This is closer to what it really looks like. Two wires come into the box, white (-)  and black (+).  There is also a ground wire if the wiring is newish. This is essentially a backup ground and won't need to be discussed here.

This is closer to what it really looks like. Two wires come into the box, white (-)  and black (+).  There is also a ground wire if the wiring is newish. This is essentially a backup ground and won't need to be discussed here.

Here is what I have to start with: a box with wires that supply power, and a light fixture with a pull chain switch built into it.

Here is what I have to start with: a box with wires that supply power, and a light fixture with a pull chain switch built into it.

Now it gets complicated. A three way switch uses 3 conductor wire with two hot wires. The switches don't simply interrupt but rather rout the power to one of two "tracks". If you imagine a train going somewhere with two tracks and two track switches, it would need to have these switches "in agreement" to get to the destination - in our case this is power going to a light.

Here is one configuration: the power come into the first switch box with 14-2, 14 gauge 2 conductor wire. Between the switches is 14-3 wire. From the second switch box, 14-2 goes up to the light. Both switches are either on black or red. The have to…

Here is one configuration: the power come into the first switch box with 14-2, 14 gauge 2 conductor wire. Between the switches is 14-3 wire. From the second switch box, 14-2 goes up to the light. Both switches are either on black or red. The have to be switched to the same hot wire to turn on the light, thus a three way light switch (3 because 2 switches and a light I suppose). 

If you get how the three way works, now for the real challenge - putting this knowledge into use in your preferred configuration.  From earlier: "The power will come into the box, go out to the switches, come back into the boxed as a "switched hot" and then the switched hot will tie into the old light and the new overhead lights called cans." That looks something like this:

See if you can trace the power all the way through. The white wire of the 14-3 becomes the switched hot coming back into our junction box where it feeds the original light and from there some new added cans.

See if you can trace the power all the way through. The white wire of the 14-3 becomes the switched hot coming back into our junction box where it feeds the original light and from there some new added cans.

First though I have to turn off the circuit by finding the correct fuse. It's a good idea to write down everything that turns off when you pull this fuse. On a side note, you can think of a fuse like a light bulb that has a thick filament that burns out when too much power is flowing through it (amperage) thus cutting off power to the circuit. 

Pulling the middle left fuse cuts off power to the circuit we want to work on

Pulling the middle left fuse cuts off power to the circuit we want to work on

Here's our wall light. I took out the pull chain because we will have two switches for it. One wire going to the switch from the old light / junction box is the fused hot going to the switch box and coming back through the white wire as the switched…

Here's our wall light. I took out the pull chain because we will have two switches for it. One wire going to the switch from the old light / junction box is the fused hot going to the switch box and coming back through the white wire as the switched hot. The other wire is 14-3 which is going between the 3 way switches. The switched hot connects to the old light and from there to the ceiling lights.

One switch, two switch... red switch blue switch? 

image.jpg
image.jpg
The three way is working! With all the wires it's pretty easy to mix something up. 

The three way is working! With all the wires it's pretty easy to mix something up. 

After making holes where I want the lights and making more holes to rout the wires, I'm ready to drywall the ceiling. The plaster won't stop falling until you remove it and drywall or drywall over it. Going over this mess is a lot easier than taking…

After making holes where I want the lights and making more holes to rout the wires, I'm ready to drywall the ceiling. The plaster won't stop falling until you remove it and drywall or drywall over it. Going over this mess is a lot easier than taking it all down and drywalling to the studs... You probably won't miss the 3/4" you would gain from removing all the lath and plaster.

I highly recommend you get a hole saw exactly the size recommended by the instructions of the can you're putting in. It makes retrofit cans go in much easier. This one is 4&1/8" as specified and the can is a nice tight interference fit with the …

I highly recommend you get a hole saw exactly the size recommended by the instructions of the can you're putting in. It makes retrofit cans go in much easier. This one is 4&1/8" as specified and the can is a nice tight interference fit with the hole

LET THERE BE LIGHT! 

LET THERE BE LIGHT! 

I have one more to put in over the tub but I ran out of the plastic grommets that fit into the metal can box so that the wire going in doesn't have its insulation ripped by the metal edge. (You know how metal boxes have breakouts? The little coin lo…

I have one more to put in over the tub but I ran out of the plastic grommets that fit into the metal can box so that the wire going in doesn't have its insulation ripped by the metal edge. (You know how metal boxes have breakouts? The little coin looking things? When you knock those out, you are supposed to put in a connector meant for the type of conduit you are using. Easiest and cheapest for Romex (plastic sheathed conduit) are the plastic click type. They have metal connectors too but they cost more and are harder to install but can be reused.

I am so happy to have that bathroom lit up brightly. Good lighting noticeably improves my mood. I'm still not sure what vanity light I'm going to use for above the mirror but I'm leaning towards a chrome "beauty bar". I think I have one kicking around somewhere. I'm kind of a light fixture hoarder...

Haha actually I have two. 

image.jpg