Alameda Thrift Haul
Evan and I have a routine most Saturdays that starts with coffee and is followed by a trip to Alameda to do some thrifting. Our favorite place to go is Redux. It's an amazing little shop that is also part art gallery and has incredible salvaged items for insane prices (as seen below...). Today's trip was a grand success; we bought plenty of goods for the house and kept the cost under $50. Here's what we got!

6-pack Mushroom shooters for $2

splattered mixing bowls for $5.50/each

condiment set for $2

embroidered kitchen towels for $2/each

retro "Cooling Dishes" cookbook for $2

pyrex dish with brass stand for $5.50
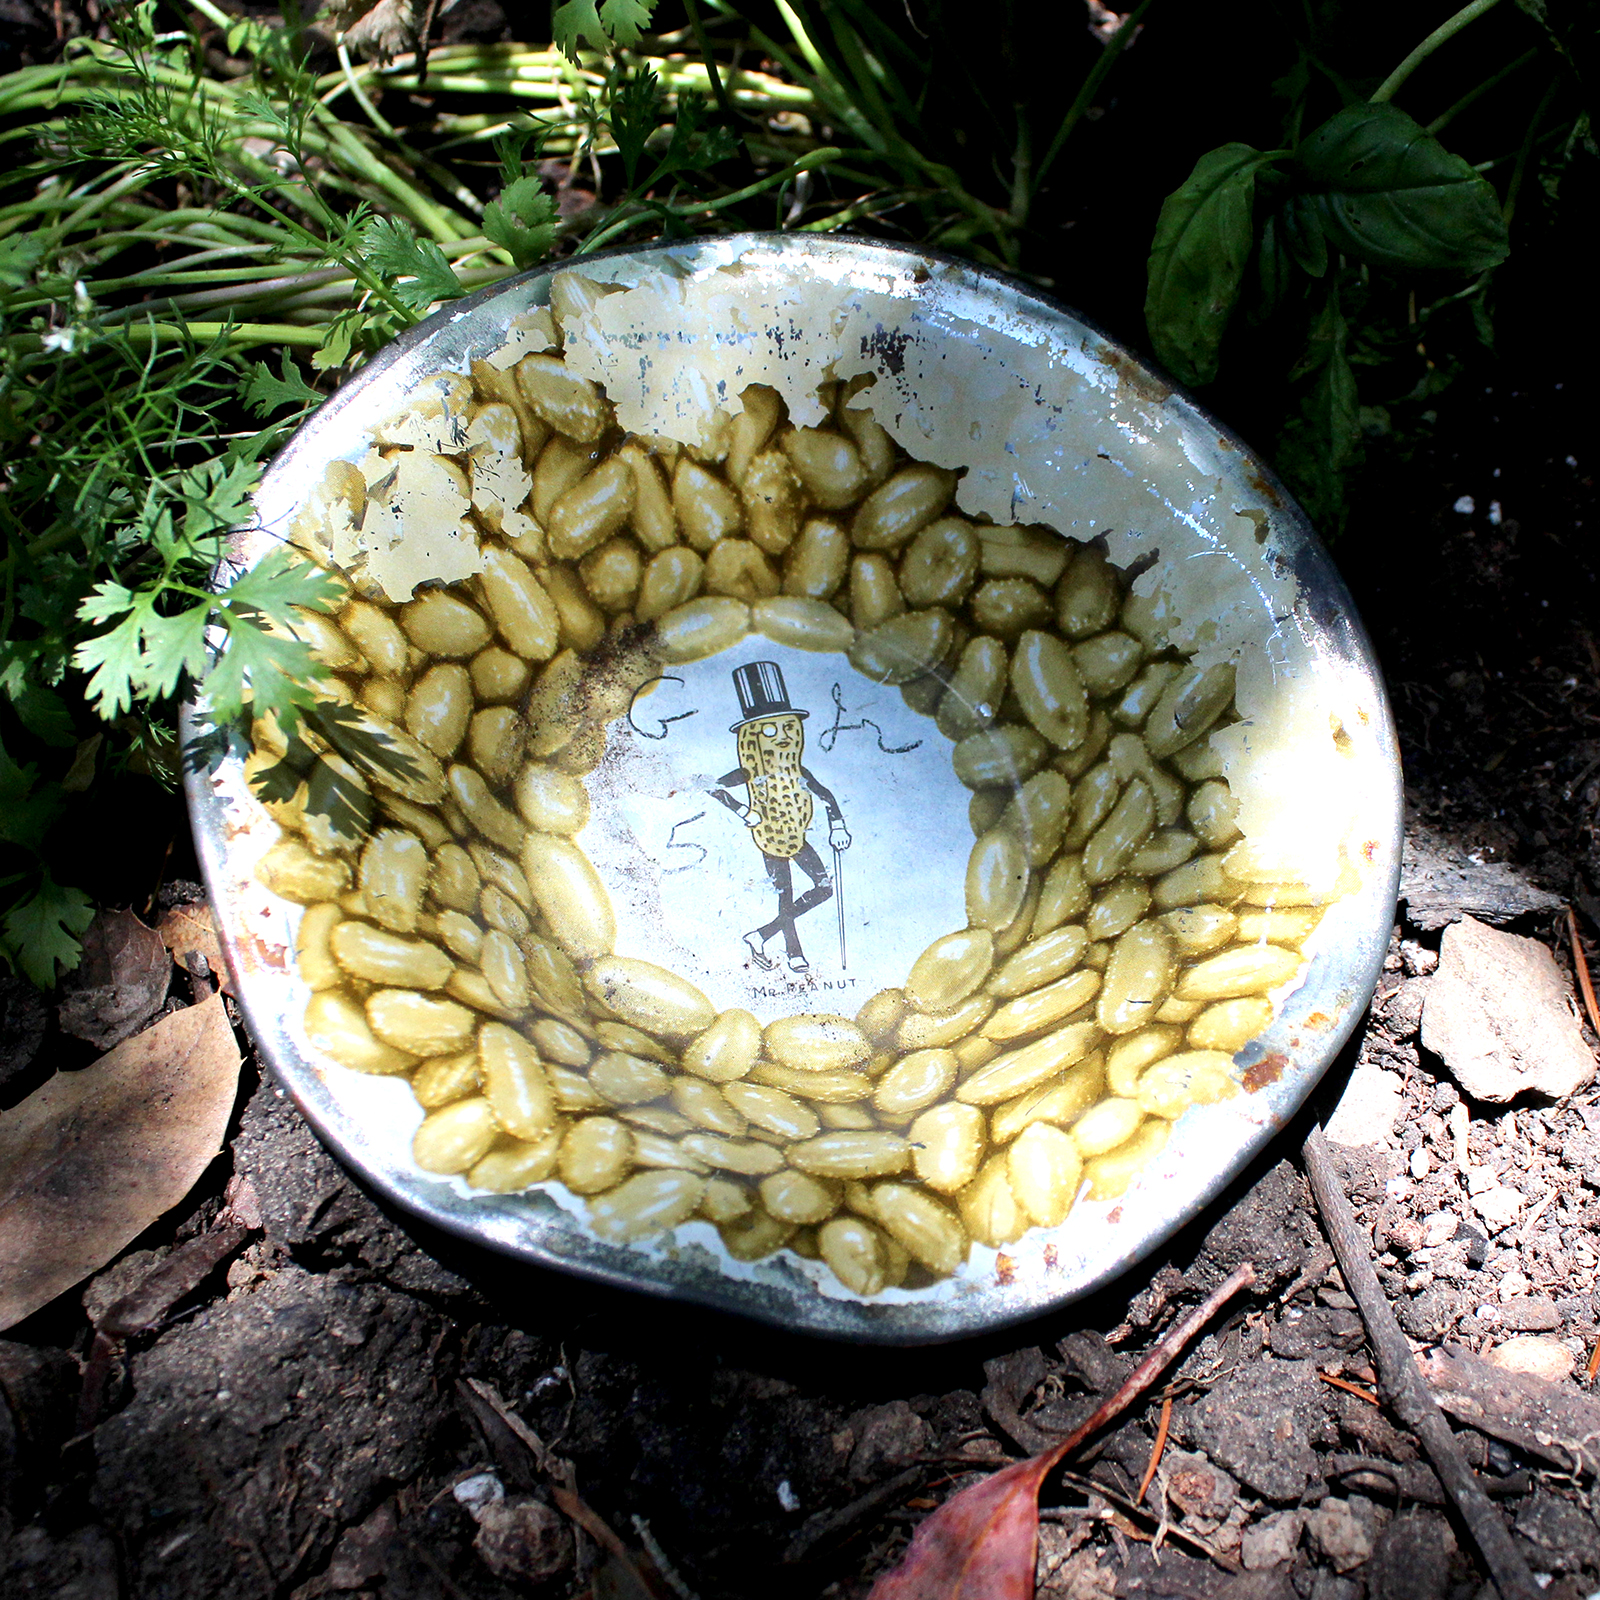
not even sure what this Planter's Peanuts dish is for but it is awesome and cost $1

(maybe) Moorish brass pitcher ($5) and vase ($4)

cast iron candle holders for $3/each